Author : halleday

1729 posts

Since I’m guest hosting over at Art Journal Journey this month I thought I’d make this a twofer post.

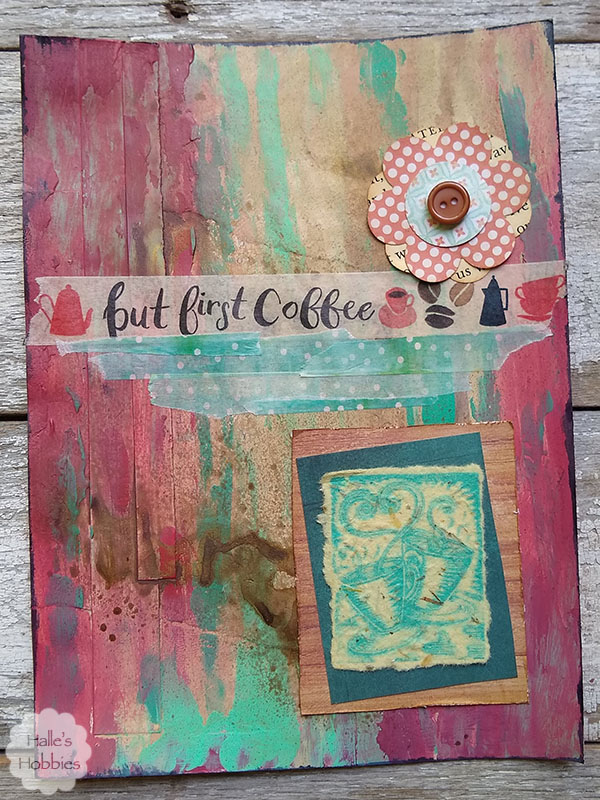
The journal page I created for my theme of Words to live by completely fits the bill.

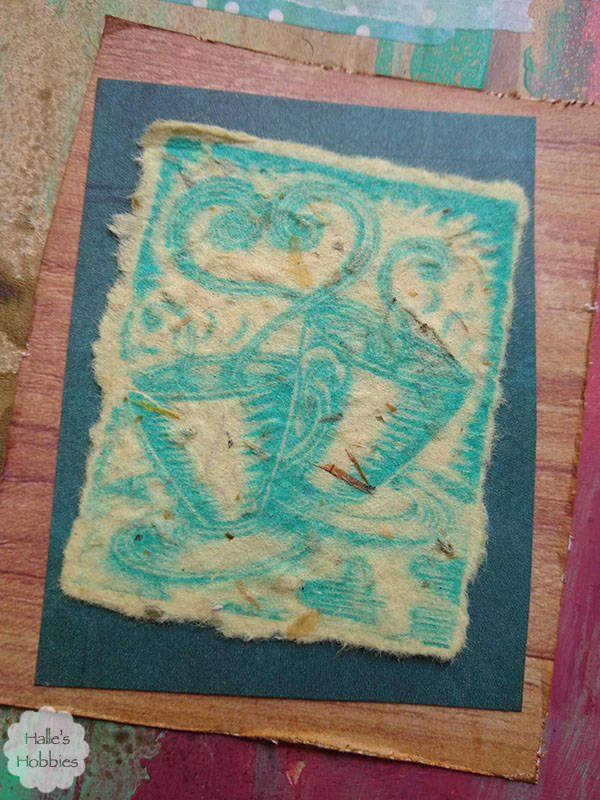
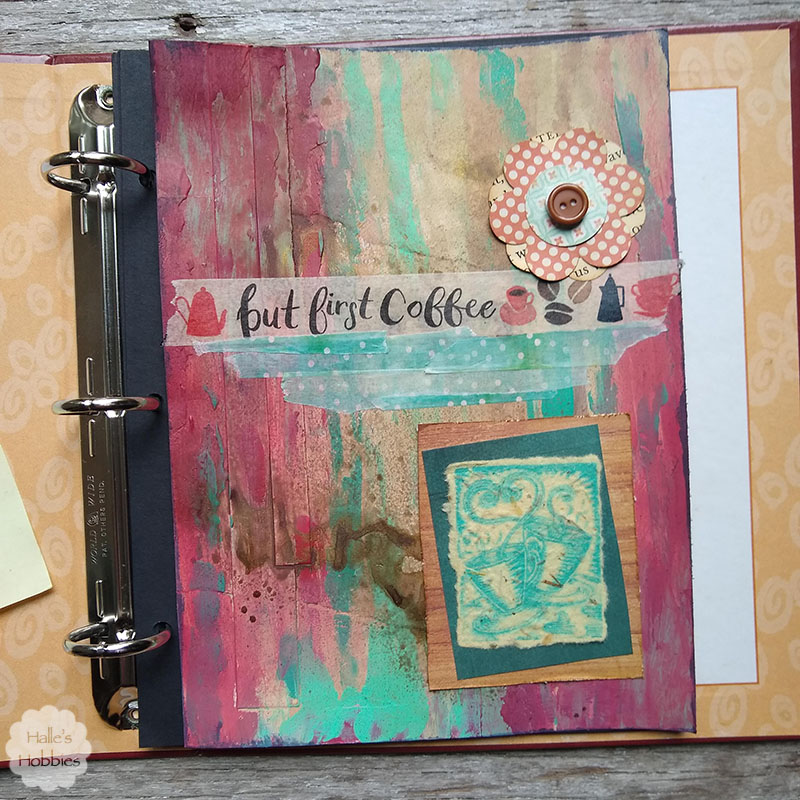
I wish I could remember exactly who gave me the stamped handmade paper piece but I’m not sure.

I have an idea but maybe if she recognizes it she can speak up and I’ll know for sure.

I have quite a bit of coffee themed items that were collected and traded for long ago to create an altered book. With that book complete, I now have lots of fun items to use in other creative ways.

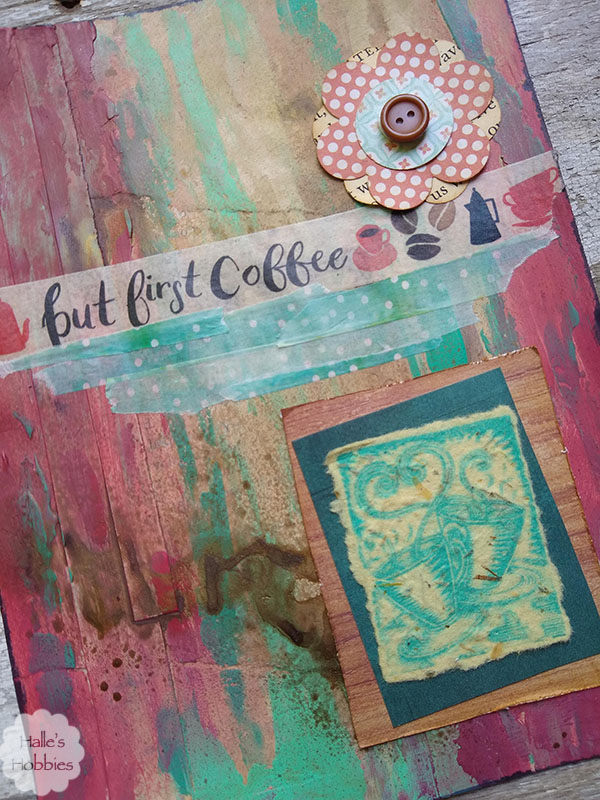
The background for the page was layered with random papers from my scrap bucket. Over the top I spread red, turquoise and cream with my fingers in a loose fashion…almost giving the appearance of peeling paint. The colors were a bit to bright so I first used some distress paint then glimmer mist to tone it down. Now I was at the color I was searching for.

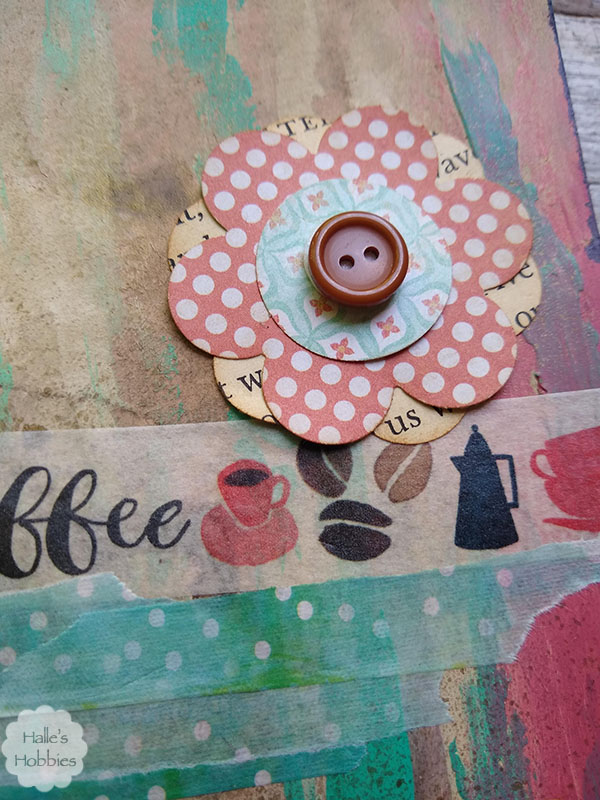
I added washi tape with my sentiment boldly across the page then softened it with some torn washi in a complementary color. I then added a stacked button flower embellishment from my stash for a bit more interest.

This is another loose leaf journal page sized for a new art journal I’m working on. I love working in loose leaf. Being able to add stitching, eyelets or brads simply anywhere frees my creative process. Of course this page is not an example of that.

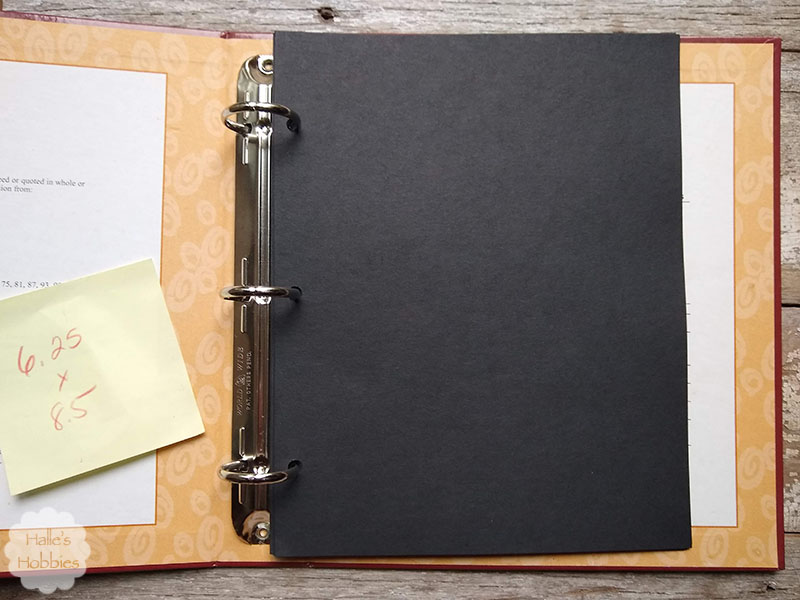
My new journal is an old recipe binder. I cut pages to fit out of black card stock and will adhere each completed journal page to the card stock.

The binder is yet undecorated as I’m not sure what I want to do with it. I was thinking about giving it some gorgeous texture but now I’m leaning more towards a fabric slipcover. Indecision at its best.

I’m not even worried that the journal pages I create are an exact fit for the pages.

This page from my previous post will leave a bit of black page showing on both sides. I almost prefer this look to the fit of my coffee page.

This week has a college visit tied into a mini-vacation for Mini-me and I. We are both super excited for a little time at the lake. Hopefully the weather cooperates with us!
What are you doing today?
Art Journal Journey

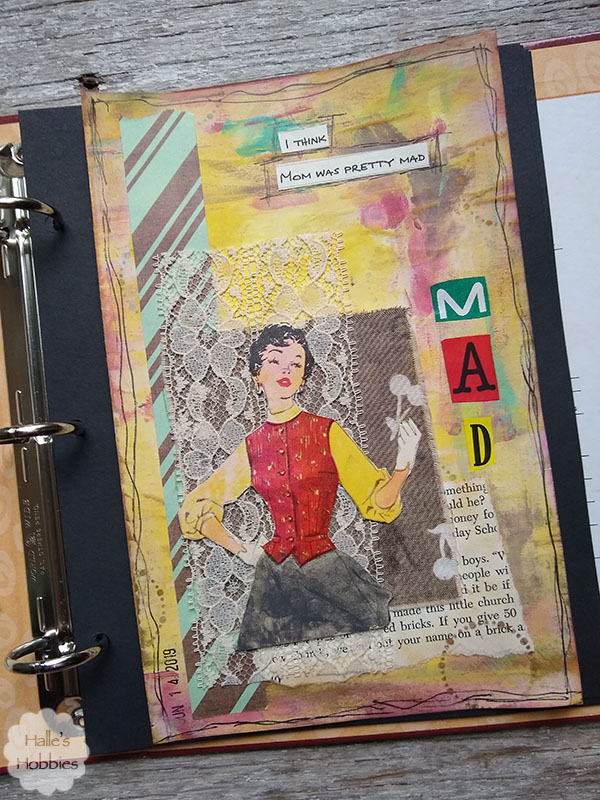
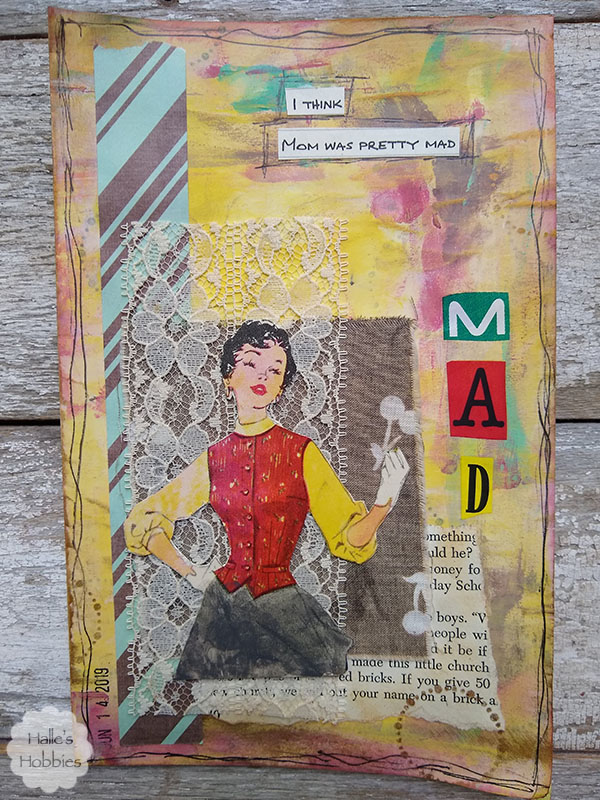
I was playing around in the craft room since I had actually cleaned up a bit…always happens that way. Can’t leave a clean space. I saw a strip of scrapbook paper that completely matched the yellow piece of mop-up paper next to it. I knew it was meant to be.

I folded the copy paper in half and used a glue stick to adhere the page together for a bit more substance. I’m in the beginning stages of creating a new journal and this size is perfect…more on that in a later post.

I layered the chocolate and mint scrapbook paper with book page then added a faded piece of last years garden bunting fabric…which incidentally was black background with red cherries with green stem and leaves.

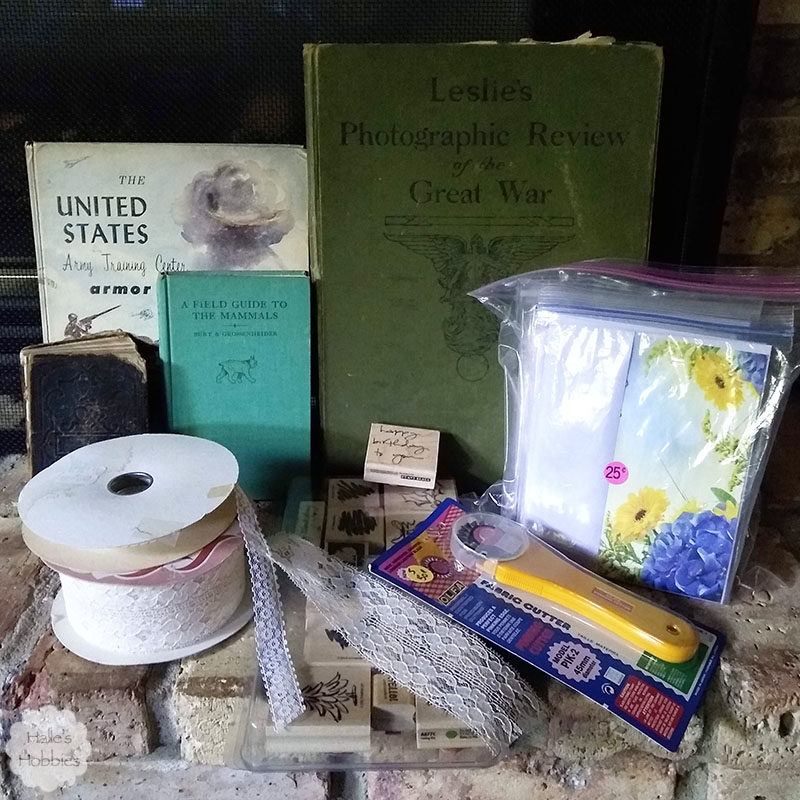
Next I knew I had to use some of the lace trim I scored while out at garage sales yesterday morning. I got a ton of fun stuff…

Like all of this for less than $2 at one sale! Tons more stuff but likely not of interest here on my blog so I won’t bore you. Anyway…the lace was $0.10 per roll. Do you have any idea how much is on those rolls?!?! I’ll never run out.
Back to the journal page…

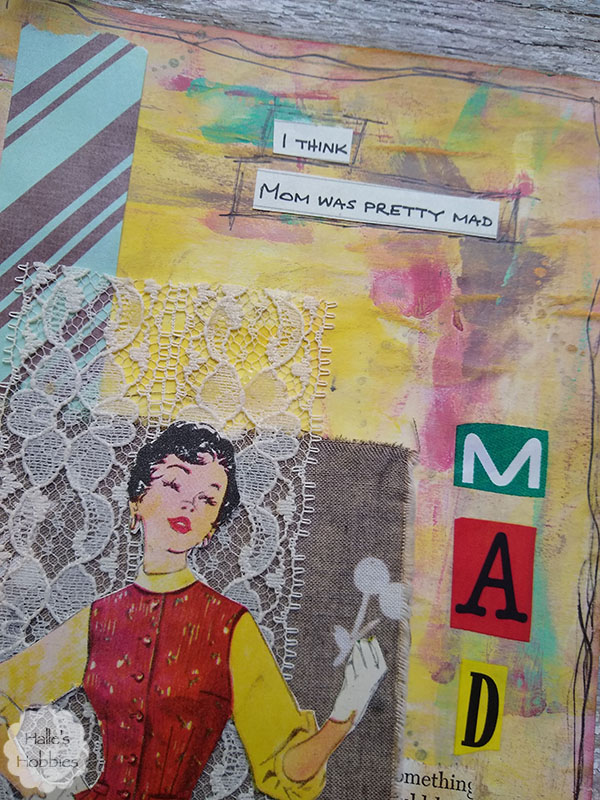
By this time my page had a very retro color scheme. A quick search through my scraps revealed a sewing pattern with the perfect colors. Don’t you just love her fist…like she’s shaking it at those darn kids. My words came from her expression. I happened to have some ransom letter rub-ons again with the perfect colors to highlight her emotions.

Last but not least I used black pen to draw around the words and border the page.  I think I killed two pens before finally getting one to work properly. Paint or gesso and pens are not a good combination. I really need to remember that.

This page is yet another for my theme of Words to live by over on Art Journal Journey.

Art Journal Journey

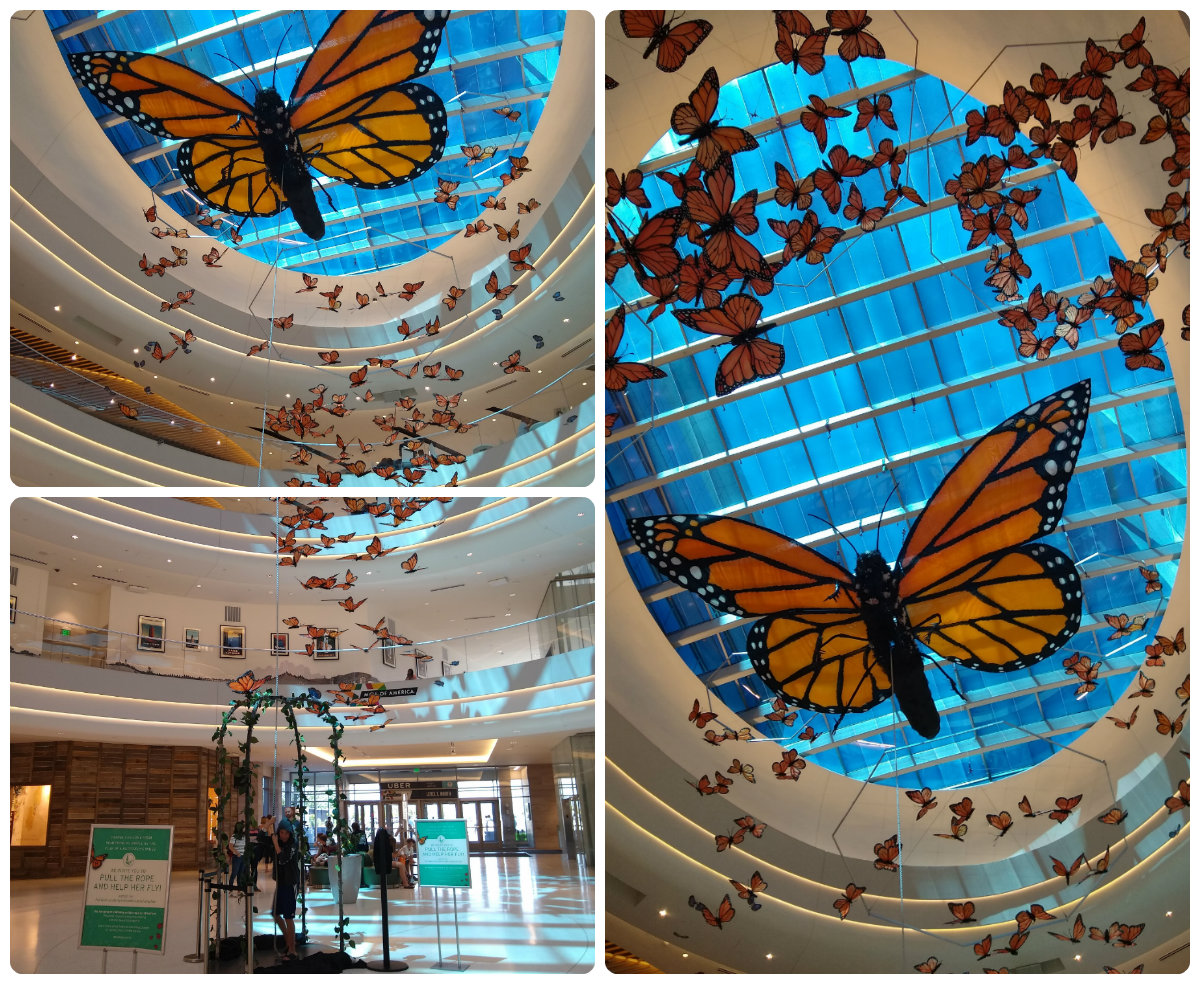
At my school the last day is grade level field trips. I went with 7th grade to Nickelodeon Universe at Mall of America. Nothing like setting 6 bus loads of kids free at the mall (and that was just from our school).

We walked in under this beautiful and interactive art installation.

There was a rope attached with a sign that read “Pull rope to help her fly“.  The kids had fun helping her flap her wings. Here’s a little news clip about it if you’d like to see more including a video of it in motion.

I went on 3 rides during our time at the mall. The first was the worst…hard on the body…very jerky, spinny and not for the feint of heart. The second was also pretty scary but not so hard on the body.

All those teal twists and turns made me scream a few times much the the glee of the students.

This was the view from the Ferris wheel…nice and slow with a great view of the park.

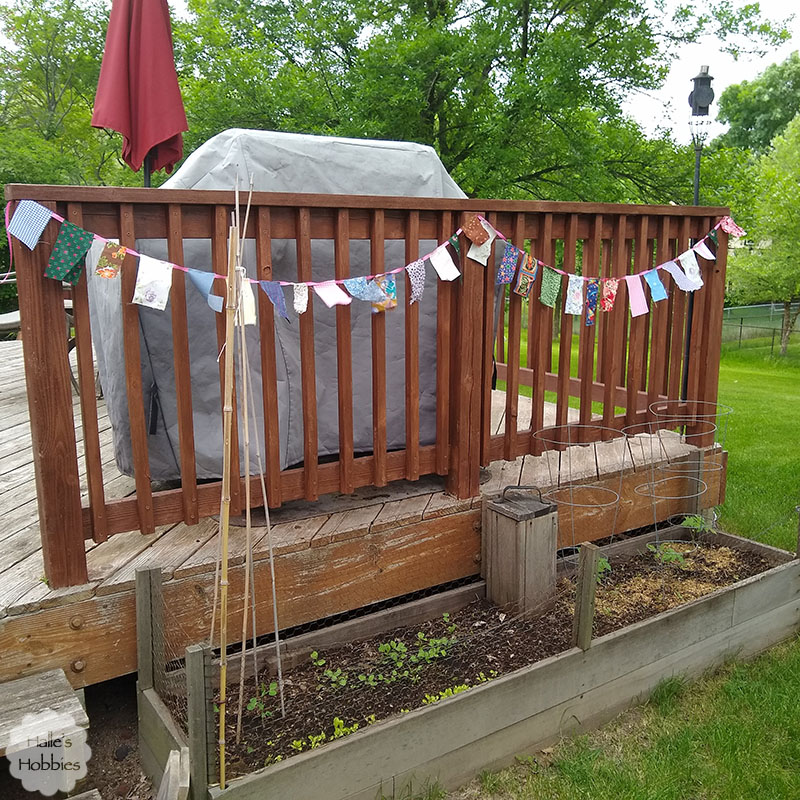
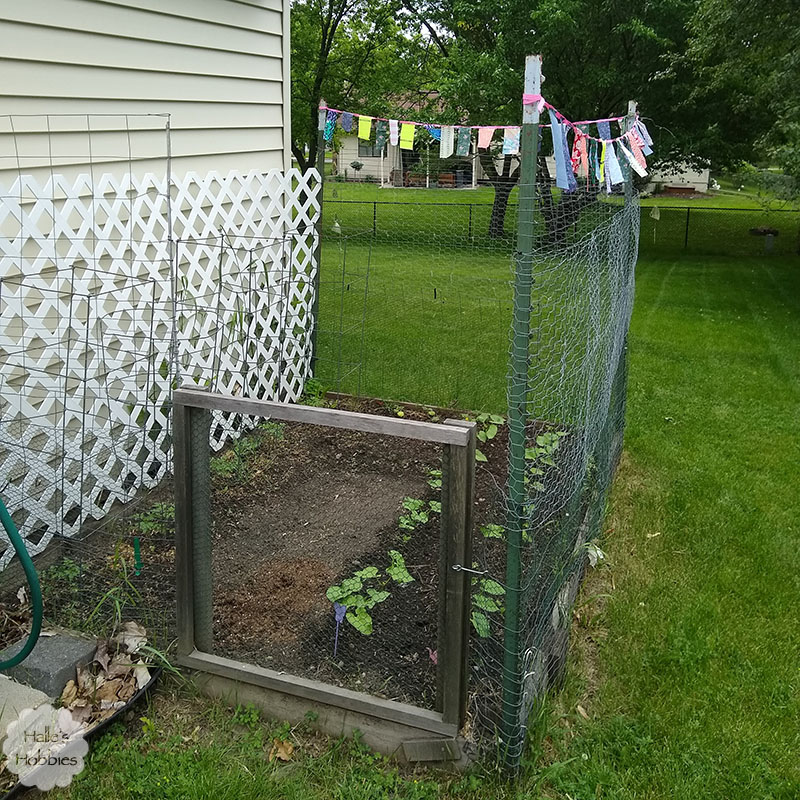
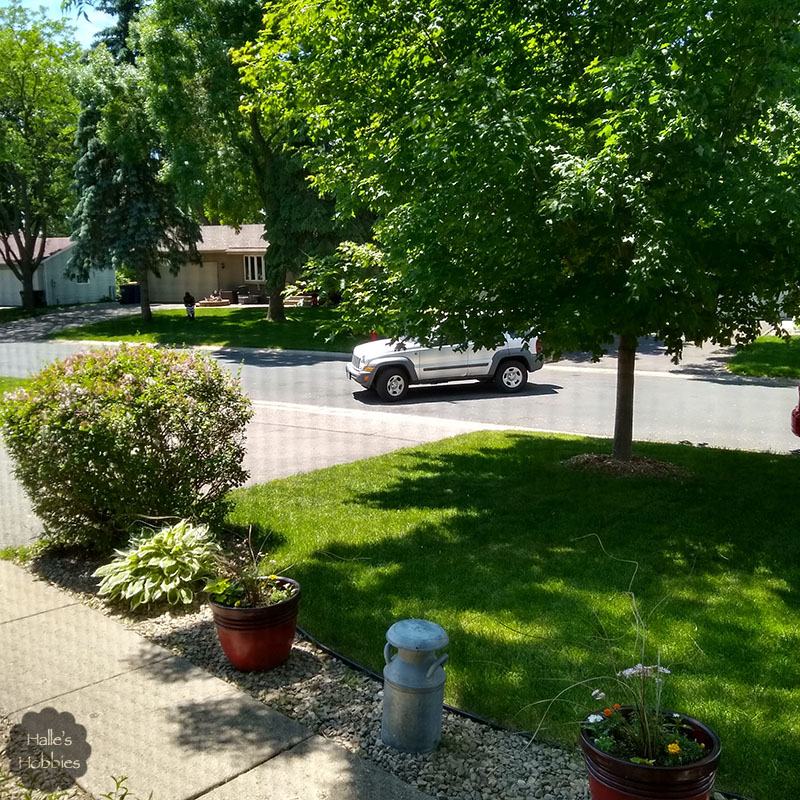
Over the weekend I did some outdoor sprucing up. I stitched up some new buntings for my gardens…

FYI…My glass of water is just out of frame on the step in adherence with T stands for Tuesday.

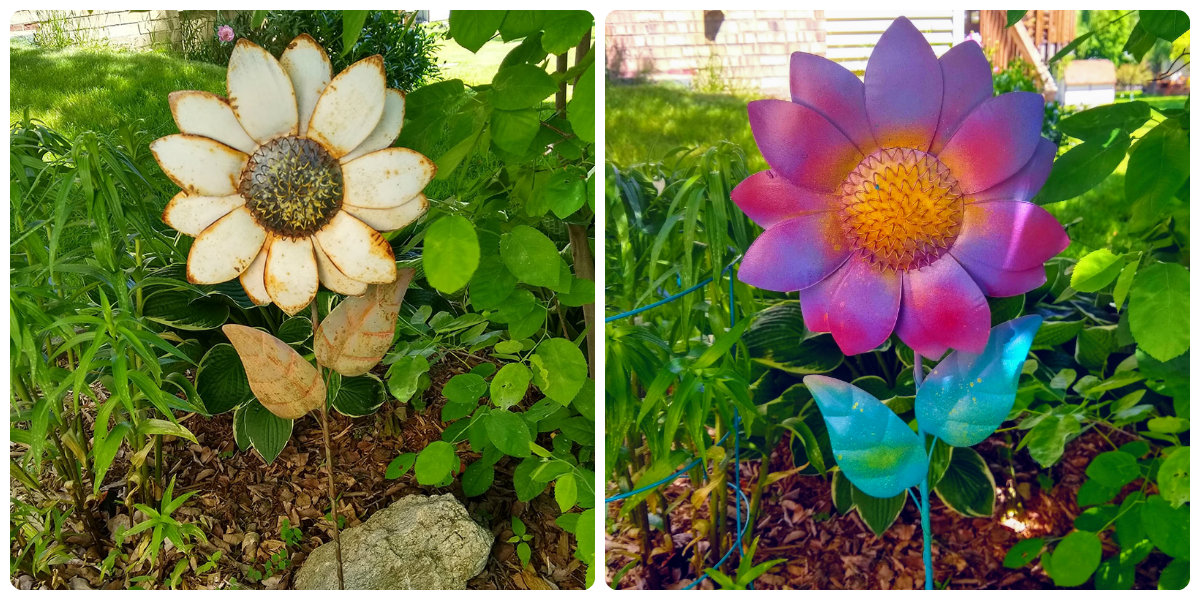
And refreshed some metal garden art…

I used several cans of spray paint to brighten up the flower. I’m not sure I love it but it’s so much better than before!

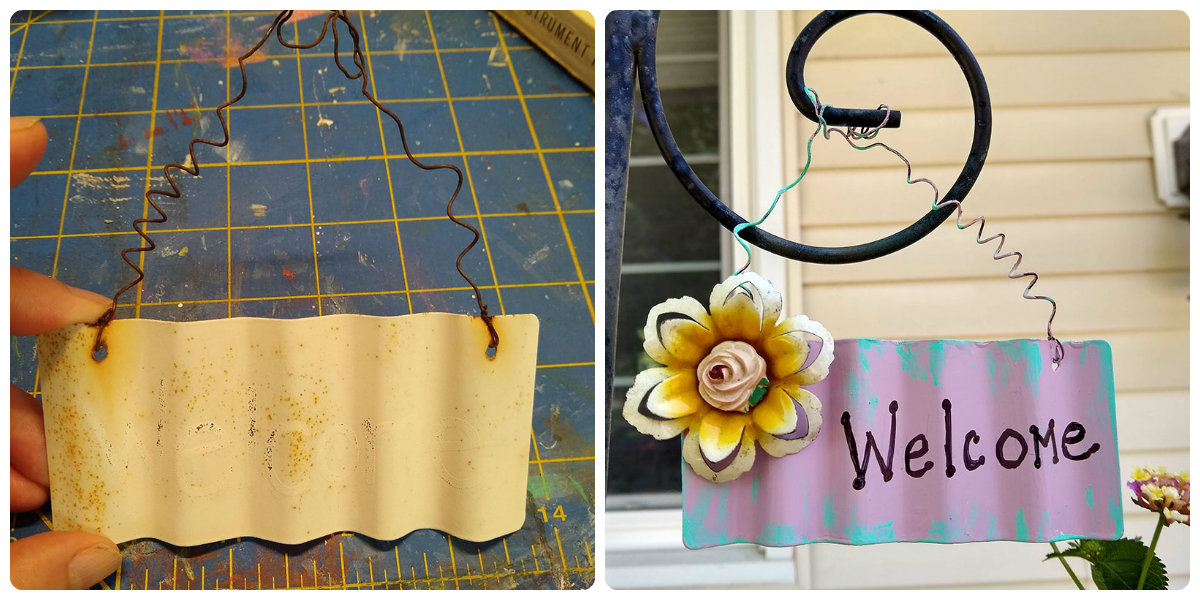
This little sign really needed help and a 3D element. I had two of these metal flowers. They have a metal pin out from the back. I used a tie tack back and a washer to hold it on the sign. IT hangs from a shepherds hook along the front walk.

Today I took Mini-me to take her drivers test…and she passed!! Then I sent her to Target on an errand.

Woot! She did great. She is so happy…so am I! Now she can drive herself to work and school and volleyball and well you get the picture…

Tuesday morning we are getting a new roof put on the house. I know…super exciting. I’ve got all kinds of busy work to do in the house while the nail guns are hammering.

What are you doing today?

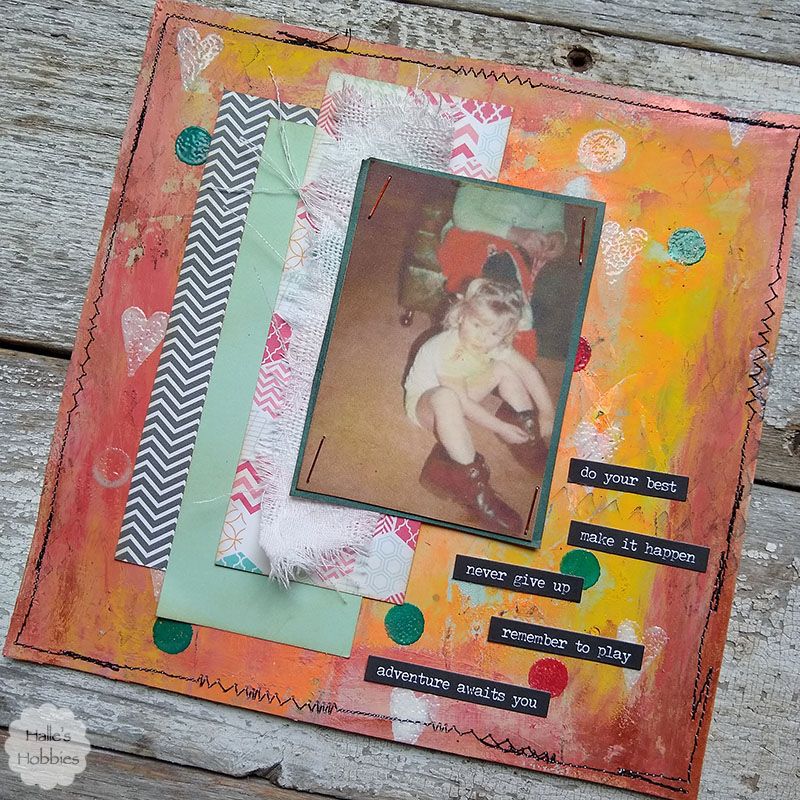
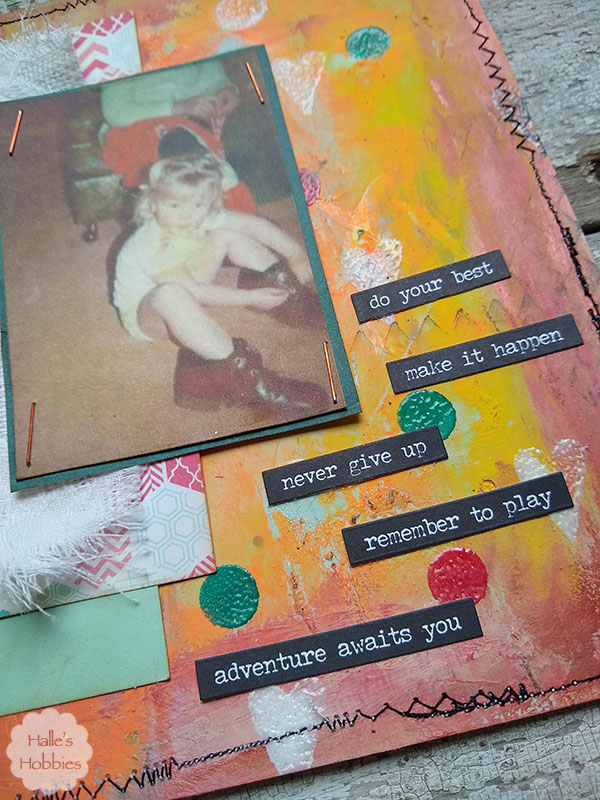
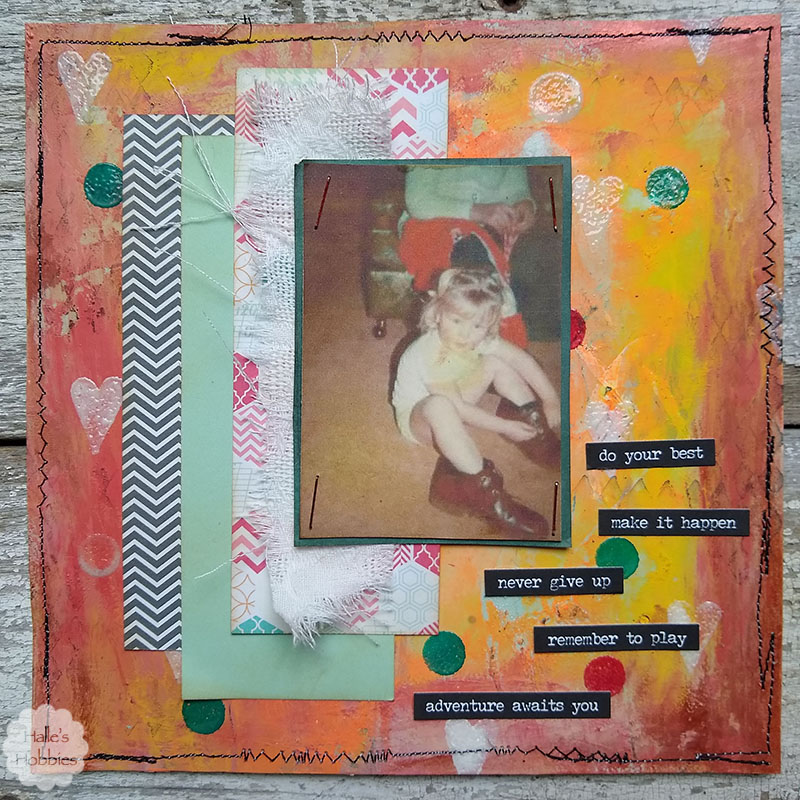
Last week I found this image I’d printed ages ago…I knew immediately that it would become a focal point in an upcoming journal page.

Since I’ve been using the term “mop up paper” quite often lately I thought I’d share a bit of a process post to give visuals to my words.

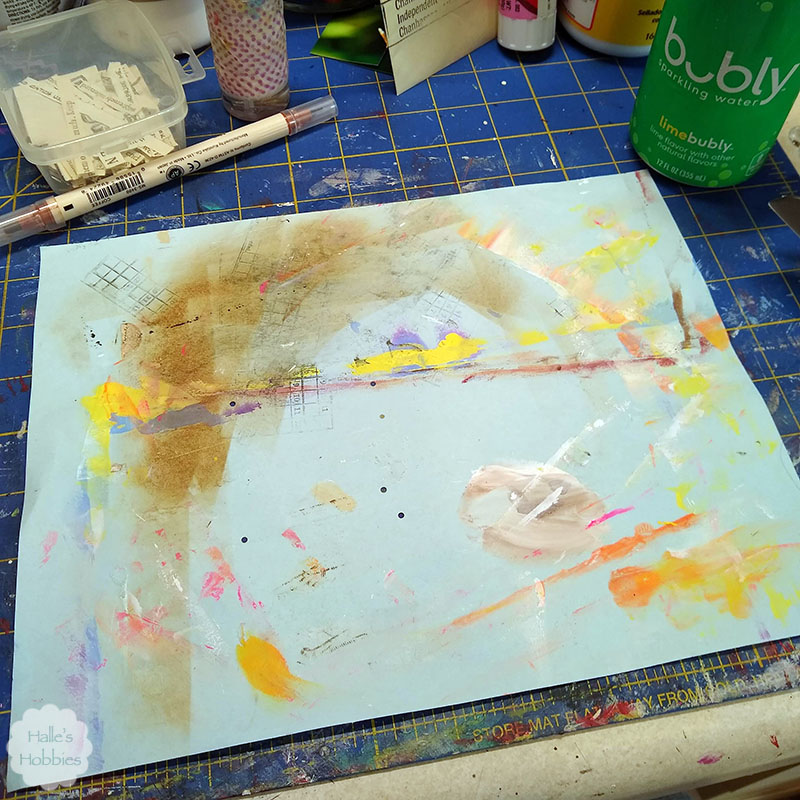
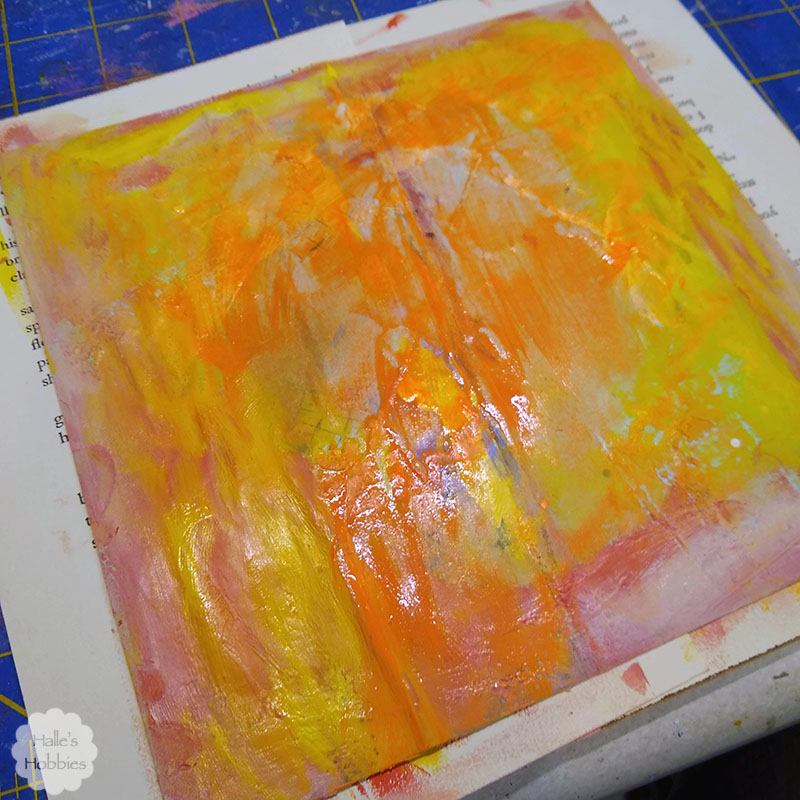
This is where my page started. A sheet of blue copy paper 8.5 x 11 inches. I used a glue stick to adhere it to some lightweight card stock.

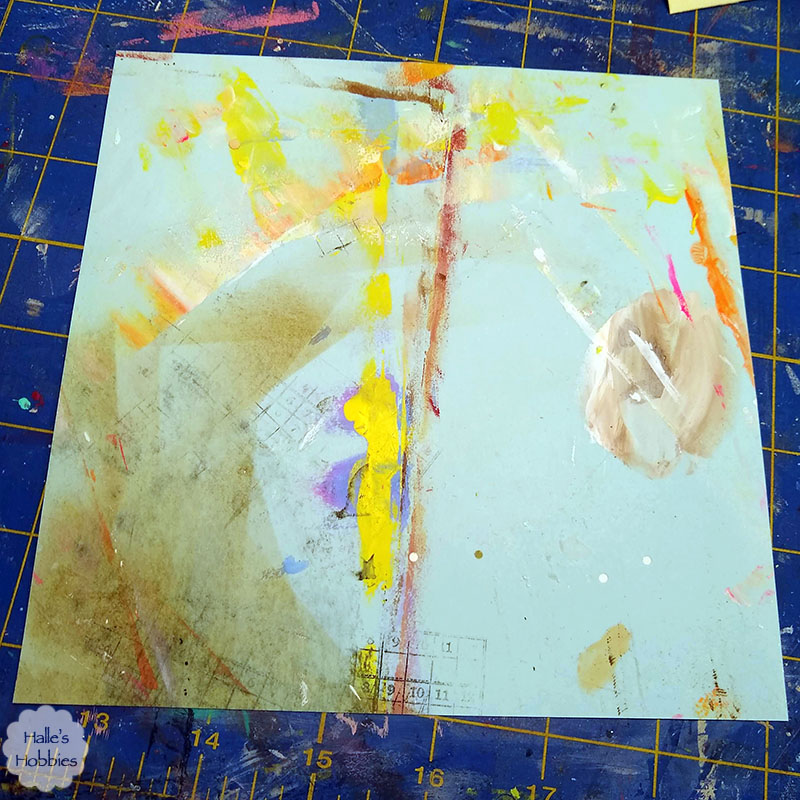
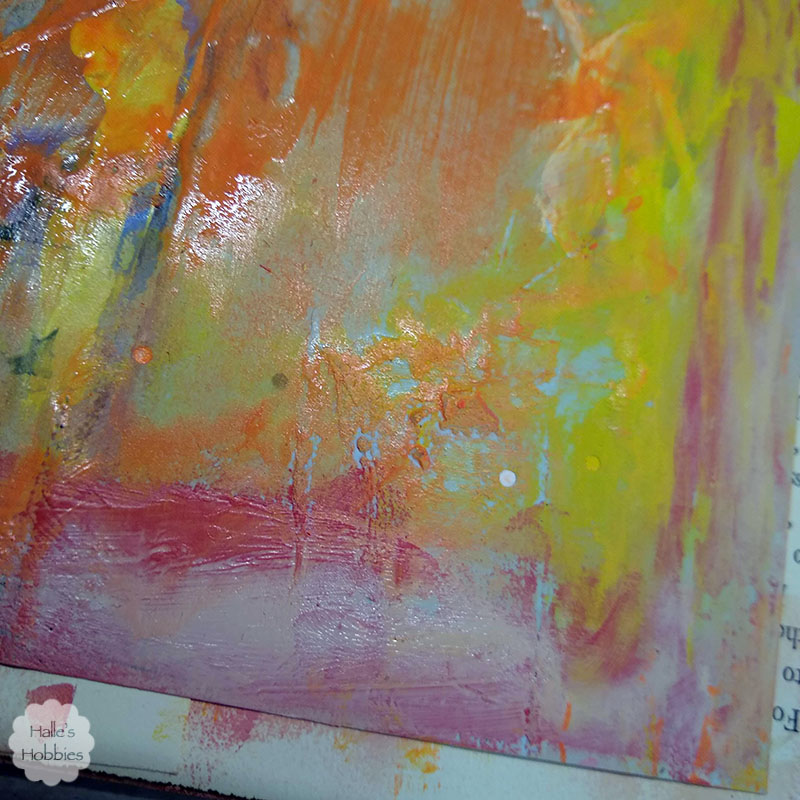
After the glue was dry I cut it down to my desired size of 7 x 7 inches. Next I got out craft paints and used my favorite tool…my fingers…to spread several colors of paint over the page.

Some of the colors are more transparent than others allowing the original color and marks to show through.

Look at that yummy texture…  I decided to let this air dry overnight instead of drying it with the heat gun.

Of course this is where my process failed…I totally forgot about the fact that I was taking photos step by step.

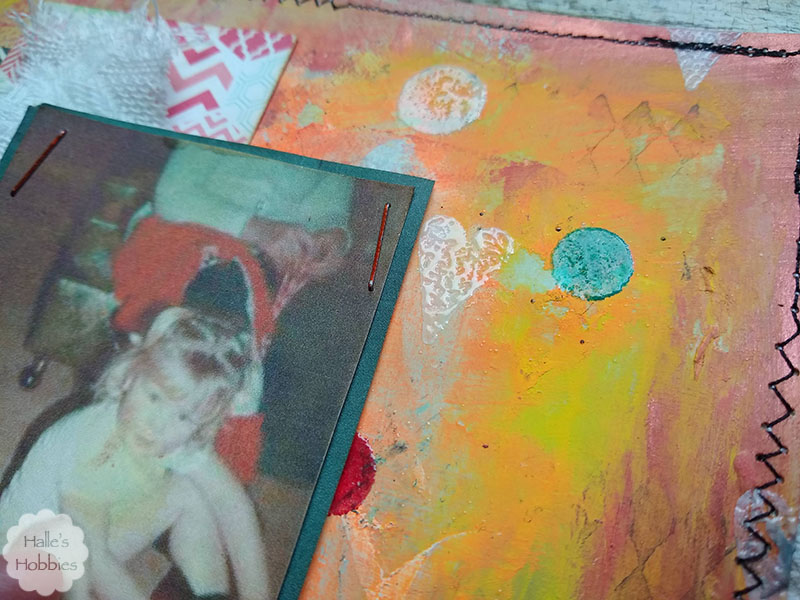
I used rubber stamps to create some background texture. The black ink harlequin was super subtle…I felt I needed a bit more color and shape. Since most of my stamp pads are pigment ink I used clear embossed powder to set the ink.

I also took the completed background to my sewing machine to stitch a funky border in black to contain everything.

Next I created some layers with paper and fabric to give an anchor to my image.

Last but not least was the words of wisdom to a little girl learning to tie shoes with her daddy’s shoes. I love that they are on the wrong feet too.

Not only am I linking up with Words to live by on Art Journal Journey guest hosted by yours truly….

Art Journal Journey

but I am also linking up with Try it on Tuesday for Make a Mark.


Welcome back to Halle’s Hobbies. Glad you could stop by today to check out another page for Words to live by on Art Journal Journey which I happen to be guest hosting this month. Yay!

I had really thought I posted this earlier but I had only uploaded the photos. I guess that’s what happens to our brains during the last week of school. Mush…mush for brains. Anywho…

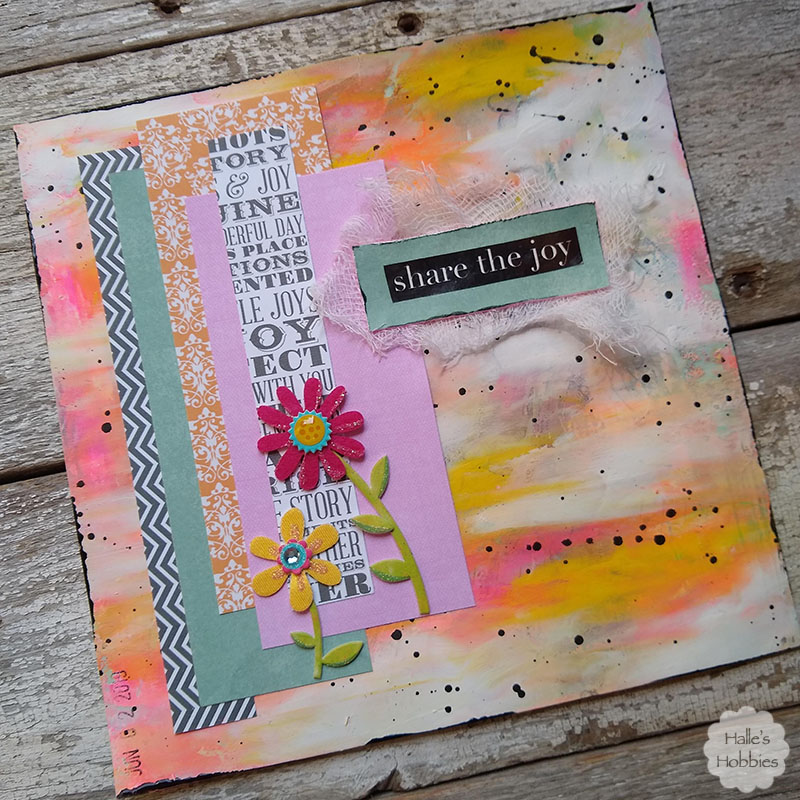
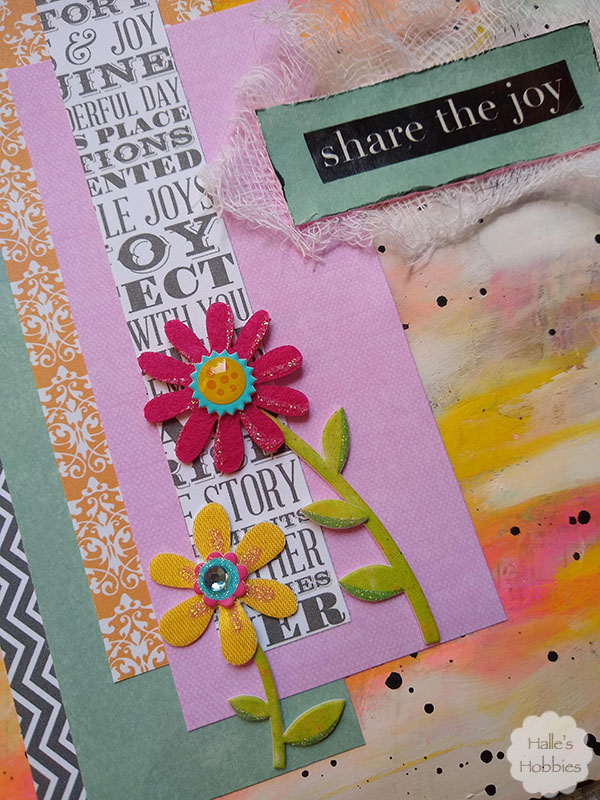
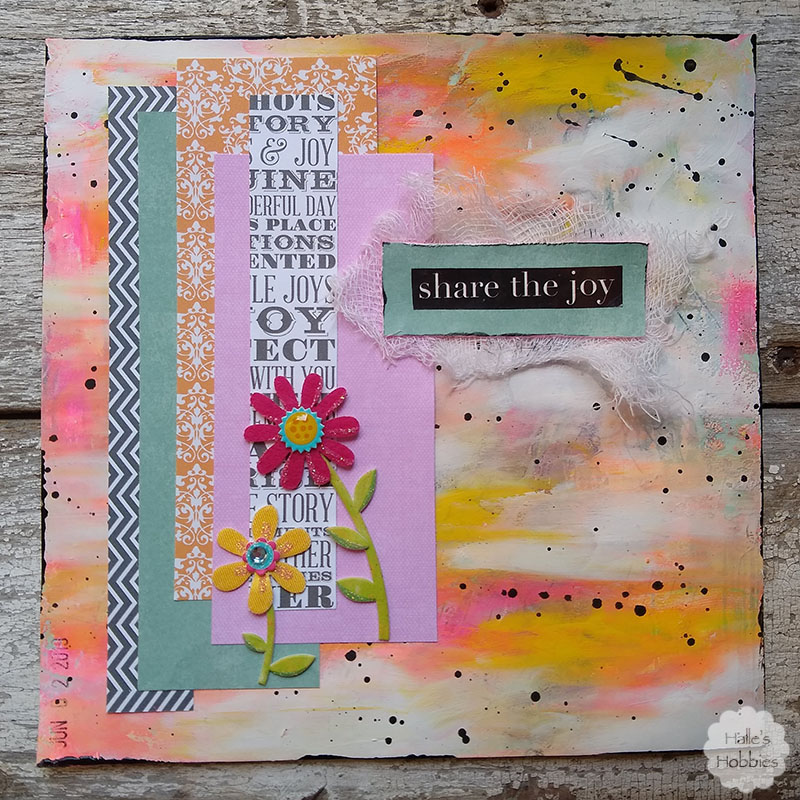
I started with a page of thin blue/green mop up paper. Since it was too thin I adhered it to another sheet of thicker paper. Next I began using my favorite tool…my fingers…to paint over the chaos with bright happy colors…yellow, pink and orange. It was a little crazy so I muted things down with some white paint. After setting it aside to dry a while I cut it down to my 7×7 scrapbook journal size.

I pulled out some scraps that complemented my color scheme at this point. I began to play with layers until I found something that pleased me. Before gluing them down I decided some spatters of black were needed to help form a cohesive look.

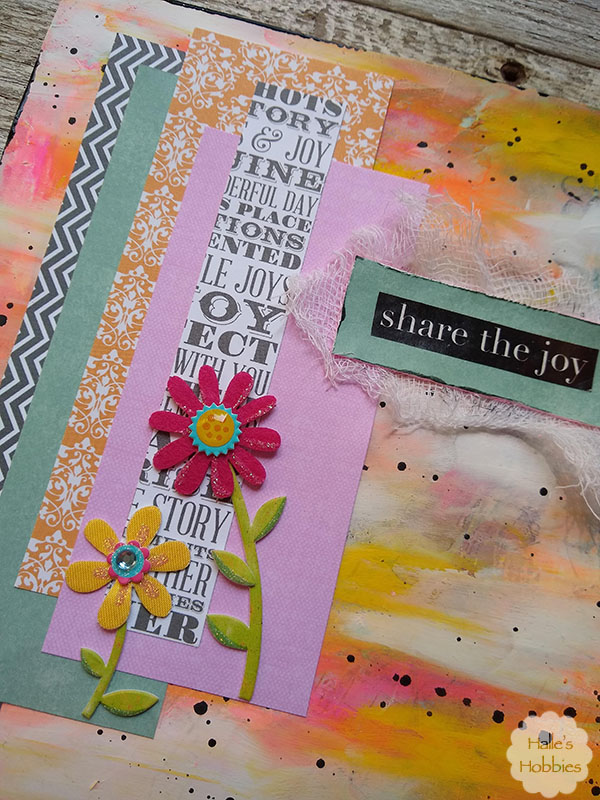
Next I added some cheery flower stickers that just happened to match my color palette. The last thing was the words. I searched through my stash of words and phrases and quickly found the perfect one. 

Share the joy.

It wasn’t until I was taking these pictures did I notice that the scrap with the words had JOY visible twice.

I’d love it if you’d join me for Words to live by at Art Journal Journey this month.

Art Journal Journey

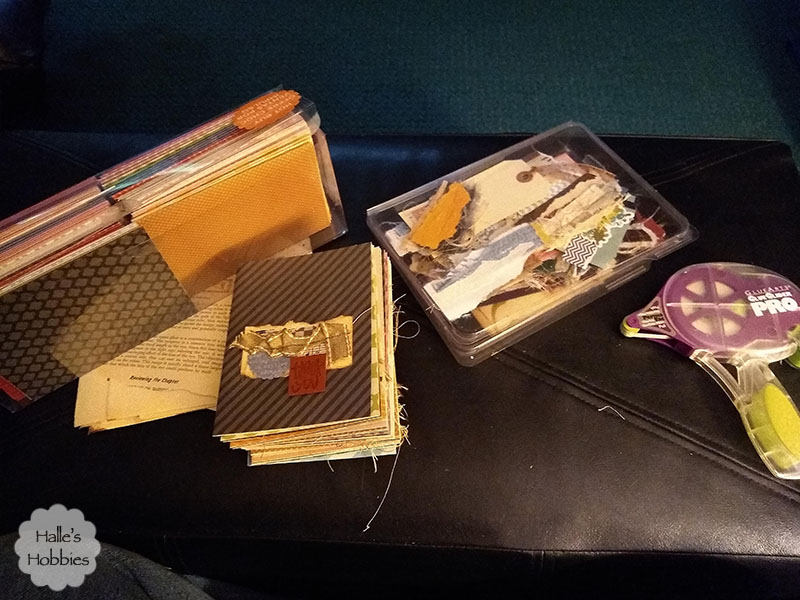
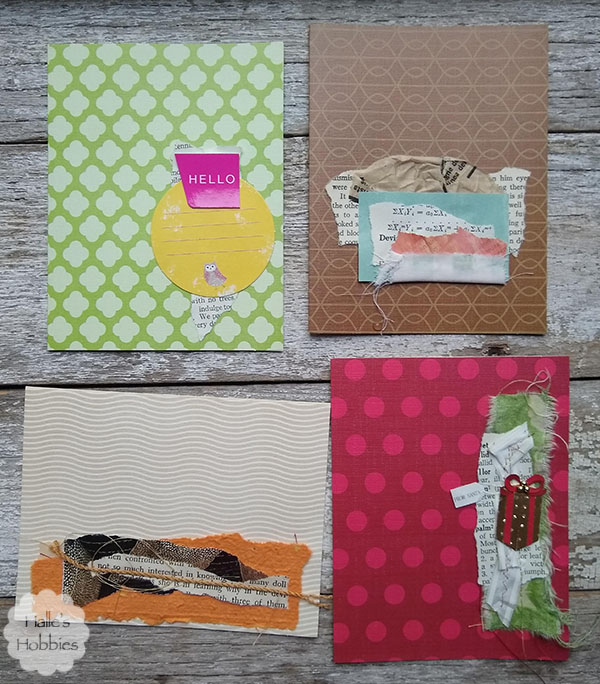
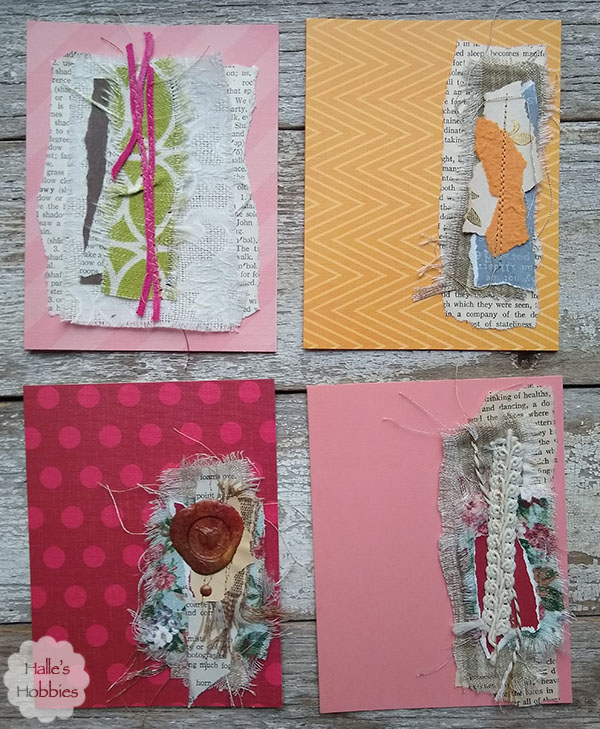
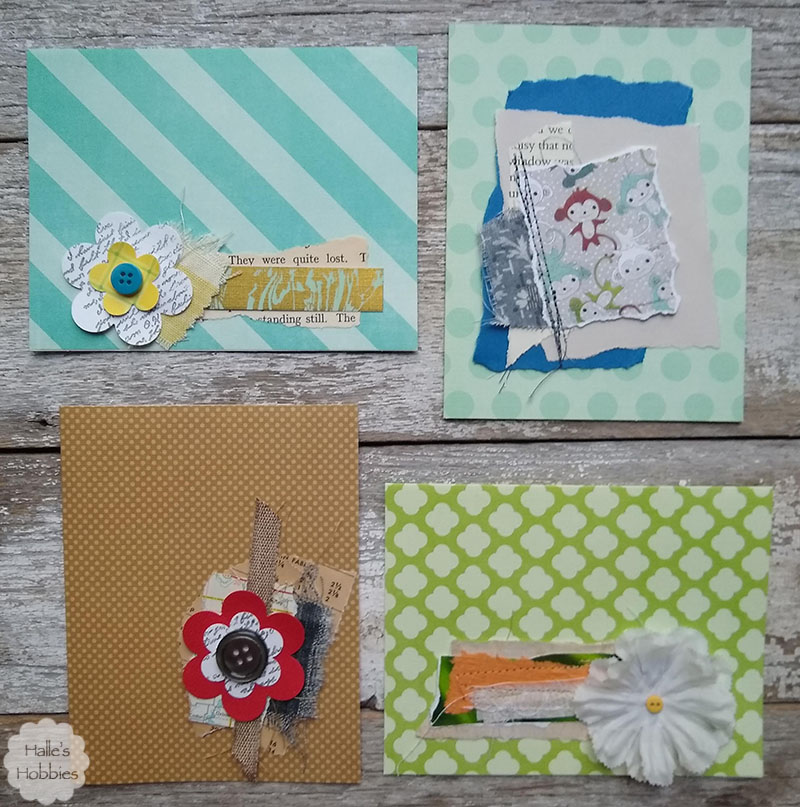
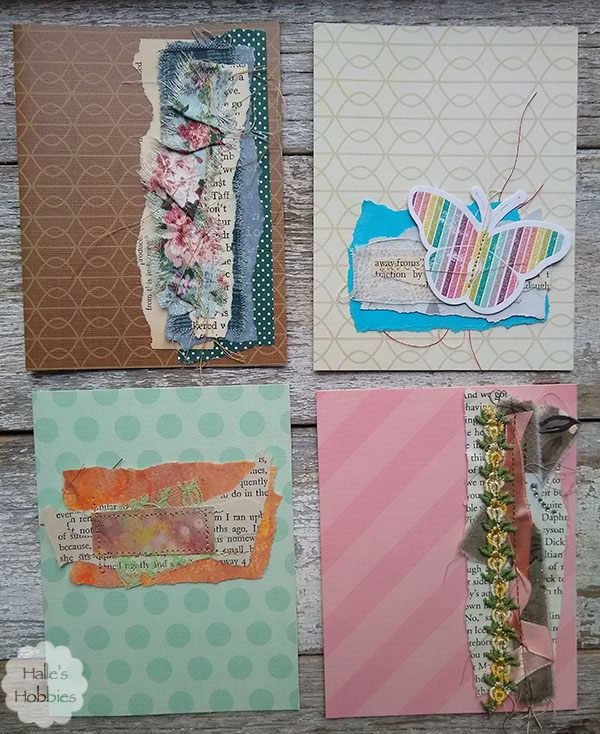
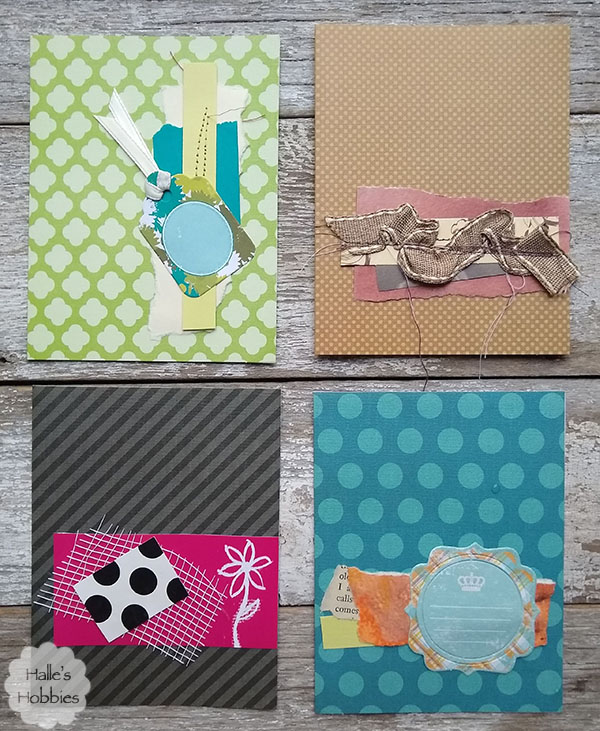
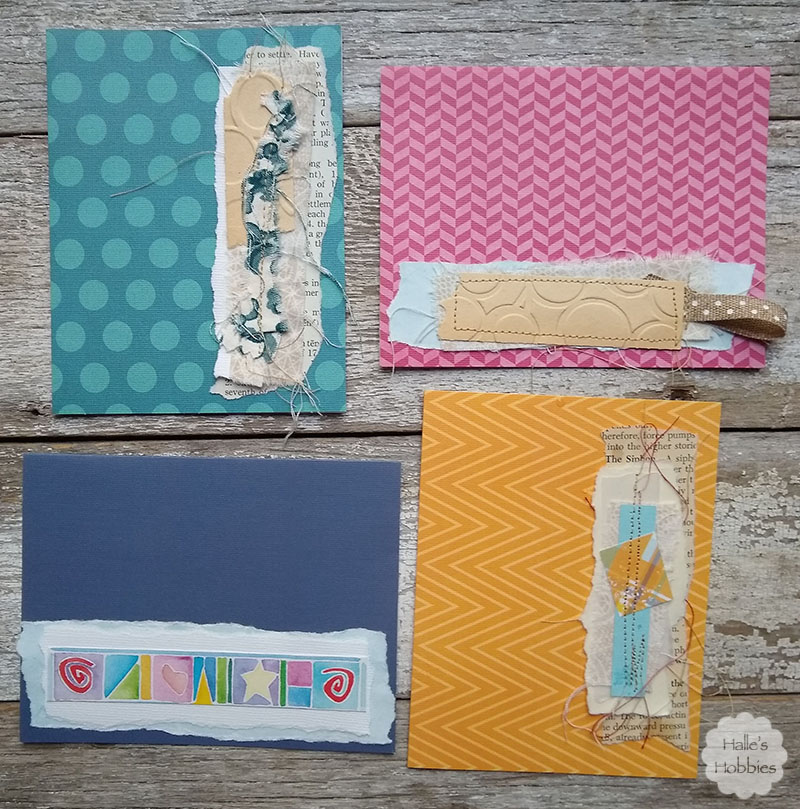
One evening last week, while sitting with Mr. G in front of the TV, I decided to make some cards. I gathered some supplies and set to work.

(pretend this photo was taken pre-card making) Also imagine there is a glass of water off to the side…

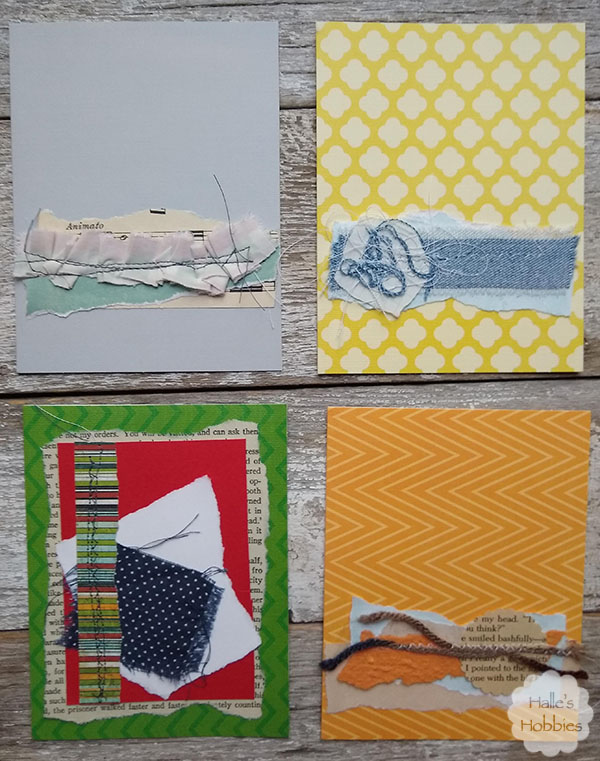
Between the pre-folded cards from Micheal’s and the stack of mini collage embellishments previously created it was quick work to put together 29 cards.


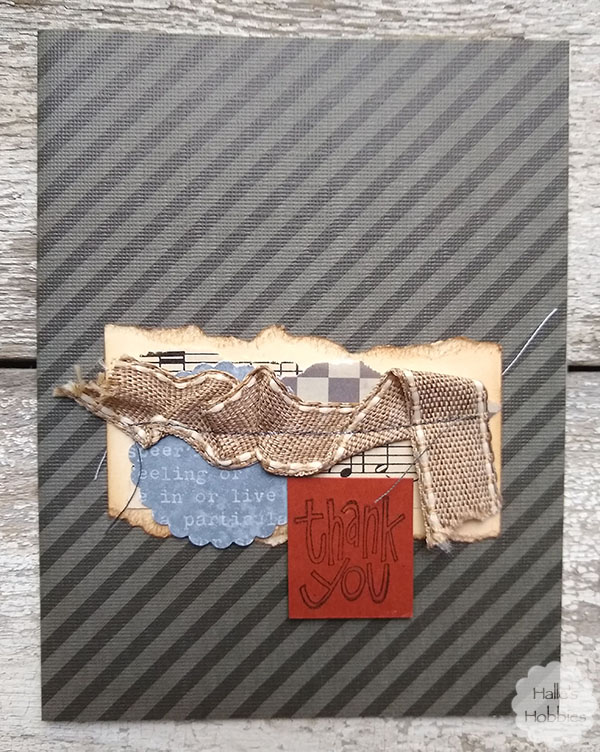
Most of these cards will need a sentiment of some sort such as this one…

I am so pleased that I now have a plethora of cards to chose from for all kinds of occasions to come.

What are you doing today?

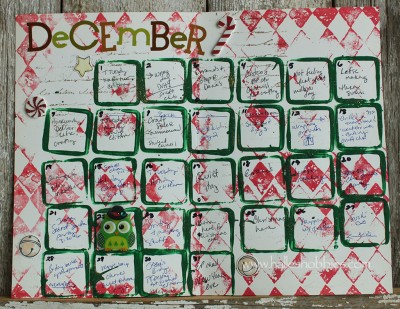
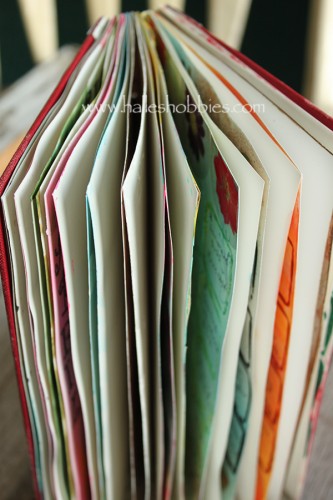
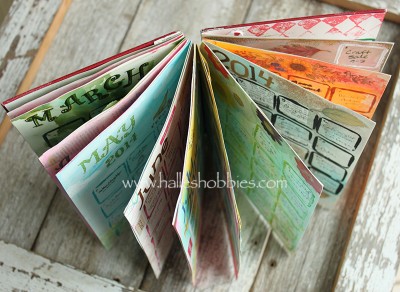
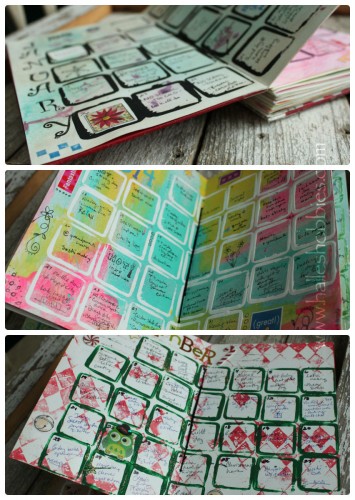
Just yesterday I was thinking about buying a planner to help me keep a better handle on my blog and personal/family commitments. The family uses a shared digital calendar but I feel the need for something personal as well especially for the blog and art stuff. All of a sudden I remembered the art calendar challenge. It honestly feels like more than 5 years ago but there it is…2014.

Take a look…

1/1/2015

December complete!
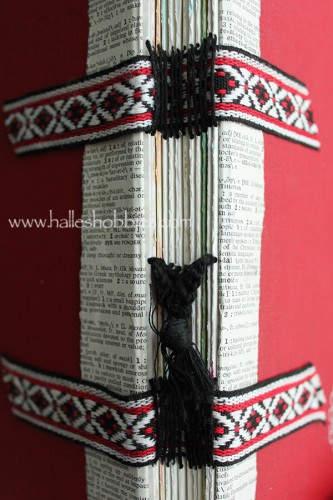
2014 art calendar challengeThis challenge hosted by Kate has been a good one for me.  I was able to stay on track and have ended up with a great keepsake from 2014.

2014 art calendar challenge

From the start, I had the idea in my head of what I wanted the end product to look like.

2014 art calendar challenge

After taking this photo I decided that perhaps gluing the pages together would give it more visual appeal. 2014 art calendar challenge

And I was right…  In addition, it provided stability to the binding.

2014 art calendar challenge

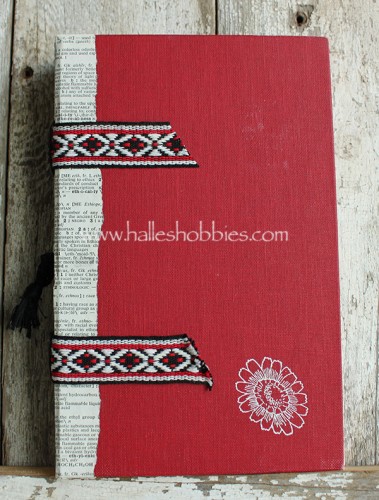
I’m in love with how this looks. I don’t want to come off as patting myself on the back but I have to admit that I’m so happy that my vision of this project actually came to fruition. 2014 art calendar challenge

~~~~~~~~~~~~~~~~~~~~~~~~~~~~~~~~~~~~~~~~~~~~~~~~~~~~


I might just be making myself a planner after all. We’ll see if I get inspired enough, quickly enough. HA!

Thanks for stopping by for Second on the 2nd.

PAGE TOP

© 2007-2024 Halle's Hobbies All Rights Reserved -- Copyright notice by Blog Copyright