Author : halleday

1730 posts

Welcome to another rousing edition of T stands for Tuesday where we grab a cup a and share what we’ve been up to. I’m taking a bit of liberty with that rule this week and I know our wonderful host, Elizabeth, won’t mind a bit.

Before we begin I must apologize for the poorly lit photos. My laundry room/craft room has both florescent and incandescent lighting. Choosing the right filter for proper lighting is nearly impossible.

Now on with the show…

As I was cleaning out the school supply shelf which holds both new and partially used supplies, I happened upon a spiral bound sketch book from one of the kids elementary school days. The cover and drawings were long since gone, the spirals smashed and many pages crumpled. I decided to salvage what I could before the whole thing ended up I the recycle bin.

T Tuesday: coffee stained edition | Halle's Hobbies

So now what. I thought binding them into a journal would be a good choice but boring white pages have never made me want to use them them. Aged pages always draw me in.

This technique isn’t new, I’ve used it myself on many occasions. The one thing that really appeals to me is the randomness of dyeing or staining. You never know exactly what your going to get.T Tuesday: coffee stained edition | Halle's Hobbies
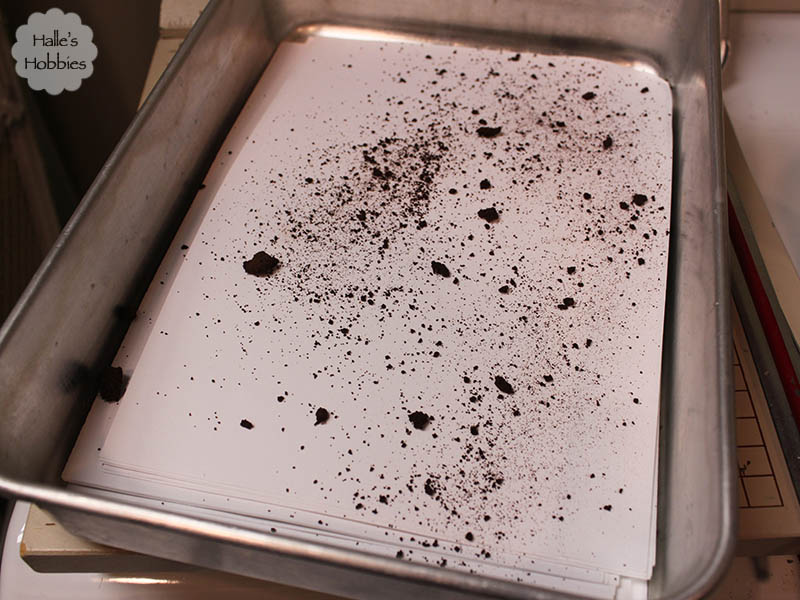
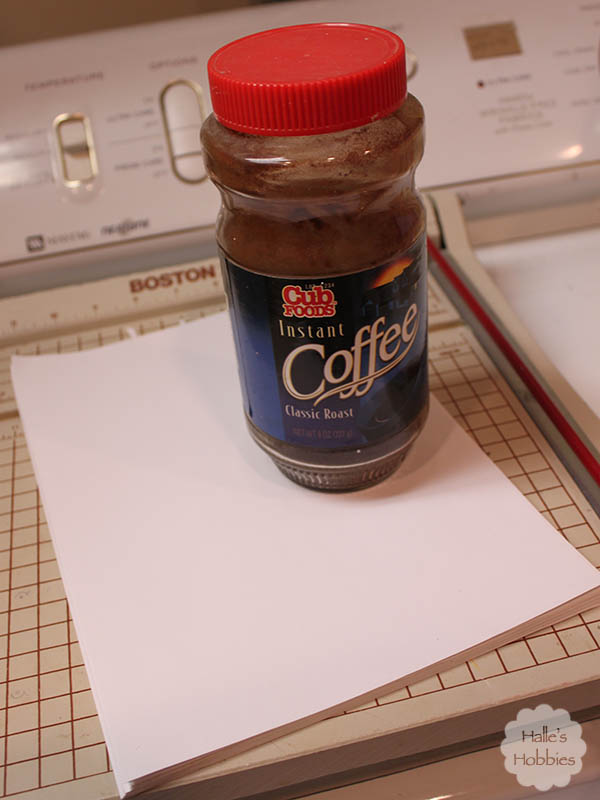
Since I had a large stack of papers I wanted to make sure that there was irregularity of staining throughout the pages. I sprinkled instant coffee grounds every few pages in the stack.T Tuesday: coffee stained edition | Halle's Hobbies
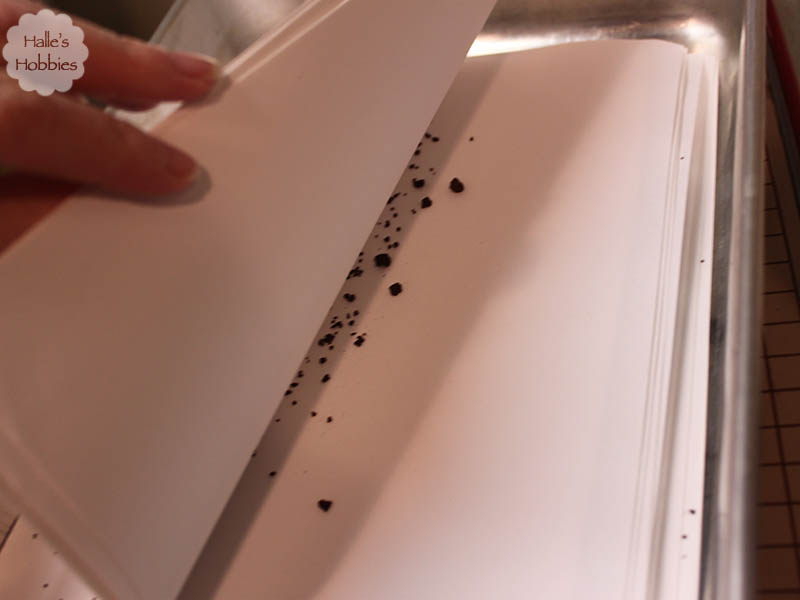
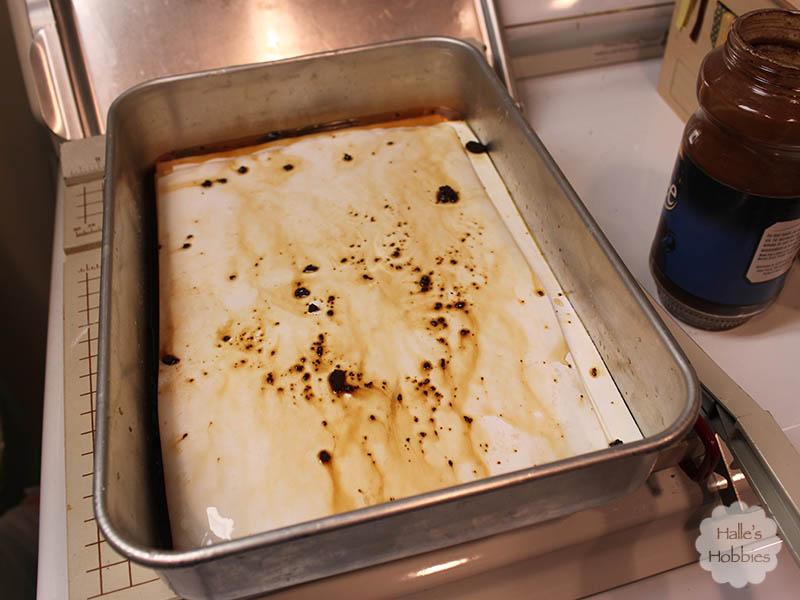
I used a spray bottle to gently wet the coffee to start the staining process.

T Tuesday: coffee stained edition | Halle's Hobbies

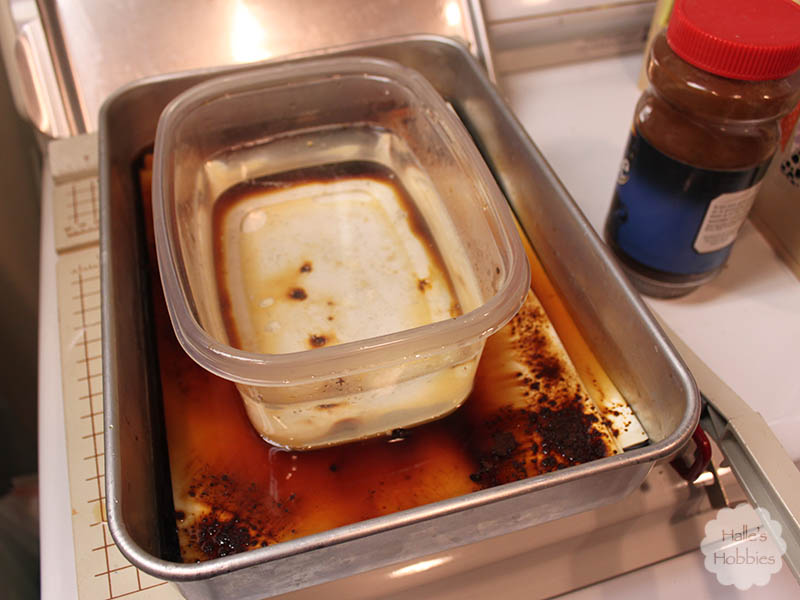
After letting it sit for a while I poured in more water and used a second container filled with water to keep the papers submerged.

T Tuesday: coffee stained edition | Halle's Hobbies

I left the pages for a day…perhaps a little longer.

T Tuesday: coffee stained edition | Halle's Hobbies

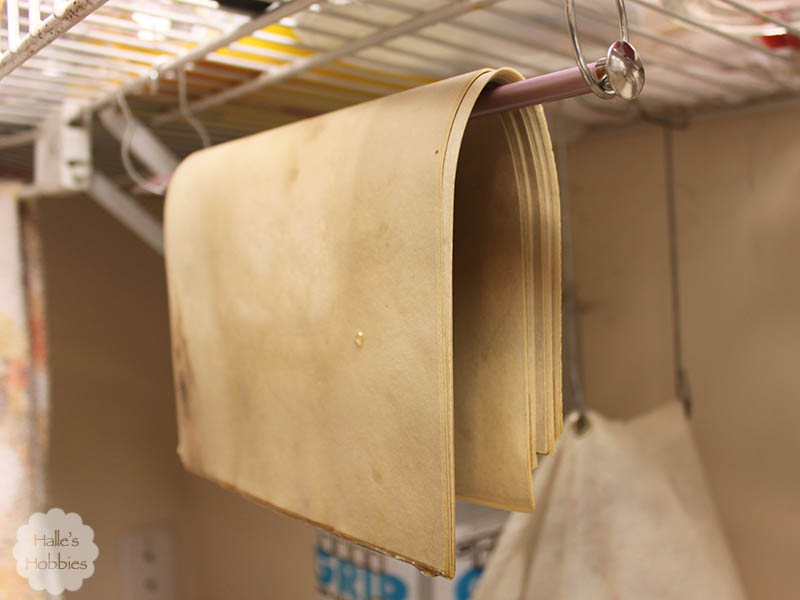
Now I had a stack of really soggy papers. Since I don’t have the room to lay each out individually I had to come up with a quick and easy solution.

T Tuesday: coffee stained edition | Halle's Hobbies

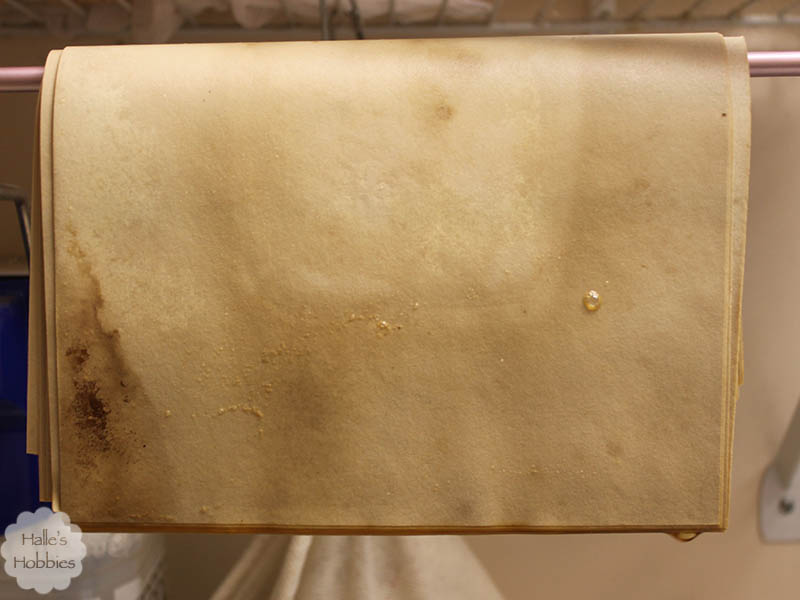
I used old shower rings through the wire shelving to hold a metal knitting needle. They were able to drip dry over the laundry sink. Worked perfectly.

T Tuesday: coffee stained edition | Halle's Hobbies

Just look at those yummy pages…the color and texture really make me happy!

T Tuesday: coffee stained edition | Halle's Hobbies

Now that I’ve got them all folded I have to decide what sort of book I want to make. The last book I made with coffee stained pages really turned out well. I cut up a suede jacket for the covers. I’m pretty sure I used all of the suede while making some Ren Fest pouches. It is garage sale season though so I might just get lucky and find something that speaks to me. Until then I will set these aside.

This should be my last really busy Tuesday for a while since most things are winding down for the summer break. I may start back with my knitting group occasionally which is Tuesday mornings. Of course.

Today I’m meeting girlfriends for a birthday lunch. Gosh, lots of May birthdays. It’s the last little hurrah before school is out on Thursday.

What are you doing today?
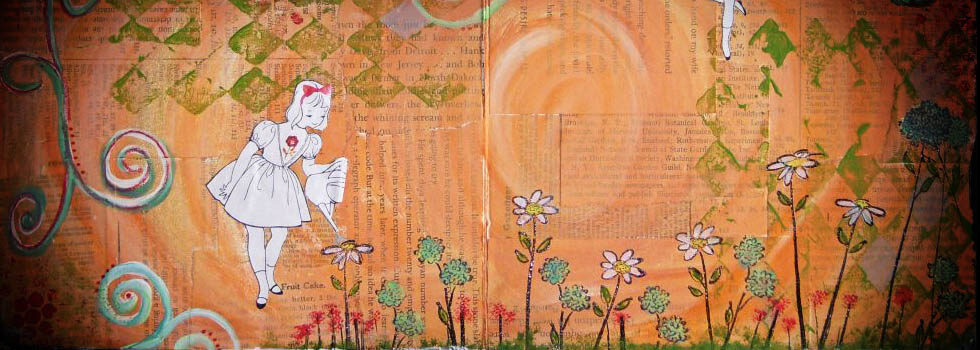
It’s grad party season…that means is card making time too. This year I decided it might be fun to use the school colors for each of the graduates especially since both of them are really active in athletics.

I searched around on Pinterest for inspiration. I saw a few cards featuring tassels and thought that would be really fun. In fact it was the tassel in particular that prompted me to look up their school colors so it would be more meaningful.

school colors graduation card

I used my Cuttlebug with the Sizzix Bricked embossing folder to give the texture to the white layer of cardstock. It added that “school” look I was going for.  The tassel is embroidery floss. They are quite simple to make. I wrapped the floss around a card until I had the desired amount…personal preference here. I slipped a length of floss through the top and tied a knot. I then cut the bottom and pulled the card out. I cut another length of floss and tied it around bundle approx 1/4 inch from the top.  I poked a hole in the hat and threaded the top strings through and taped it to the back of the hat before mounting. I trimmed the ends nice and even to the desired length after attaching the hat. The hat was made using a 2 inch square punch which I then adhered with 3M foam mounting tape.  I also used the foam tape under the congratulations banner for interest.

I have one more card to create but that one will be blue and yellow instead of the black and gold. I think I may create a few more in our school colors as well as long as I have the supplies out. I know I’ll be needing the eventually.

Inspiration has finally taken a hold of me. I’m feeling creative. Feeling the need to express myself or at the very least put paint to paper.

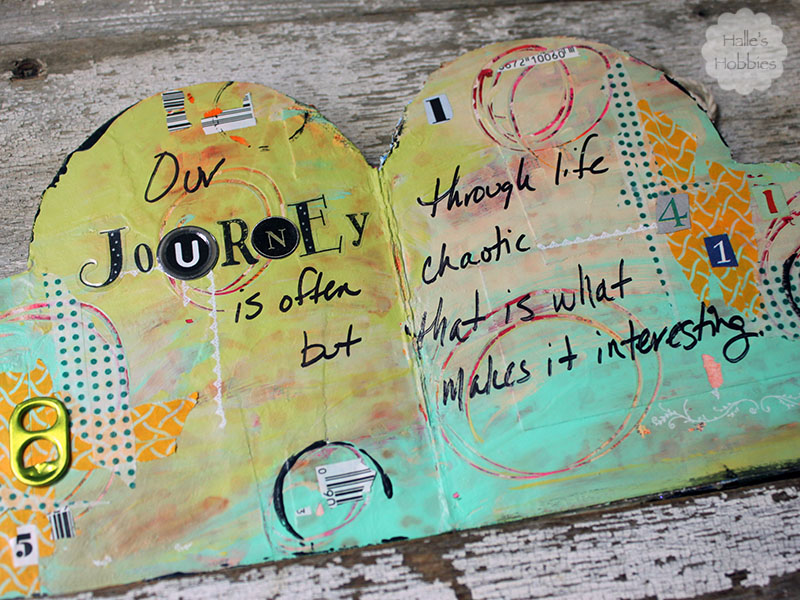
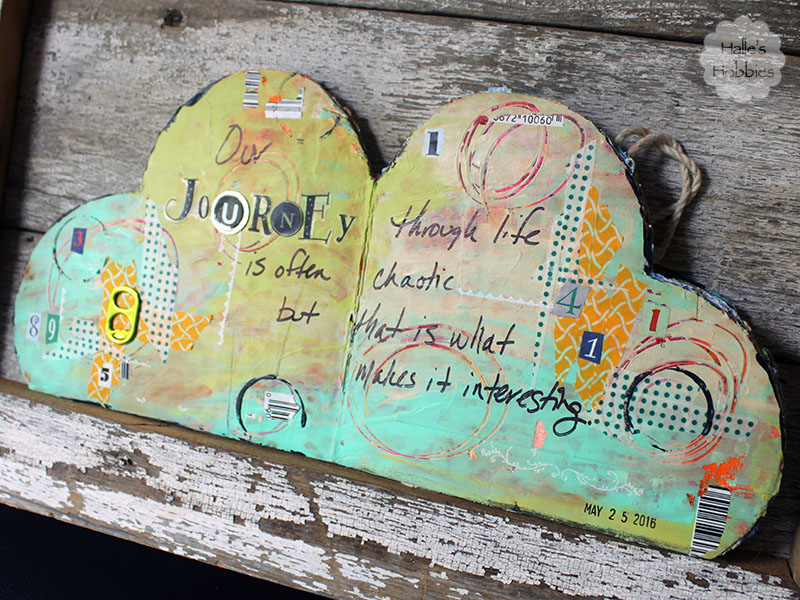
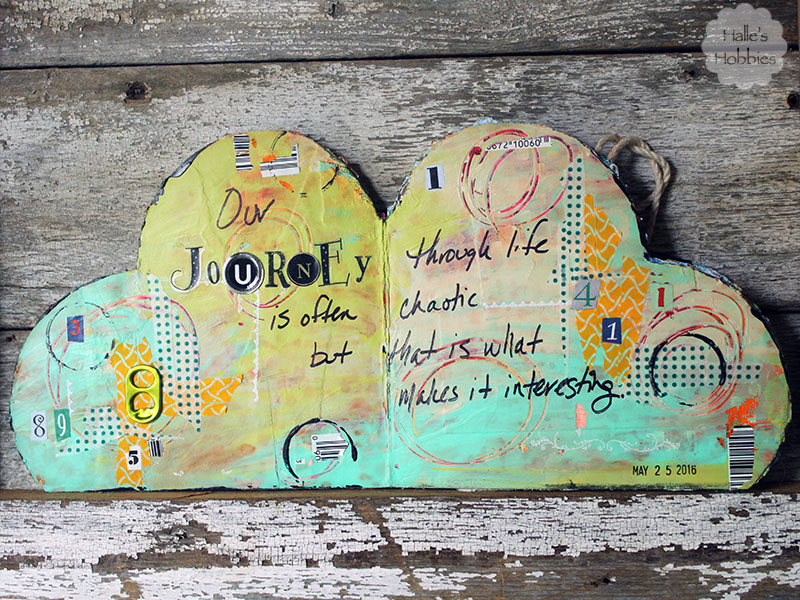
often chaotic art journal page

Without knowing the direction I was heading I just grabbed the colors that spoke to me and used my fingers to apply them to the last page in my heART journal. Truth be told, I was covering a seriously hideous background I created quite some time ago. After much rumination on options to save it I realized covering over was the best option.

often chaotic art journal page

Next I used washi tape to add interest but I wasn’t done. I have a stash of rub-ons that never seem to work when I want them to be perfect so I’ve taken to using them in backgrounds. That way when the image messes up…it’s perfect. Messy is the look I was going for with these.

often chaotic art journal page

Then all of a sudden the words hit me. The page was chaotic yet interesting…just like our journey through life.

Linking up with Art Journal Journey again for the theme Journeys picked by Erika aka BioArtGal.

Art Journal Journey

Yesterday morning before the impending rainfall I hurried up and planted my garden. I had planned to plant over the weekend but when Mr. G went to rototill the garden we discovered millions of ants and larvae under a stepping stone smack in the middle of the garden! Crud! I grabbed a flat shovel and scooped off all the larvae and hoards of ants and threw them away. YUCK! they were crawling all over us.

While Mr. G went to work with the rototiller, I went inside to look up garden safe solutions to my ant problem. I made a concoction of water, borax and sugar, then soaked some cotton balls in it and placed them in a plastic lid in the freshly tilled garden. I never actually saw any ants drinking my mix. I think it was the heat of the blazing sun that drove them away…that and the search for the larvae. Fingers crossed that they are gone for good.

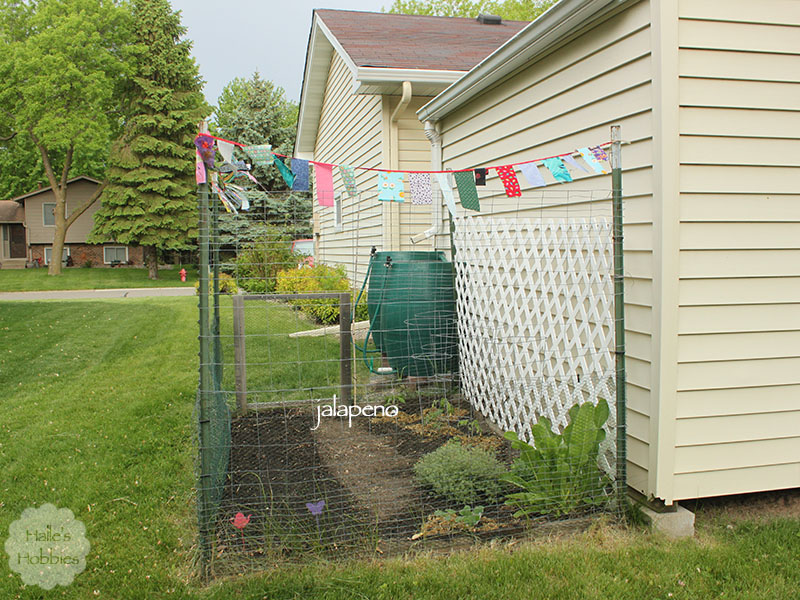
In the big garden I have the usual fair…although I am trying cucumbers in this garden again. In previous years I haven’t had good luck with them but this year I purchased some really nice healthy looking plants instead of starting seeds. I planted them close to the fence so they can crawl right up.

T Tuesday: planting edition

Some of you may remember last fall that I decided to just leave my herbs in the garden and see what happened. Well the rosemary died as many told me it would but the sage and thyme are flourishing,  I cut back some of the thyme just to make room for a tomato plant. I’m drying a couple of bundles…it smells so heavenly.

T Tuesday: planting edition

I made a last minute addition of a jalapeno plant near the gate. I was planning to put it in the deck box garden but changed my mind. Do you see my plant stakes I’m using as row markers??  A pink teapot and a purple butterfly. I think the teapot works for beverage related post…right?

T Tuesday: planting edition

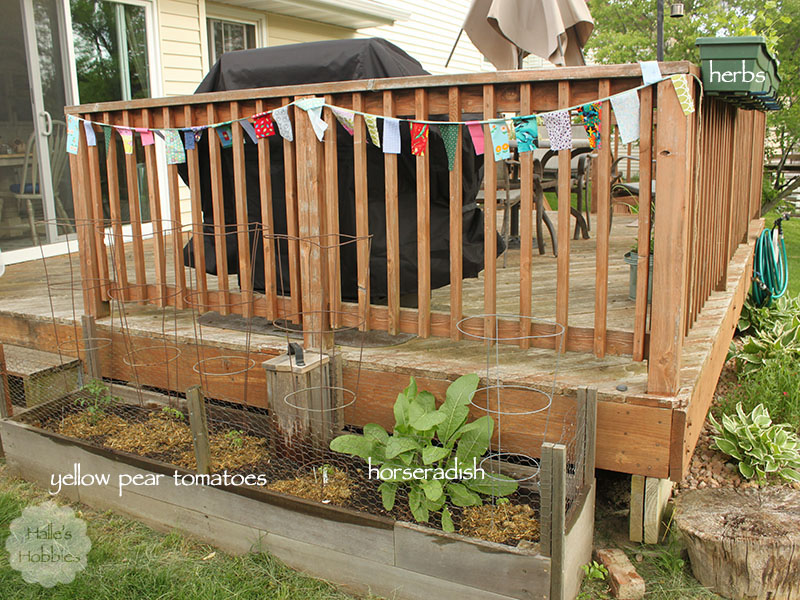
My deck box garden has just two things…our favorite little yellow pear tomatoes and the horseradish plant I tried to eradicate last fall. Guess it didn’t work. :) My worm tower is definitely looking weathered like the rest of the garden. After it rains again I’m going to try and find some more worms to live in the bin. I fear some of red wigglers perished over winter as the scraps in the tower aren’t going down as quickly as before.

T Tuesday: planting edition

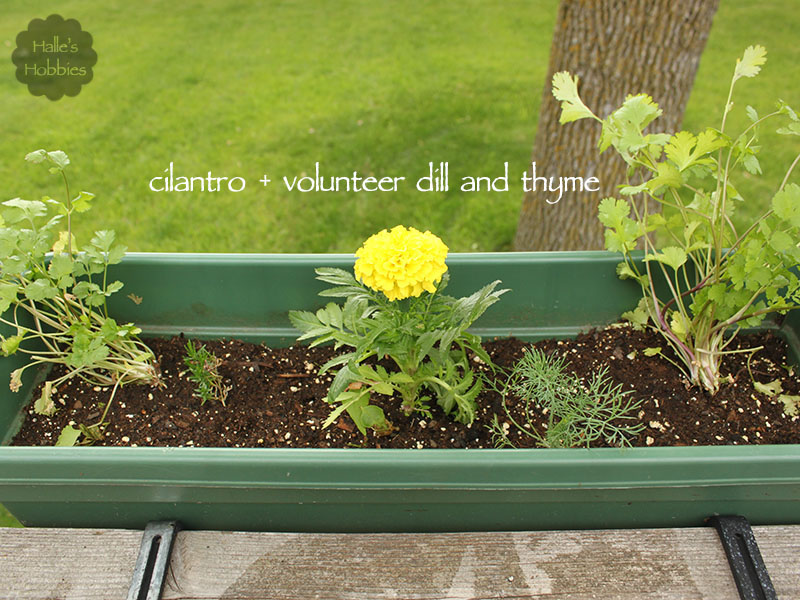
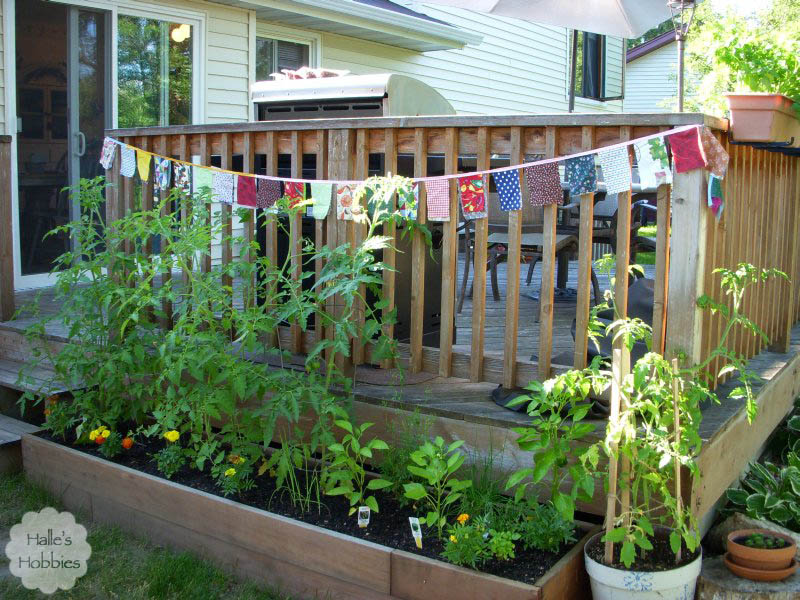
The deck boxes have flower, herbs and onions. I grew green onions from seed in half egg shells this year. Just an experiment. Likely won’t do it again unless these turn out amazing. The shells were hard to crush before planting without crushing the fragile onions. I did find two volunteer onions in the big garden so I moved them to be with their friends.

T Tuesday: planting edition

In addition to the onion volunteers, I found some dill and thyme growing from the dirt I had dumped from the pots last fall. Mother Nature can be very persistent.

I still have 3 tomato plants that I plan to put in my in-laws garden plus whatever seeds I have left.

We also purchased a CSA share this year. We had joined a different one a few years ago and liked the produce but the cost vs amount we received just didn’t make sense or maybe that should be cents. *grin* Our neighbor has been using this CSA for 7 years now and I’ve been able to see first hand the wonderful boxes of farm fresh veggies they get each week. So excited for it to start. Just a couple more weeks! I’ll be sure to share with you our bounty.

Playing taxi driver for my mom today unless her plans have changed

What are you doing today?

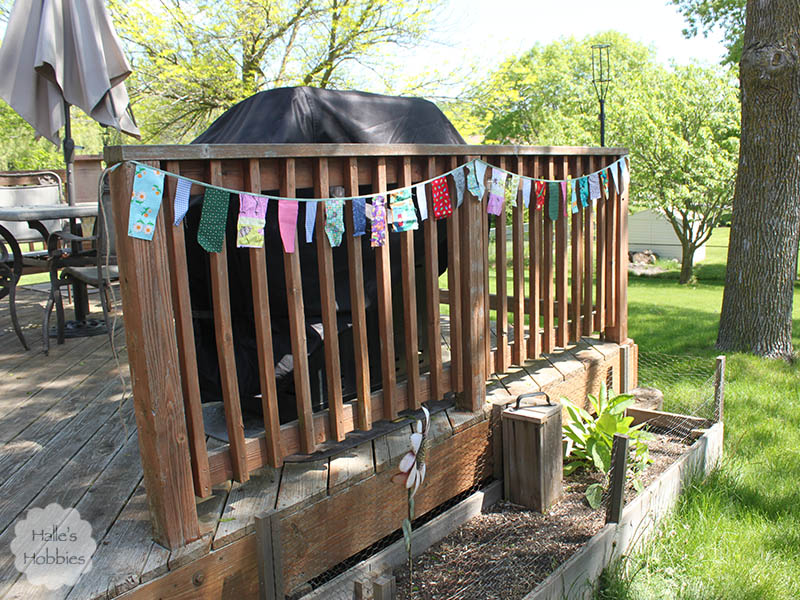
Several years ago I made a banner for the deck rail.  It added a bit of whimsy to the deck box garden.

Refreshed flags | Halle's Hobbies

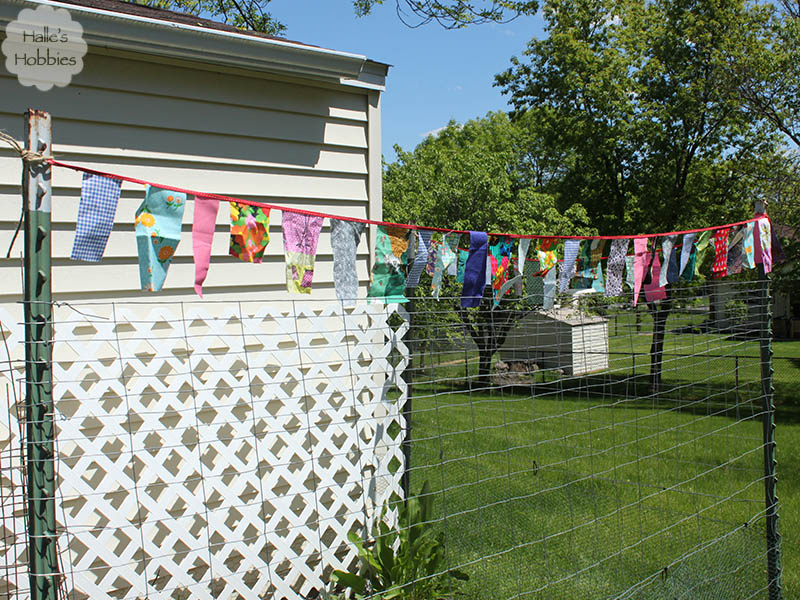
 When we added a second garden I made flags for that as well. Over the years the elements have done a number on the flags. Up until last winter I always took them down at the end of each fall. Knowing that they really needed replacement I left them up to continue the whimsy throughout the cold months.

Refreshed flags | Halle's Hobbies

Today’s version of the flags are single sided. They still blow sweetly in the breeze adding a fun element to an otherwise boring fence and deck rail.

Refreshed flags | Halle's Hobbies

Refreshed flags | Halle's Hobbies

Next is the planting….

I’m finally picking up my art supplies again. I’ve been occupied with so many other things lately that I almost forgot that I had art supplies.

Almost.

Each month I put a sticky note on my computer monitor with the current Art Journal Journey theme and more often than not lately that note hits the trash without ever getting more than a passing glance each day. Today I made a point of making art.

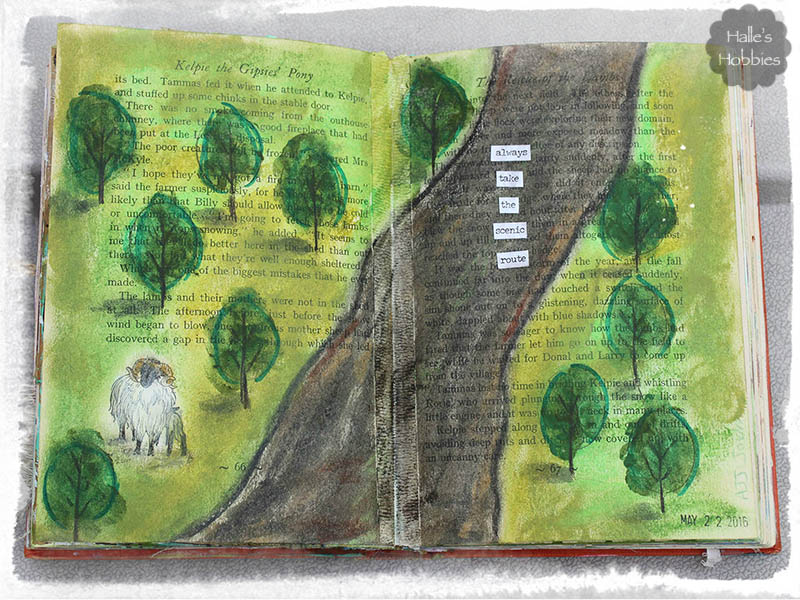
Not wanting to wait for paint to dry prompted me to use gelatos to create a background. Since there happened to be a ewe and her lamb on the page I decided that a road through a pasture was appropriate.

Take the scenic route art journal page using gelatos

I did a quick scribble drawing of the road and used several shade of green for the pasture. I blended with a baby wipe. I used a portion of a rubber stamp for the trees…without them the page was super boring. Pitt pens and craft paint was layered over the trees to add a touch of realism. Once I added the shadows at the base of the trees and the sheep I was satisfied with my quick journal page and actually checked a challenge off my list for a change.

I’m not saying this is my first and last for this Art Journal Journey challenge theme of journeys but it could be.

Art Journal Journey

After a weird issue was pointed out to me on my blog, which incidentally I did fix, the discussion came up about how the way web pages display on different systems and browsers. This is something I often forget.

Way back the options were very limited, the majority of people browsed on the industry standard so if it looked good to the creator using the industry standard, it was probably good for most, right? Today the options are vast both in hardware and software. As well as connectivity.

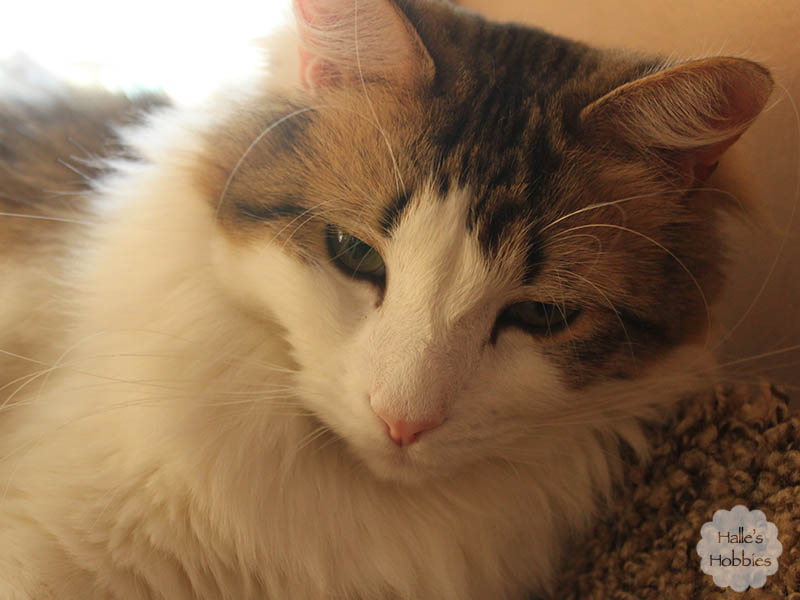
I’m still dealing with another issue that doesn’t seem like a big deal to me but may to others. When I post a photo such as this:

reader preferences |Halle's Hobbies

(don’t be distracted by the cuteness)

If you move your mouse starting at the left edge of the blog content space, about 5mm the image become clickable even though you are no where near the image. This continues until about 5mm from the opposite edge. I’m really not sure how to change this or if it’s even an issue other than accidentally clicking the image.

My first thought to the solution of this problem was to post the image like this:

reader preferences |Halle's Hobbies

But then I wonder if that is just way too big causing unnecessary scrolling and perhaps an image that no longer fits with the blog content area depending on the system.  Or even just it being annoyingly large.

I’d love to hear your thoughts on this.

  1. Is my photo issue a non-issue in the original size?
  2. Does the large image fit in the content box for you? OR is it being cut off or running over the box?


PAGE TOP

© 2007-2025 Halle's Hobbies All Rights Reserved -- Copyright notice by Blog Copyright