Author : halleday

1732 posts

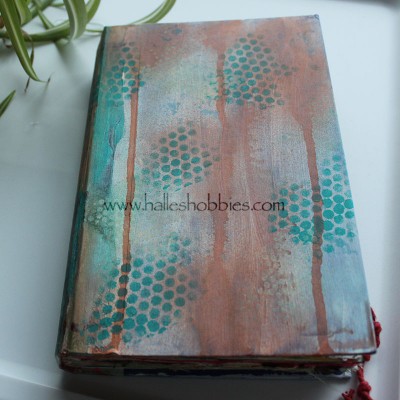
I really couldn’t wait to starting using my newly prepped journal. I grabbed it an opened it randomly to a page and applied some gesso. so go explore endview

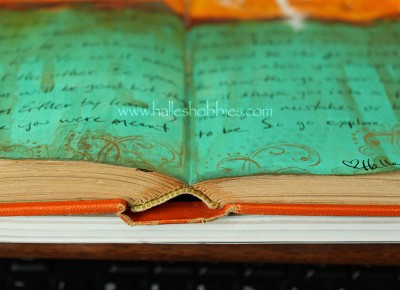
See…a very random selection. In fact, I don’t ever start from the front of a journal. Something about doing that intimidates me. It’s as if I feel like that first page is going to set the tone for the whole book.  This is way less pressure. so go explore journal page

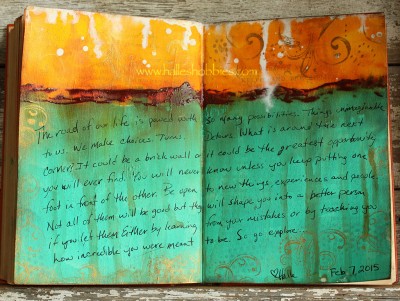
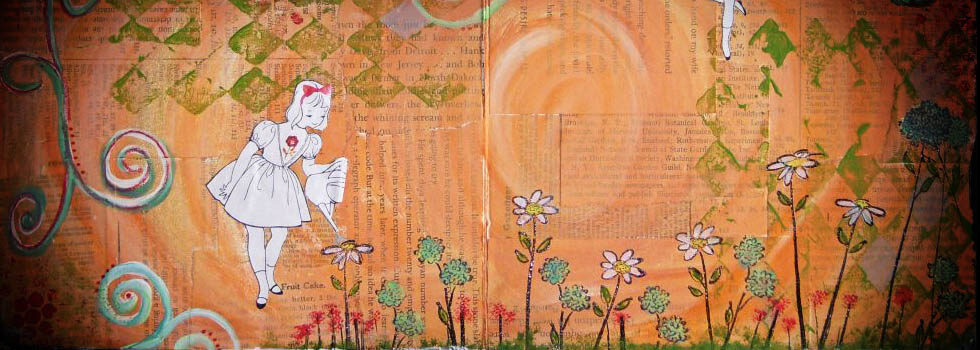
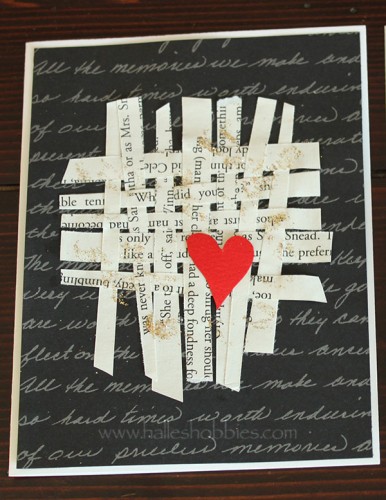
The background may look familiar to some of you as I did a painting a while back using the same technique.

Once I got the background colors down and dried, I felt like writing.  Not my usual thing but you have to go with it when it strikes.

” The road of our lives is paved with so many possibilities. Things unimaginable to us.  We make choices. Turns. Detours. What is around the next corner? It could be a brick wall or it could be the greatest opportunity you will ever find. You will never know unless you put one foot in front of the other. Be open to new things, experiences and people. Not all of them will be good but they will shape you into a better person if you let them. Either by learning from your mistakes or by teaching you how incredible you were meant to be. So go explore….”

Wowsers…I usually don’t get deep with my journals but when the mood strikes I must give in and go with it.

I’m linking up with Inspire me Monday this week.

Since I was starting a new journal I thought I’d share with you my process for prepping the book.  First find yourself an old book that appeals to you. For me it was the size of this book. Not too small or too big… Just call me Goldilocks.journal prep5

Look inside to see what kind of binding you have.journal prep1

This inside cover gave me a really good indication that I had a sewn binding but I had to make sure.journal prep4

Yep…sewn binding. Perfect! Now we’re ready for the thinning of pages without leaving chunks of torn pages along the inner spine. Removing pages reduces bulk since the altering of a book whether journal style or a themed altered book adds lots of bulk!

I find the center of each signature (as seen in the above photo) and remove the page from each side.journal prep3Like this. I go back and carefully pick out all of the torn fragments. It will appear as if nothing has changed until you look at the page numbers. You’ll have a definite gap which would make reading the story a real challenge at this point.

I remove at least one page from each signature, sometimes more. You can always go back and remove more. journal prep7

Here you can see the gaps along the spine and how the book is more narrow going toward the outer edge. This is exactly what you want. journal prep8

You have a nice stack of pages for your altering pleasure when you are done.

After Christmas I decided to really change up the fireplace mantel from my standard color scheme. I usually stick with warm colors but was definitely ready for a change.

After a month of feeling as if something was missing I decided to make a decorative ball to set on top of my stoneware pitcher.

20150205_7430

I used a 2.5 inch foam ball as my base. I cut a dress pattern into roughly 2 inch squares.

20150205_7432

I stacked 2 in a crisscross manner then put a pencil into the center. I then dipped the tips into white glue and pressed the tip into the foam ball. I continued this until the entire ball was covered. 20150205_7433

I think it looks a bit like a dried hydrangea sitting on top.

As I’ve said many many times…I spend a lot of time on Pinterest. I’m often inspired by the images I see. I’m not one to completely copycat but tweak the design a little for my own use. Sometimes it’s color combos that make me run downstairs to create. Other times it’s the curve of a line, interesting texture or a simple splat of ink that has my mind whirling.

Before a stomach bug took me out of commission for a couple of days, I was inspired by this image and my new found interest obsession in weaving, to create this card.

woven text with heart

Actually I made a couple cards since I had strips cut.

The cards in turn inspired me to create this journal page.

letyourheartguideyou4

The Yogi tea tag was a serendipitous find in my stash.

Would you like to be inspired too? You could always

Follow Me on Pinterest

T stands for Tuesday_200I’ve picked up a stomach bug.  A sleeve of soda crackers is my friend. sick tea
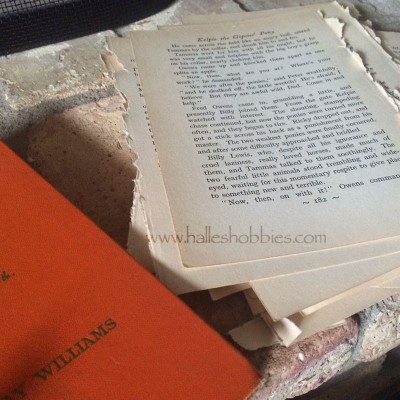
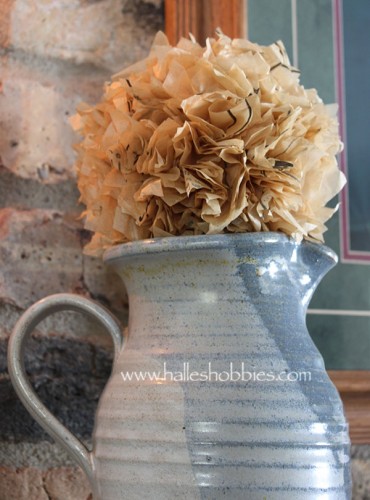
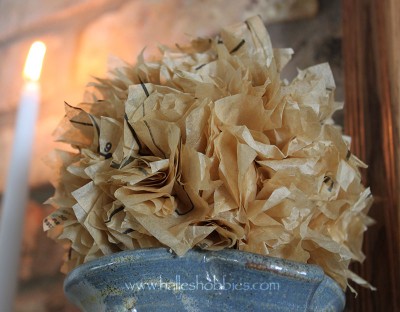
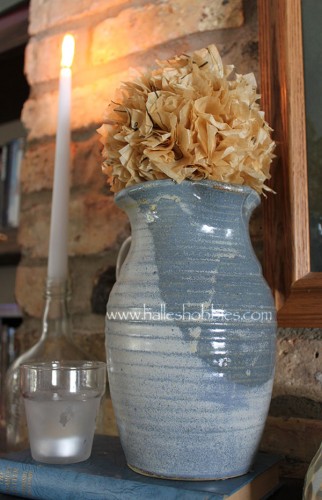
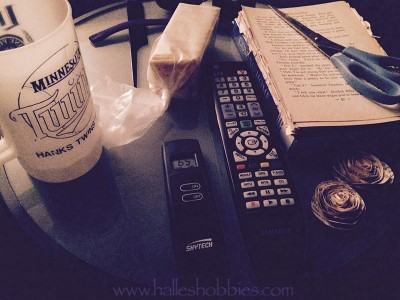
Of course, I can’t just sit still on the couch and watch TV…I’m passing time making paper flowers at the same time.

Now I’m just hoping I don’t pass it along to the rest of the family.

What are you doing today?

SecondlookToday for Second on the 2nd, I’m going to share with you today a post from 4 yrs ago about a technique that I simply love.

Without further ado here is the post from December 2010…

““““““““““

 I am totally hooked on this “new to me”  technique. I’ve seen it in a magazine, You Tube, blogs etc. Trust me…this technique has been around the block a time or two. Of course, I am super late in actually trying it but I had said I wouldn’t buy any new art supplies. Well…technically I didn’t buy a new art supply, I bought a concentrated cleaner. That counts right!?!? Anyway…Since not everyone on the planet has read about it I’ll tell you what I did. It is so simple and has such cool results.  A word of caution…this will be messy…protect your surfaces, hands and clothing.20101209_4757

First you take the CitroSolv concentrate full strength and pour a bit into a small container. I used a foam brush to apply it directly to the front and back of the National Geographic pages I wanted to use.  The more ink on the  pages the better. After slathering on the CitroSolv to as many pages as you’d like…close the magazine and walk away for about 20 mins or so. When you come back…put on a glove and start opening the pages…they will likely fall right from the magazine as the CitroSolv seems to un-glue the binding as well.20101209_4755

I hung my pages to dry with clothes pins overnight. I painted a few pages with CitroSolv before going to bed to see if the effect would be any different. The effect seemed a little more “muddy” to me rather than having the cool bubble effect. Still totally usable papers…just different. 20101209_4747
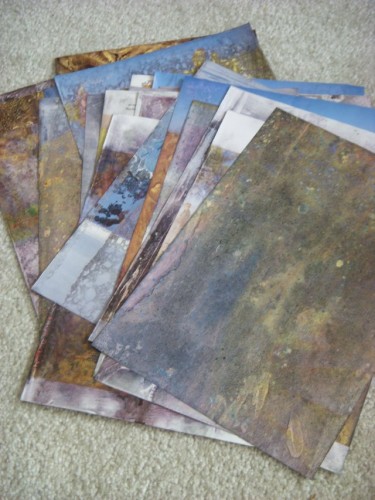
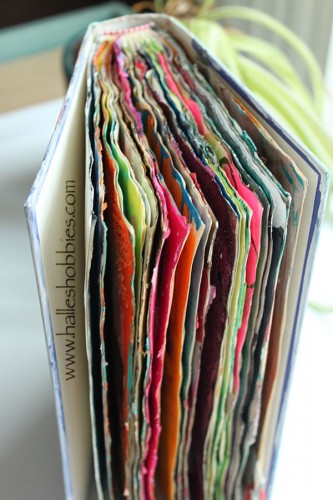
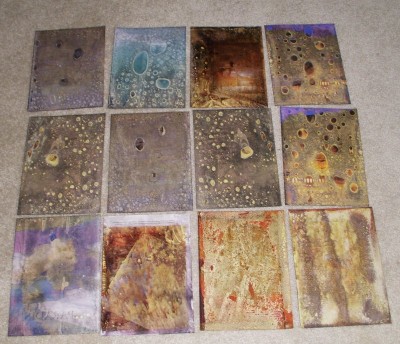
These are some of my favorites but as you can see below…I ended up with a bunch of fun papers to play with.  20101209_4754

I pried myself away from weaving long enough to create a decorative cover for my completed journal.20150129_7400

I’ve been calling this my white journal since the dust jacket was white.

20131222_3847

Just painting the outside white seemed a little too boring for me especially when you look at all the lovely colors peeking out from the edge.20150129_7404

Wrinkled and wonky pages…love them!!

white journal collage

© 2007-2025 Halle's Hobbies All Rights Reserved -- Copyright notice by Blog Copyright

StatCounter - Free Web Tracker and Counter