Category : Blog
1716 posts
Today for T stands for Tuesday, I’m sharing a bit of my Norwegian heritage.
LEFSE
Lefse is made from potatoes, evaporated milk, butter, flour and a touch of sugar and salt.
It’s a two day process. The first day you boil the potatoes and add everything but the flour. The potatoes then have to sit overnight to cool. I make my mashed potatoes as if I’m going to to be making lefse…that way if there are leftovers and I’m so inclined they are ready to go.
I use my Kitchen Aid mixer to stir in the flour. That mixer was our very first major purchase as a married couple even though we really couldn’t afford it at the time. I told Mr. G that I was going to need one to be as good of cook as my mom. I use it all the time! We’ve definitely gotten our money’s worth out of that machine.
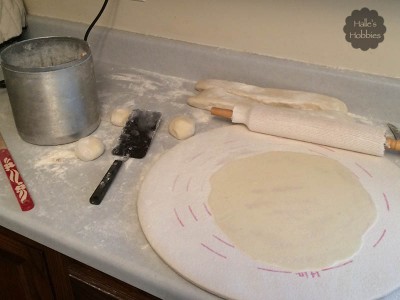
The trick to good lefse is rolling them very thin without using a ton of flour. Its a balancing act between having the potatoes to wet and sticky and having a dry flavorless lefse.
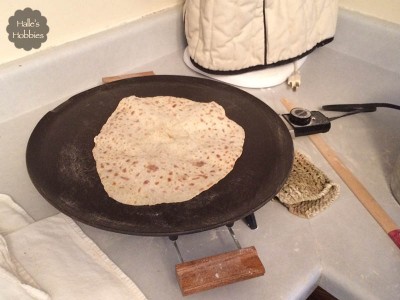
The thin lefse is rolled onto the turning stick (to the right in the photo) then placed on the grill. I got this grill at an auction almost 20 years ago for $7 and it was brand new still in the box! They retail for well over $100.
The lefse is cooked on each side for 1-2 minutes.
There is nothing low cal, low carb about this treat. I like just butter on mine before rolling and inhaling eating. Many use butter and sugar, some cinnamon sugar. It’s really a personal preference and usually a family traditional way to serve them.
Big J drove me to deliver some to a few special Norwegians around here yesterday afternoon. It’s always nice to see those smiling faces when I hand over this decadent treat. Makes the work totally worth it!
We’ve got freezing drizzle coming down today so I’m likely sticking close to home.
What are you doing today?
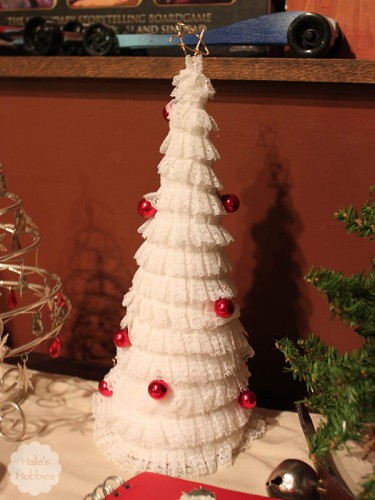
Over the past few years I’ve started collecting Christmas trees. Mostly because I keep making a new kind each year but I’m not opposed to buying one at a thrift store or garage sale if it really speaks to me.
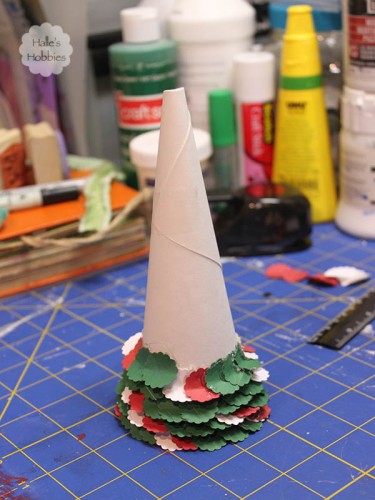
This year I was inspired by Mini-me. She had to film a tutorial for her technology class. Her group of three girls each picked a different Christmas craft and bought enough material for the three of them to each create their own. She was inspired by this tree.
Her version used smaller pieces of cardstock. It got very tedious for her towards the end of both punching all the scallops and hot gluing them to the paper cone. It was her punching all those pieces that had Mr. G prompting me to try my Silhouette machine again.
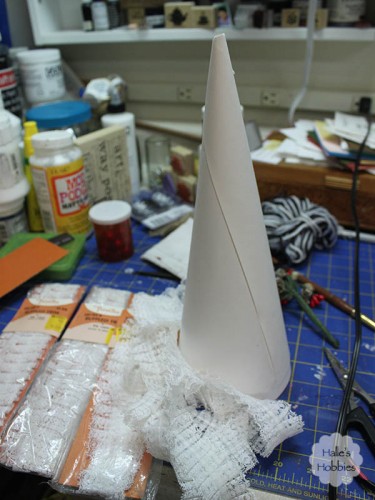
Speaking of paper cones…I made the cones from poster board after first seeing the price of a craft store foam version and then realizing that the foam would melt with hot glue. Glad I thought that one through before starting!!
This tree came together really quickly.
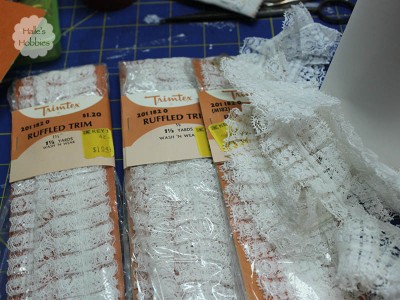
This vintage trim was in the bottom of my sewing box likely bought for some project my mom had intended to make in the 1970’s. At least it’s getting used now!
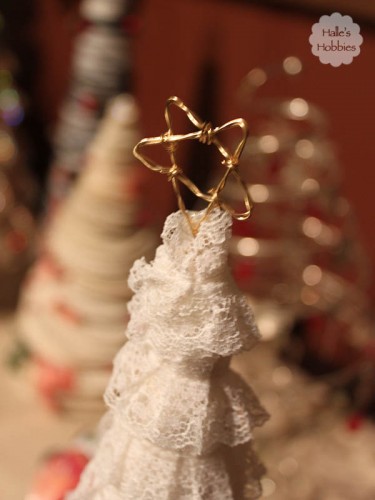
Isn’t it sweet. I had the tiny glass ornaments in my stash as well. All it needed was a topper. I auditioned several ideas but finally decided a star was in order.
I drew a star on a piece of paper so I’d have a guide to do my bending. I used a twisted piece of 22 gauge wire. I had to “tie” the star at the crossover points “barbwire style” for stability.
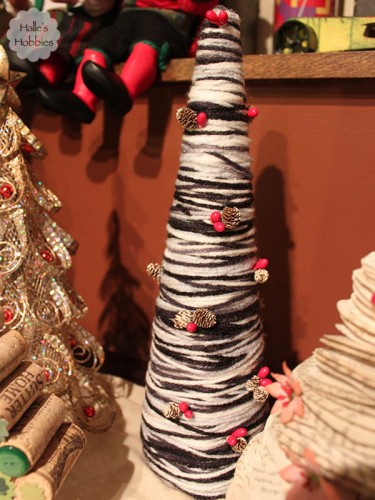
The second tree (well technically it was the first one) was yarn wrapped.
I used a leftover partial skein of acrylic yarn for this one. Again I had some tiny trims in my stash to give the tree a finished look.
Nothing I love more than to use stash items! No cost…no trip to the store…AWESOME!
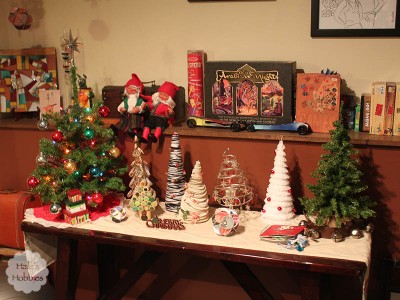
My humble little collection in our game area of the family room. You may be able to see both my Suess tree and cork tree. Additionally you also may be able to see the recycled Christmas card balls I made last year and the 12 days of Christmas swap book from several years ago adorning the table.
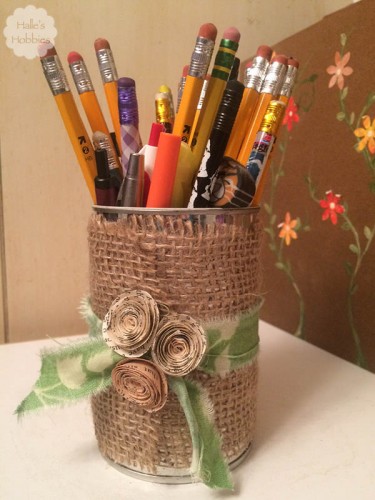
For several years I’ve had a boring tin can on the counter for a pencil holder. You’d think that I’d have made it a bit more visually appealing before now…but no….I’ve mostly just hid it behind other things.
As I was working on a completely different project I noticed a scrap of burlap from my wreath project appeared long enough to wraparound the can. I had to trim it a bit but was very pleased with the look. I added a torn fabric strip around the middle then used hot glue to attach some paper flowers. It looks nice enough to have out in front now.
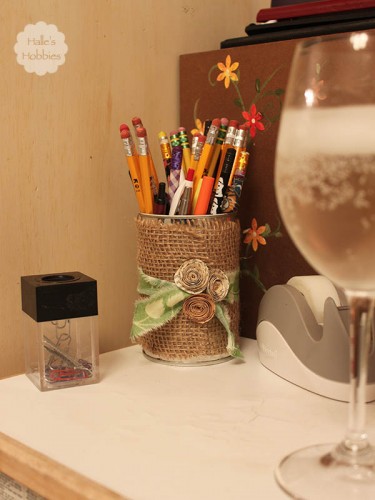
I have a mini office space on top of the recycling cabinet in our kitchen. Keeps the essentials close for list making, homework, wine sipping… :)
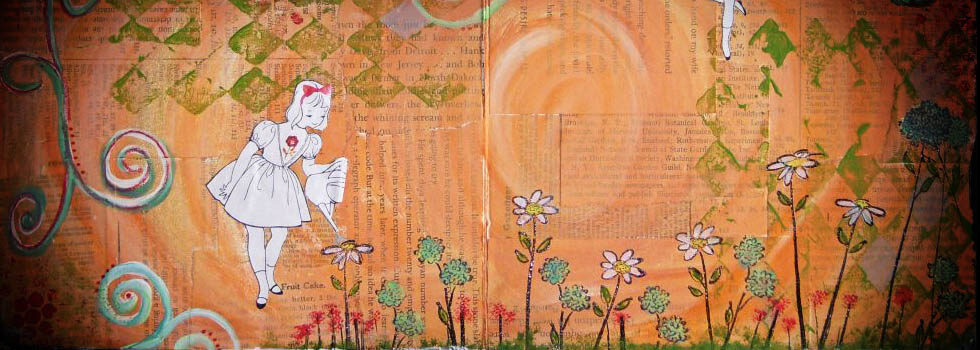
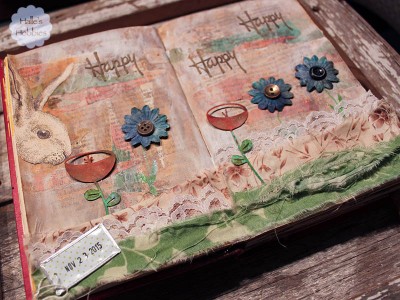
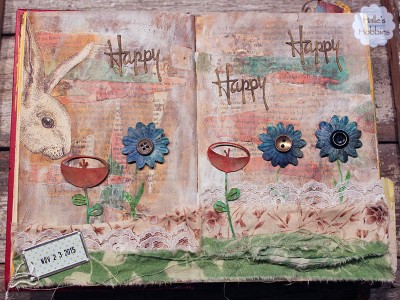
I also have to show you the art journal page I finished up yesterday.
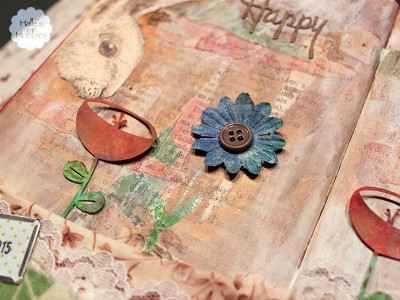
The orange flowers and words were cut using my Silhouette Portrait. They were started out as sage green cardstock.
I used spray mists to alter them more to fit my page. The bunny was cut from an envelope. He looks like a happy bunny to find such yummy flowers.
The page used more of the green fabric used on the burlap wrapped can.
I’m off running errands this morning but look forward to dropping by and visiting my T stands for Tuesday friends later on.
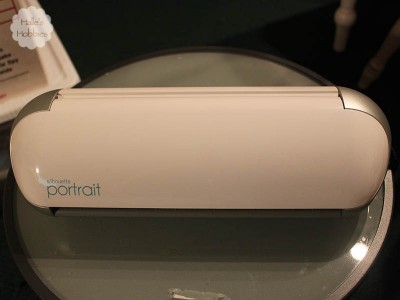
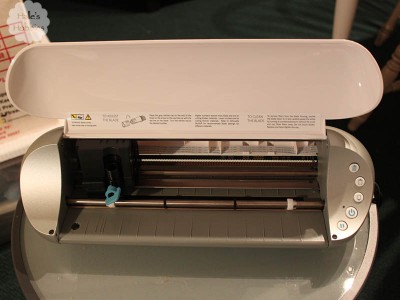
Check out my new Silhouette Portrait!!
I must confess I’ve had this cool machine since Valentine’s Day but hadn’t gotten the hang of it until now.
It’s really quite versatile compared to the Cricut machine that requires really expensive cartridges… You can either purchase individual images through the online store or you can create your own! Being able to create my own was why I wanted this machine.
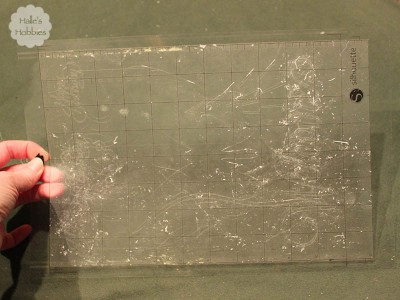
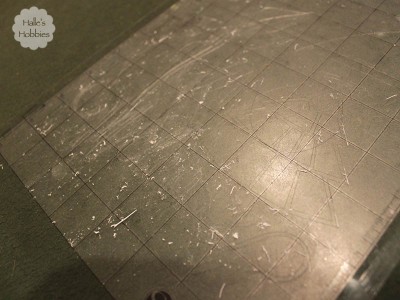
This is the reason I hadn’t gotten the hang of it. The sticky grid plastic that holds your substrate was so darn sticky that anything I tried to peel off after cutting ripped completely apart.
I was so frustrated that I set the machine aside and didn’t touch it for at least 8 months. At Mr. G’s prompting, I took it back out and gave it another whirl. He had plans for it if I wasn’t going to use it….something about laser cutting. HMMM…that might be interesting too.
I had to figure out a way to make the plastic grid less sticky. I stuck and restuck a flour sack dishcloth to it over and over until it was more tacky than sticky.
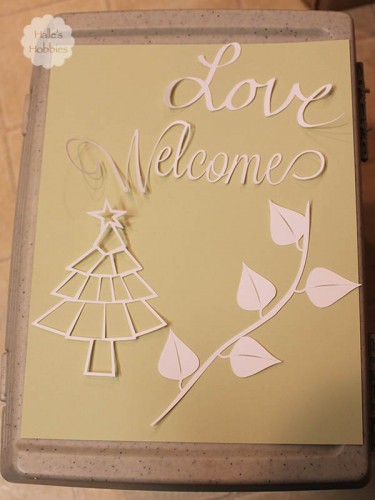
It worked! I was able to lift the images from the plastic with tearing them. I did find, however, that the paper at the edge that is compressed by the rollers of the machine still tends to tear. I just have to keep that in mind.
Remember what I said about creating your own images. The Love cutout is my handwriting. Cool huh!?! I’ll definitely be sharing more about this new tool as I continue to explore the possibilities.
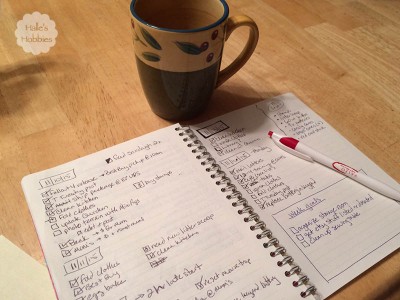
Don’t let that title fool you…I’m not yet organized but am working towards making it a habit.
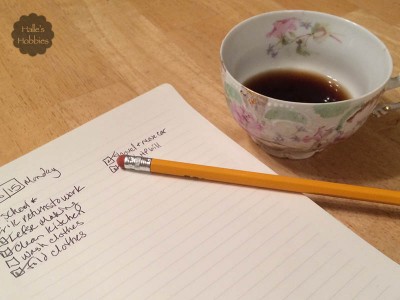
I’ve seen a lot of talk about bullet journaling lately and am intrigued. Rita @ SoulComfort’s Corner keeps an awesome bullet type journal…so organized. I do like some of the concepts and having it all stay in one place…permanently. In the past I’ve always kept my list on random paper that would get misplaced or recycled before completing the tasks. I’m only about 10 days into this so far. I did skip this past weekend as we were planning on a very lazy laid back one.
Mini-me loves to organize. She’s got a lot of her dad in her with that one. But she also has a lot of me. She organizes when the mood strikes…otherwise it generally looks like a tornado swept thru her room. I was the same way at her age…at least with the messy room part.
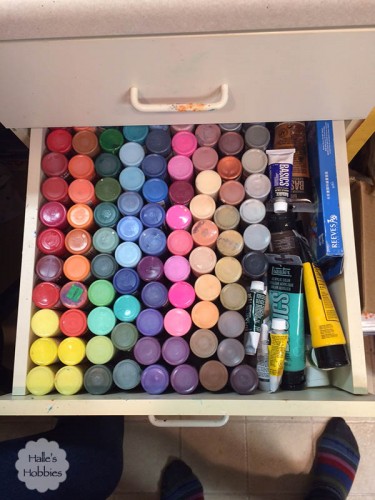
She was inspired to organize our paint drawer. She even weeded out the dried up containers…now there is room for everything! Thanks sweetie!
Last week for T stands for Tuesday, I posted the beginning of an art journal page that used a scrap of junked up paper.
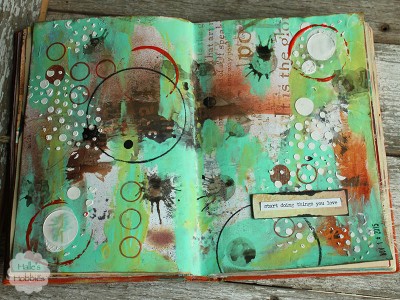
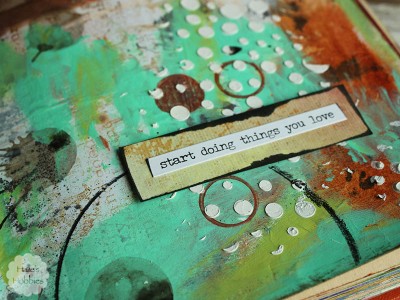
Here’s the completed page….
I loved these words and am trying my best to heed them.
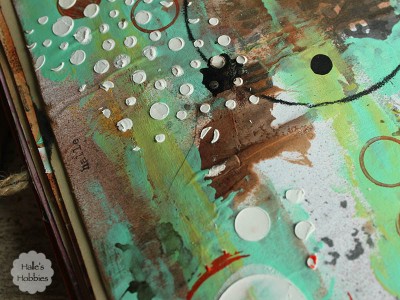
This also struck me as funny as I was photographing the page.
See my name along the edge? I must have used this page to try out my typewriter as well.
I’m going to try and catch up on things here at home today. I had some training yesterday for my job. And with the lazy laid back we just had, I’m definitely behind around here.
What are you doing today??
Here I am, once again, at dark thirty writing my T stands for Tuesday post in between getting kids up and making lunches. Perhaps of these days…weeks…years…I’ll get the habit of preplanning these things. I think it’s my personality though to wait and see where life takes me.
Today I wanted to share a couple of things I did this week to repurpose items that would have been thrown away or in this first case, composted.
I’ve been wanting to try my hand at making apple cider vinegar. I’ve read numerous posts on this old fashion technique. Usually this time of year we have apples coming out of our ears from our neighbor’s trees. This year happened to be a poor production year with their trees.
I did have a couple organic store bought apples that we’re definitely past their prime. Not wanting to completely waste expensive apples, I decided to experiment. The recipes or tutorials I read used peels and cores but I’m certain that using the whole apple will work just fine. I sterilized my quart mason jar in the dishwasher then filled it with the chopped apples. I used spring water to completely cover the apples. A scrap of cloth was placed under the ring to allow it to breath. I placed it in our basement storage room while it does its magic. Hopefully by Christmas, I’ll have some homemade apple cider vinegar.
The second waste not piece of this post was using a paper scrap in an unexpected way.
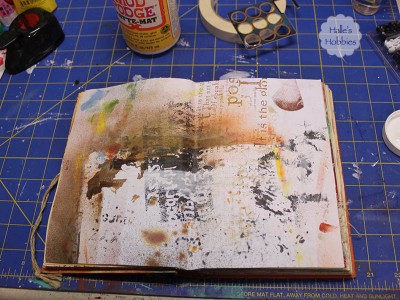
The scrap started as a misprinted Christmas letter from last year. Then it protected my journal from paint and sprays, glues and inks.
Now it’s the base of a new art journal page. Who know where this page will take me.
Do you use any “throw away” items in unexpected ways? I’d love to hear about them…