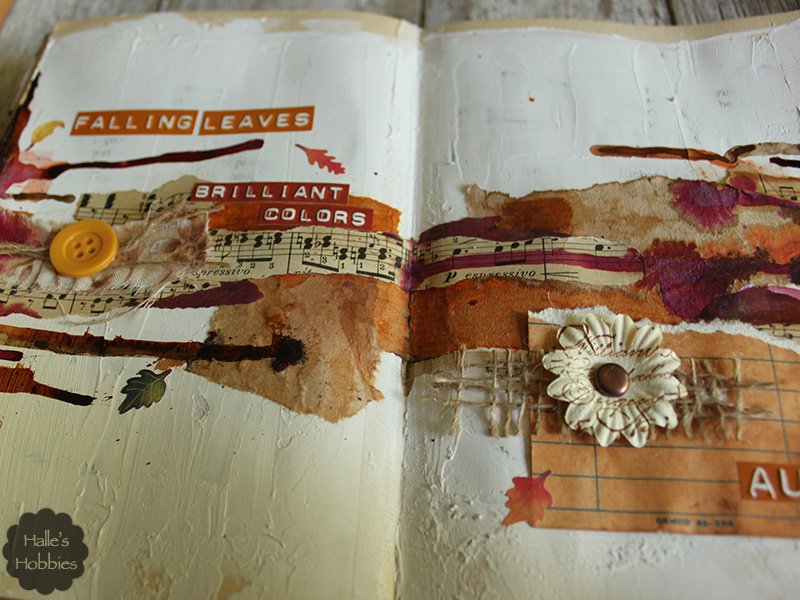
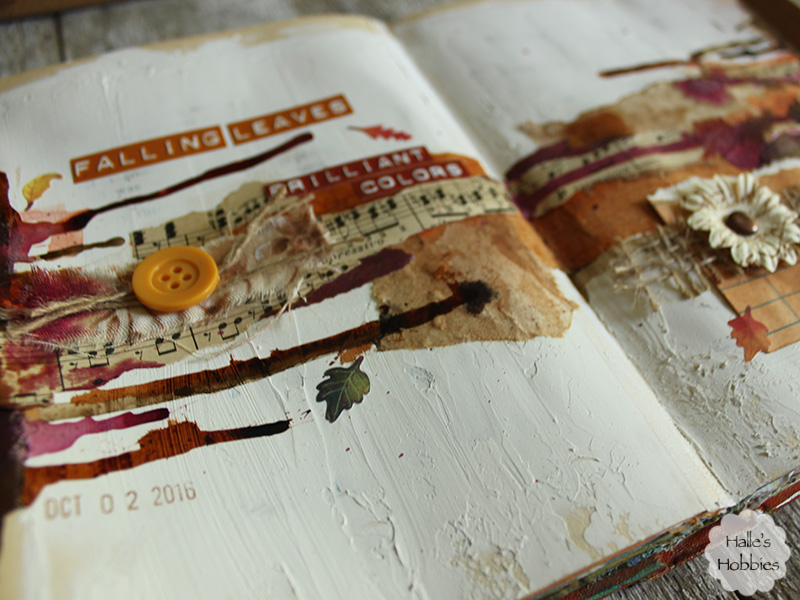
I had to take a break from sewing to work on and an art journal page. I definitely have to have more than one project at a time. My attention span demands it. A short browse on my workspace was all that it took to get the ideas flowing.

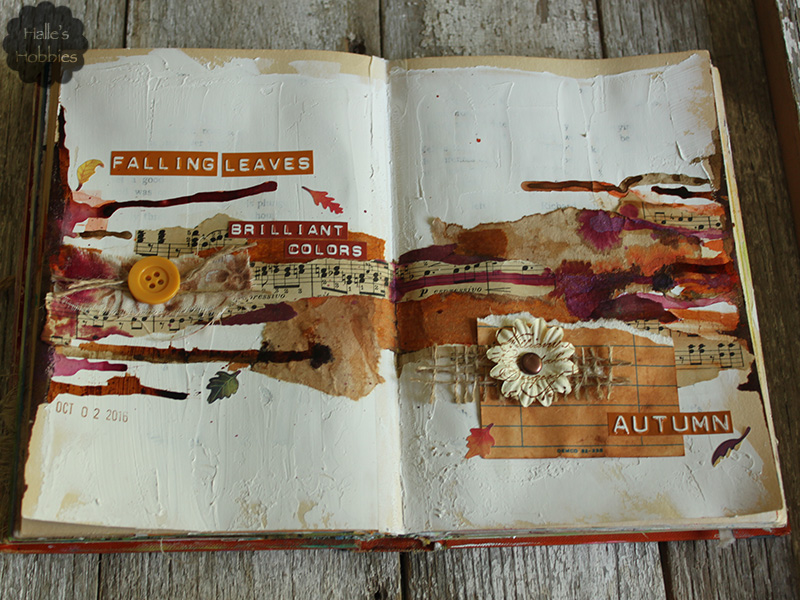
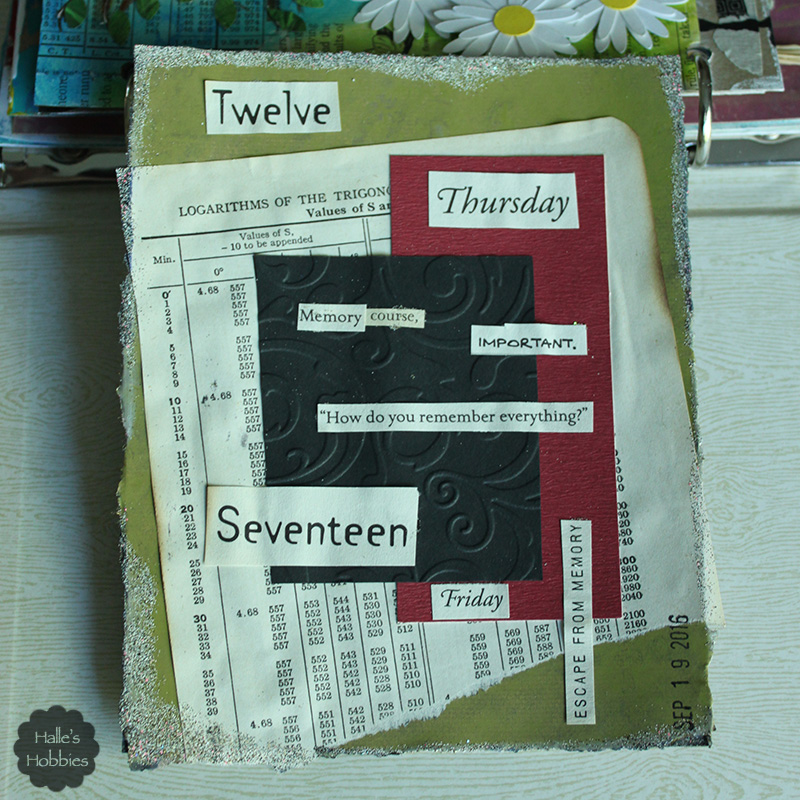
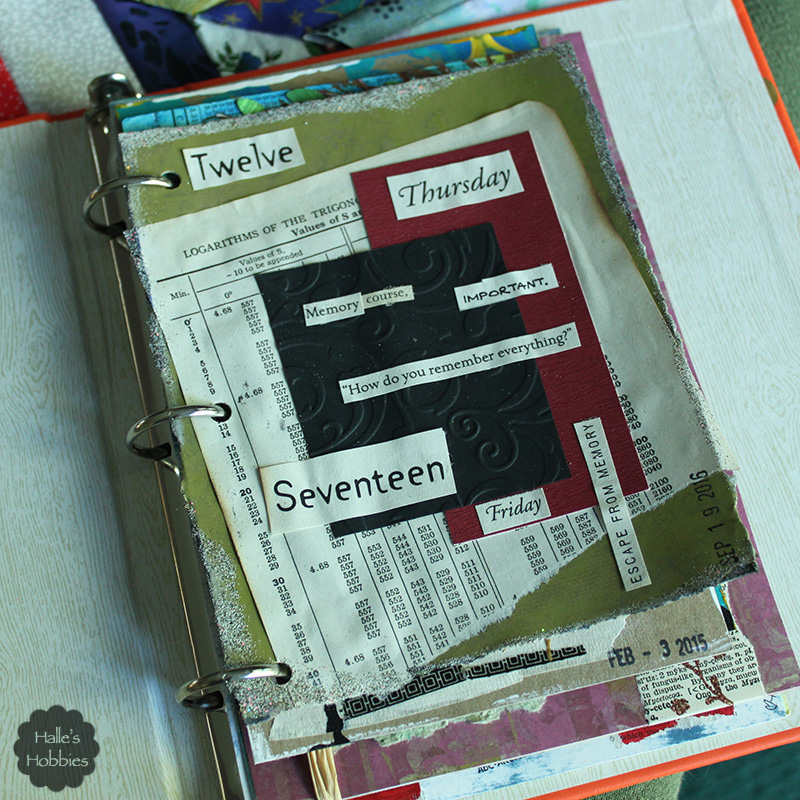
I grabbed a piece of cardboard, scrapbook paper and distress paints to get started. The scrapbook paper had an off-road motorcycle theme…I liked the colors but not the theme. That’s where the paint comes in. Just covered up what I didn’t want. I always have a small bin of words and phrases close at hand so I picked out a few that seemed to speak to me while the paint dried.

memory course art journal page

The page from an old math book seemed very fitting. It made me think of all those formulas that are so important that you have to memorize. I still have a few of those banging around in my brain that surface when I need them. I’m always the first to point out to my kids when I’m actually using some of that knowledge from school that I swore “I’d never use again”. I certainly don’t use it every day but I do use it.

I had a very unexpected result when I was heating the embossing powder around the edges of my page. The old, dry math book page started to burn…not flames but turned brown and smelled like it was burning.  I’ve never had that happen. Now I’d like to try it on purpose. I think it could be a really cool effect for say an old letter or map. I need to do it next to the sink though, just in case. :)

memory course art journal page

Yes now that I look at my date stamp I realize that I read the 9 as a 6 when looking at it backward on the stamp. No, I did not make this page in the future and travel back to post it. If I had the ability to time travel I’d do something much more interesting than that!!!

I’m linking up today with Art Journal Journey with the Back to School theme.

Art Journal Journey

Thanks for joining me today for T stands for Tuesday with Elizabeth and the gang. I missed last week completely and for the life of me, I can’t even remember what kept me from my weekly post!!! Oh well…on with the show!

scrap quilt in progress

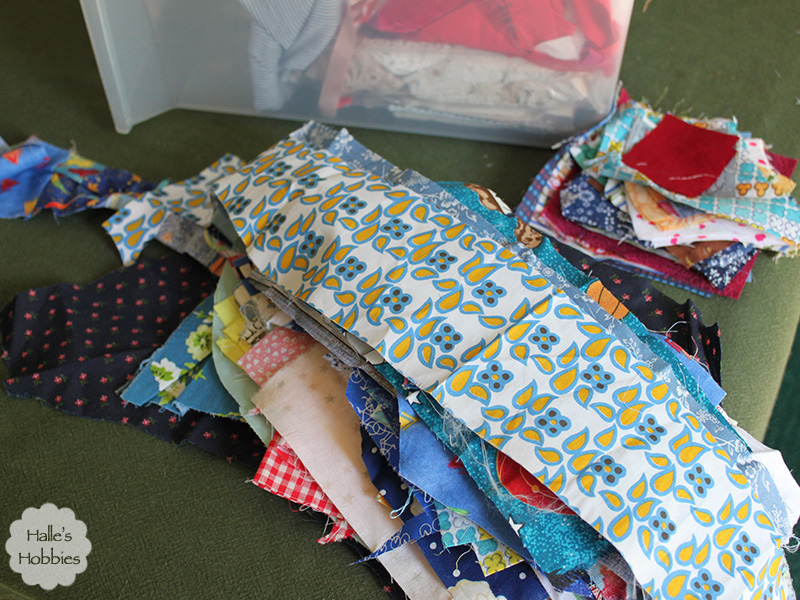
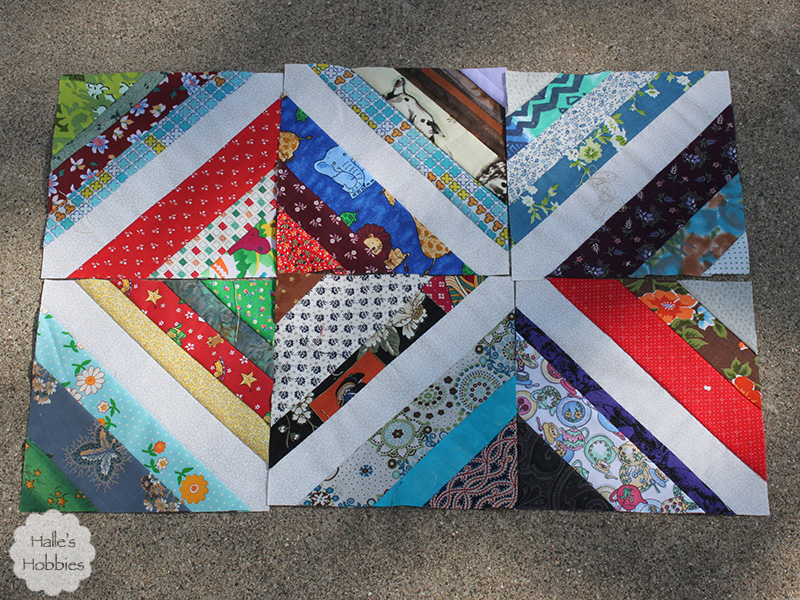
I’ve been sorting through my bins of fabric and separating out all the long strips and random shapes to be cut down for my new string quilt project. This pile is 70% blues as I was collecting them for a little boy quilt over a decade ago.  After ironing, I cut each piece down to between 1.5 and 2.5 inches wide.

scrap quilt progress

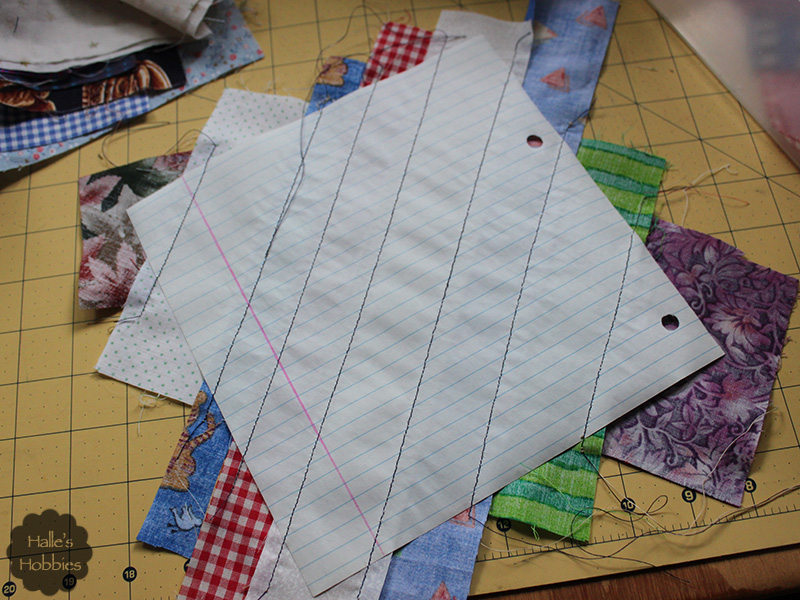
I am piecing the quilt using paper squares with a white strip down the center to serve as a design element in the completed quilt. I’ve used a gluestick to adhere it to each sheet so they are ready to go as I sew. I just eyeballed it so they won’t be perfect but I’m ok with that. It is a scrappy quilt after all.

scrap quilt in progress

I shortened my stitch length so that the paper gets perforated and is easy to remove from the fabric once trimmed.

scrap quilt in progress

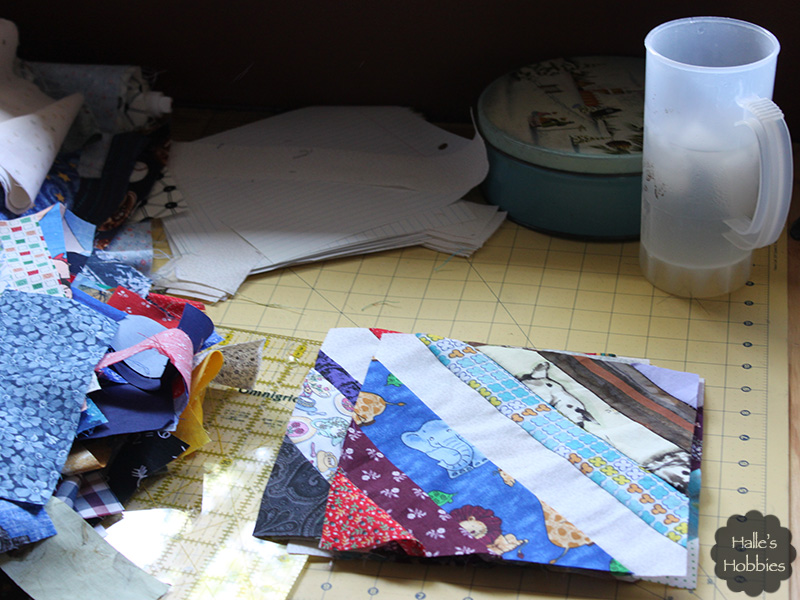
I have a nice little stack of them already.

scrap quilt in progress

And look how fun they are going to look when sewn together.
scrap quilt in progress

Colorful and scrappy. The other really fun thing for me is that it will be sort of a memory quilt or perhaps fabric journal of previous projects, clothing I’ve salvaged and reminders of people who have passed on but a little part of them lives on for me in the fabric as a memory.  Now just look at that, I’m getting all nostalgic.

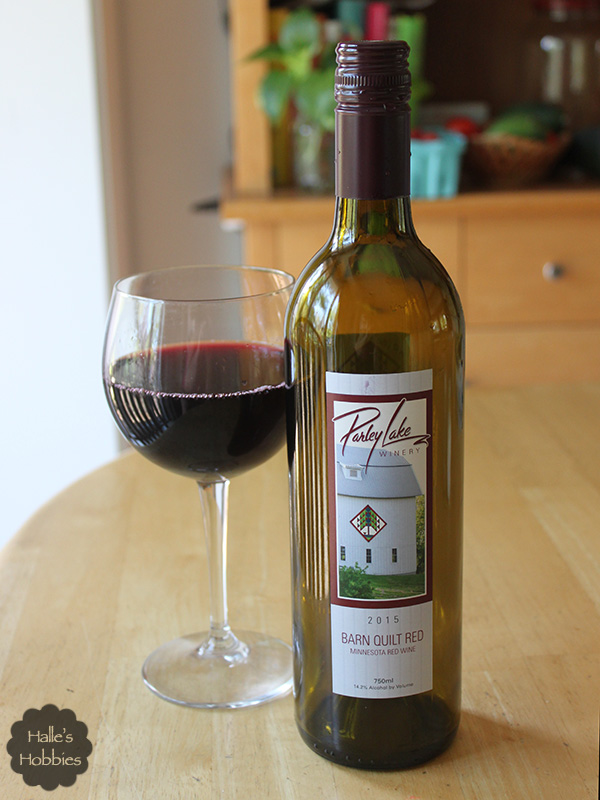
Since this is a post about quilts on T stands for Tuesday, I thought it was a good time to share a bottle of wine my in-laws brought over. I remembered to nab a photo at the very last glass.
barn quilt wine

It’s called Barn Quilt Red. This winery is one of three in a small town west of here. The soil must be good for grapes out there. This wine gives a nod to the barn quilts of Carver County.

barn quilt wine

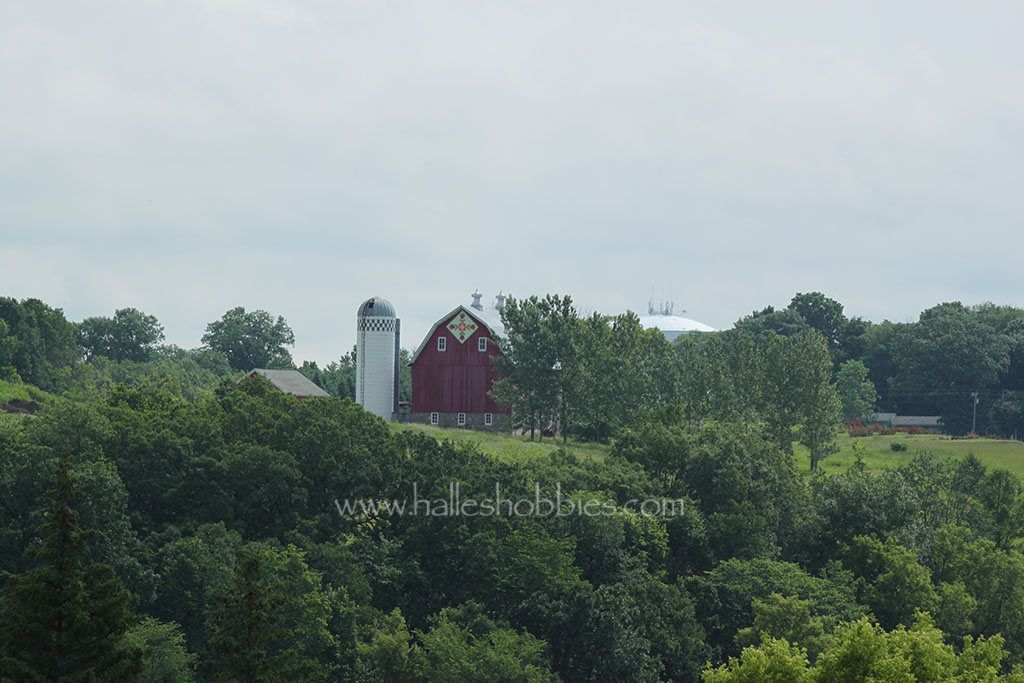
The barn quilts are really cool. I haven’t seen all 24 but the ones I have seen are really cool. In fact I think I have a photo of one here on the blog somewhere…hmmm….must look now….here it is!

rural landscape 1

This one can be seen from the MN Landscape Arboretum.

Anyway…more sewing, ironing and cutting,,,not necessarily in that order are in store for me as well as the standard household duties.

What are you doing today?

One thing I love about art is that it’s so individual. I can create whatever I want…as long as my skill and ability allows. Blue green poppies are a thing, right? Well they are in my minds eye.

Artistic license blue green poppies

This was a canvas that Mini-me had played around on and no longer wanted. Gesso to the rescue. Artistic license blue green poppies

I almost think I like painting on a canvas for the second…third…whatever time better than the first go round. The added texture pleases me. Or perhaps its all psychological. The thought being: It’s no longer a blank canvas…the mistakes have already been made and now I’m saving it.

Artistic license blue green poppies

This was what I would call a speed painting. I did this in about 5 minutes. I didn’t overthink it, mess around with it, retouch or take myself too seriously. I just let it flow. WHY don’t I just do that very same thing all the time. Not put pressure on myself to perform in a certain way. Just create from my gut and not worry or be concerned about the result.

There is a new theme over at Art Journal Journey…Back to School. Well that certainly is a timely theme since mine have been back for a week now.  On typical years the kids don’t go back until after Labor Day but ours went back early to make up for the week they’ll have off at the end of September.

Looks familiar AJJ: Back to School theme

Of course school as we knew it is gone. No black boards…they have been replaced by first white boards then smart boards.

Looks familiar AJJ: Back to School theme

And remember these…you’d look up the book you wanted in a card catalog then check it out by writing your name on the library card which would be stamped with the due date. That system has been dead a very long time. Bar codes and scanners with emails to remind you of due dates is the way of today.

Looks familiar AJJ: Back to School theme

This page is a tribute to school the way we knew it.

Art Journal Journey

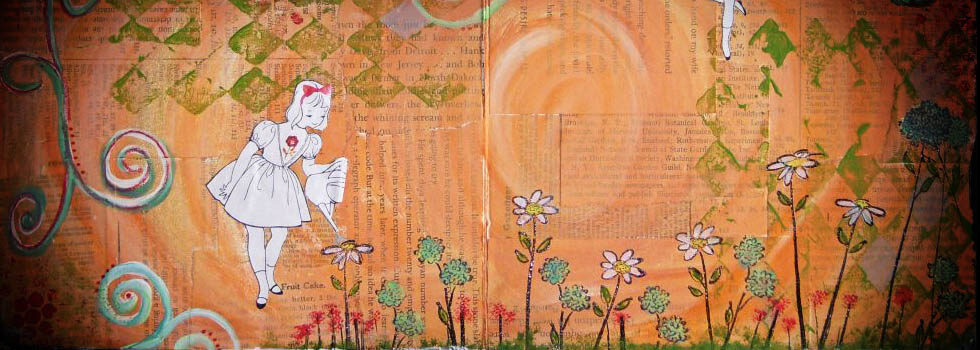
Today I’d like to give a second look to the art piece that I eventually edited to become my blog banner.

I know I’ve said it before about some of my other artwork but this is one of my favorites. I guess I should say that I have lots of favorites. Different mediums, styles, challenges, etc…they all seem to have a stand out for me. A piece that I’m happy to share over and over. Obviously, I’m happy with this one otherwise it wouldn’t have become my banner.

Take a look….eyes

11/9/2009

I love playing in this board book. I’ve been using a Kelly Rae inspired background technique on all the pages. The book has no other theme or direction. Maybe I should call it Random Inspiration. Hey, I like that!

The little girls came from a sewing book. The watering can girl reminded me a Alice in Wonderland. It all came together in my mind after that.

It feels a little trippy to me. All it needs is the caterpillar with his hookah.

~~~~~~~~~~~~~~~~~~~~~~~~~~~~~~

And that boys and girls is how my blog banner came to be. :)

Thanks for taking time out for Second on the 2nd this month hosted by Elizabeth.

Secondlook

I know I’ll be checking out the posts that others have dug up from their archives as well.

Last week for T stands for Tuesday I had wanted to share a video with you. I am 99% sure it will work but first I want to give you a little back story.

We have a stray cat that keeps coming around. It’s really friendly to a point…such as it rubs itself all over you but if you pet it “improperly to its standards” it will spit at you. I have yet to figure out if its a boy or girl or if it still has front claws. Close inspection is definitely not allowed with this one.

pumpkin

Look at it’s funny tail. It’s curly like a pug dog. So weird and cute at the same time. We’ve taken to calling it Pumpkin for the gender neutral name. We do feed and water Pumpkin when he visits usually once a week. It comes when I call to it so it makes me think that it has a home but for goodness sake…keep it inside then.

Marvin is an inside only cat so these two have only met through the window screen. I think Pumpkin wants to be friends….

[KGVID]http://www.halleshobbies.com/wp-content/uploads/2016/08/catmeeting.mp4[/KGVID]

We’re thinking about building some sort of shelter for it as we are not sure if this cat has a safe and warm place to overwinter. Since Pumpkin is quite feral and possibly belongs to someone we hesitate to bring him in as well as the fact that we know nothing about his health.

We are in search of another kitten though. We’ve visited a few and fell in love more than once. Who can resist a fluffy, playful kitten?!?

I’m battling a sore throat currently…more tea with honey and lemon is in order.

IMG_0912

What are you doing today?

Lately I’ve been feeling the urge to make another quilt. A fun, random scrappy quilt. A real scrap buster quilt.  I have several totes full of fabric. I’d say about 1/3 of it dates pre 1980’s. Of course not old enough to be really cool retro fabric…just that awkward 70’s fabric that really doesn’t mesh well with today’s patterns. However I do believe it will work well in a scrappy quilt because it will be small pieces and hey, its scrappy.

One of my main issues with quilting in my current space is that I don’t have room for both a cutting station and small ironing board. It’s one or the other so usually I set up my tabletop ironing board on the game table and am constantly walking back and forth.

sewing space

Marvin is also an issue. He is not good about obeying the rule of no cats on the table. It’s a constant battle with him. I’m afraid he’s going to either burn himself or knock the iron down and have it burn the carpet. Either way it’s bad.

While browsing around at Goodwill I saw this wooden TV tray for $3.99 and was inspired to create my own ironing board that is perfect height for ironing while remaining seated and folds away when not needed.

DIY workstation ironing board

I knew I needed special batting for this project. I researched a bit then found the product I needed on Amazon.

DIY workstation ironing board

At this point I turned my TV tray upside down onto the batting and traced around. I then cut another piece of batting about 2 inches bigger so it would wrap around the outer edge of the tray. I then cut a piece of vintage tablecloth about 3 inches bigger than the previous batting piece. I just eyeballed all the pieces….you know me, I hate measuring.

DIY workstation ironing board

I used a staple gun to attach it to the underside of the TV tray in the same way you’d upholster a chair seat. You basically alternate stapling from side to side pulling the fabric tight as you go leaving the corners for last. The corners are mitered by folding then stapling. There are lots of tutorials and how-to videos out there for this if you’ve never done it before.

DIY workstation ironing board

After getting the fabric stapled down good and tight I used my scissors to trim away any extra. The underside isn’t really ever going to be seen so I don’t care if it’s perfect.

DIY workstation ironing board

Ta-da! Now I have my new work station ironing board and no excuse not to get to that scrap busting quilt.

DIY workstation ironing board

Or have I just made an upholstered cat stand? What a turkey!!

PAGE TOP

© 2007-2024 Halle's Hobbies All Rights Reserved -- Copyright notice by Blog Copyright