We have another graduation party to attend so another handmade card was in order.

grad card with a tip

The speckled background wasn’t my original intention so this is where my tip comes in.

I had extra embossing powder surrounding the Congratulations stamp and for the life of me I couldn’t get it all off.  I decided to embrace the imperfection and expand on it, making it part of the design. I heated up the card stock then lightly sprinkled more embossing powder over the card. I heated it from underneath as not to blow it away. Easy peasy.

grad card with a tip

I added some iridescent embossing powder as well for a celebratory shimmer. I really love how it turned out.

Welcome to T stands for Tuesday…grab a your favorite cup and stay a while.

T stands for Tuesday

This summer I’ve been tackling projects and items long overdue on the to-do list. I’m drowning in half finished goals. It’s really beginning to drive me a bit crazy. I start my morning or my 3am bout of insomnia with thoughts of how my day is going to go and then BAM…I get hit with a curve ball or worse yet, am distracted and start another project.  I haven’t even finished a pot of coffee lately, which is totally out of character for me. (Ah ha…just there….see how I worked in a beverage reference) :)

But seriously, the frustration with myself is mounting. Every “not used daily” surface has something in progress all over it and that’s not even mentioning the outdoors. I think I have too many ideas and unfortunately have enough stuff around to get started but either run out of steam, ideas or gumption to continue. I even totally blew up my blog over the weekend and am still working on fixing it. UGH! The blog backup I used definitely didn’t work the way I thought it did….I could not recover what I lost.

I am feeling a bit of accomplishment with both a personal project and a household one.

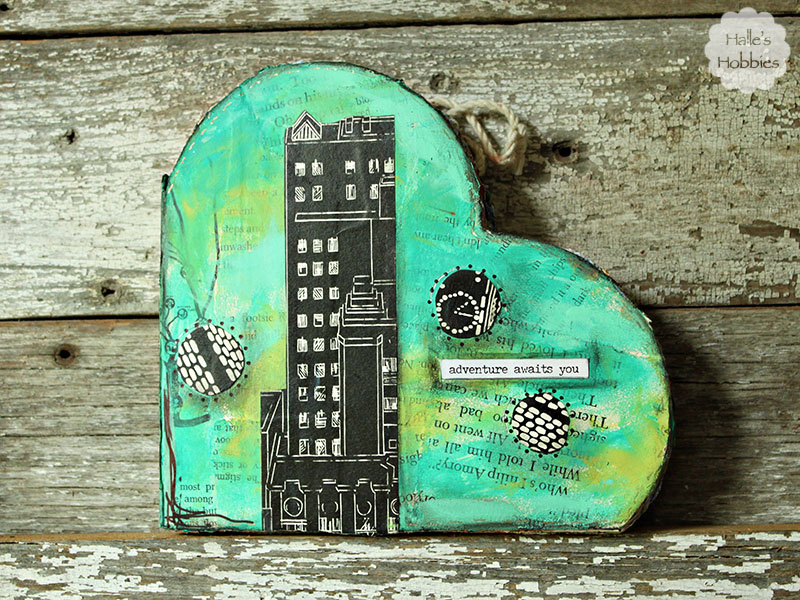
I completed the cover on my heART journal just yesterday.

heART journal T Tuesday progress edition

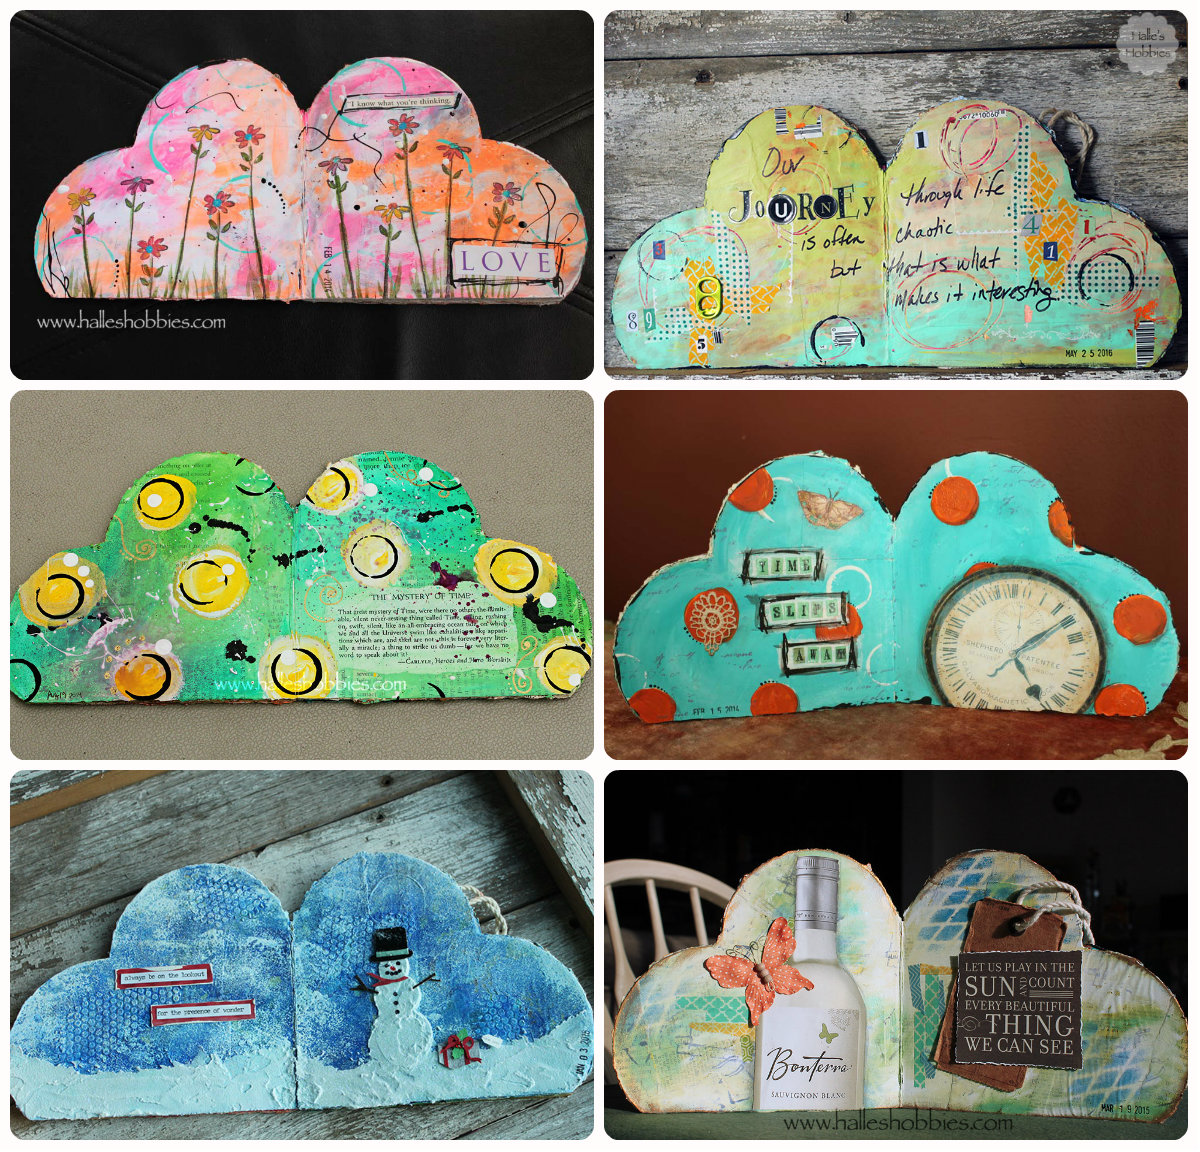
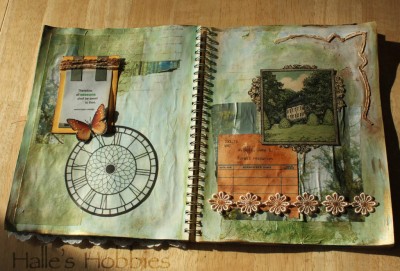
Here are the inside pages. The earliest page was from Feb 2014. Good grief…talk about taking a long time to to 6 pages.

heART journal T Tuesday progress edition

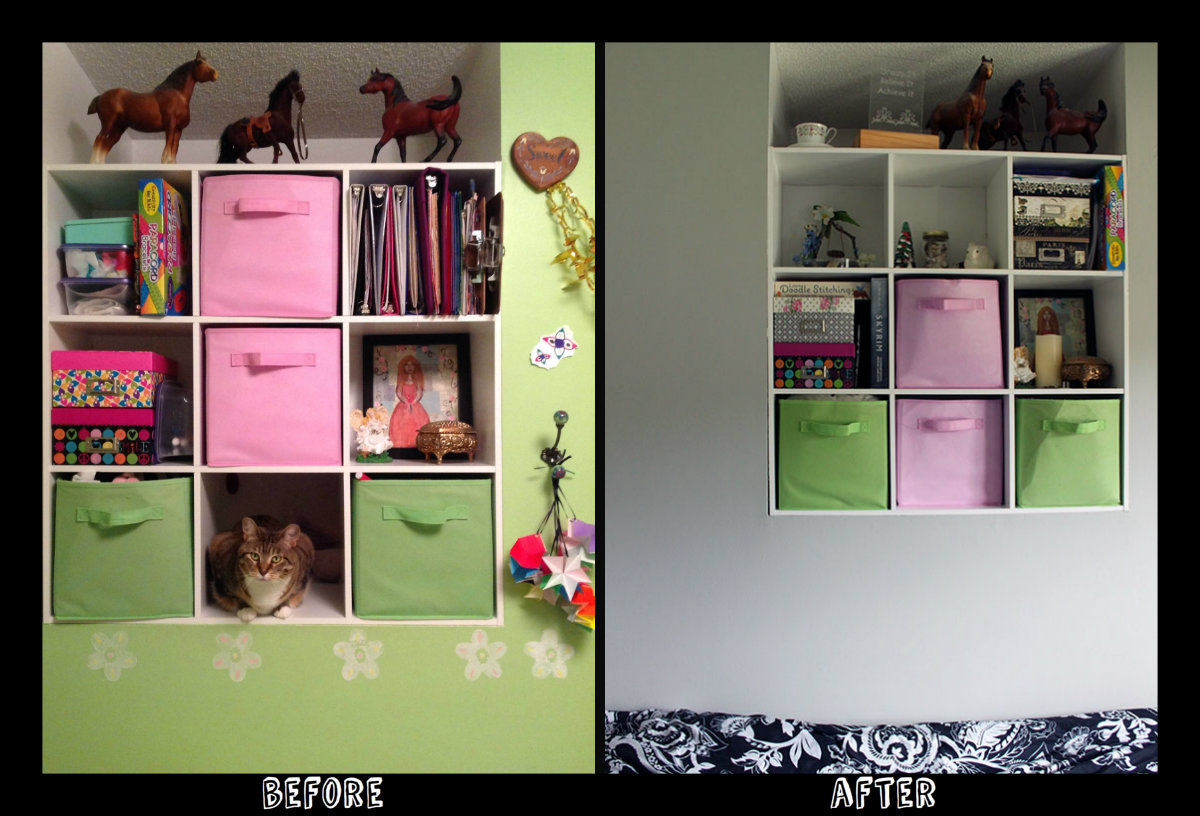
Mini-me and I did get her room painted. Here’s an old before and the after side by side.

T Tuesday progress edition

What a difference. She’s had the green and stamped flowers since we moved in 13 years ago. It had just been painted so we just left it as is. Definitely time for a change.

T Tuesday progress edition

We’re slowly going to be replacing the accessories such as the fabric bins in the cubbies. Mini-me had yet to decide what color she wants for her accent color.

T Tuesday progress edition

It’s definitely more sophisticated already. Agh…my baby is growing up!

So today…I’m going to try my best to finish a thing or two I’ve started. Wish me luck!

What are you doing today?

Since school has been out I feel as if I’m busier than before. Not sure how that happened. Yesterday we went to my in-laws house to plant in their garden. I had 3 tomato plants yet to plant from the ones I started back in March. I also planted summer squash, green beans and snow peas.

So where does the harvest come in, you ask. They have a huge strawberry patch and wanted us to pick. Mini-me and I picked nearly three 5 quart ice cream pails full.

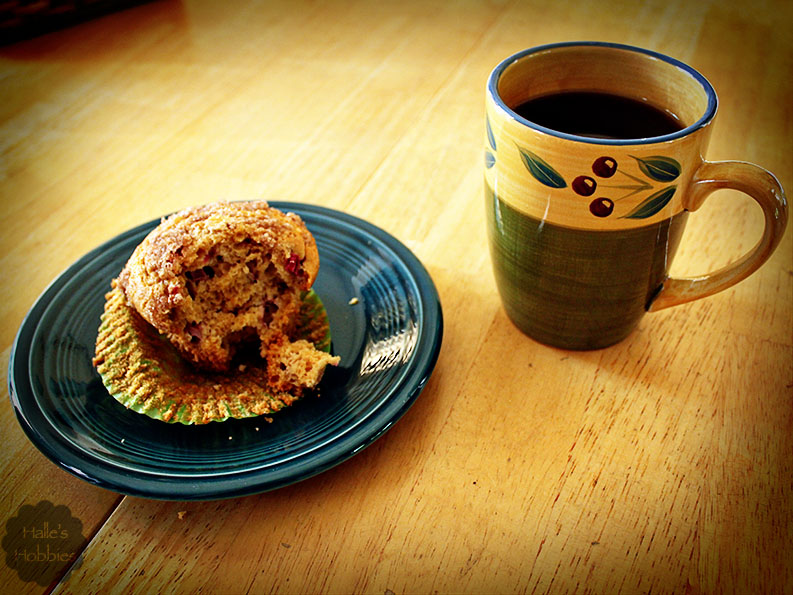
I also harvested some rhubarb so I could make a batch of muffins. Mini-me and I are the only ones who will eat rhubarb, so I’m cautious on how much I pick. I baked these muffins in the afternoon.

rhubarb muffins

I’m really not much of a baker. In fact I don’t like to do it at all. Too much measuring. Rules to follow. Not my thing. But this recipe, which I slightly adapted from the original on allrecipes.com, turned out perfect in looks, texture and taste.

Rhubarb muffins

  • 1 1/4 cups brown sugar
  • 1/2 cup vegetable oil
  • 1 egg
  • 1 tsp vanilla extract
  • 1 cup buttermilk
  • 2 1/2 cups flour
  • 1 tsp baking soda
  • 1 tsp baking powder
  • 1/2 tsp salt
  • 2 cups diced rhubarb

sugar crumb topping

  • 1 Tbsp melted butter
  • 1/3 cup organic cane sugar
  • 1 tsp cinnamon

Using an electric mixer, combine first 5 ingredients and mix thoroughly.  Then add the dry ingredients.  Again mix until thoroughly incorporated. Lastly toss in the rhubarb. This may be easier done by hand unless you have a large paddle on your mixer.

Place muffin liners in pan and fill each nearly to the top. Next melt the butter and add the sugar and cinnamon. (next time I think I’ll add some rolled oats for more texture) scoop a bit on topping on each muffin.

Bake at 350°F for 25 mins and enjoy.

rhubarb muffins

Today will be spent painting mini-me’s room. She’s picked out a very sophisticated grey. I’ll share some before and after photos when we’re done…hopefully next week for T stands for Tuesday!

What are you doing today?

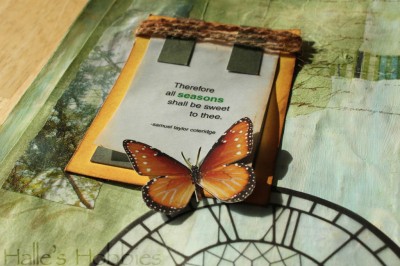
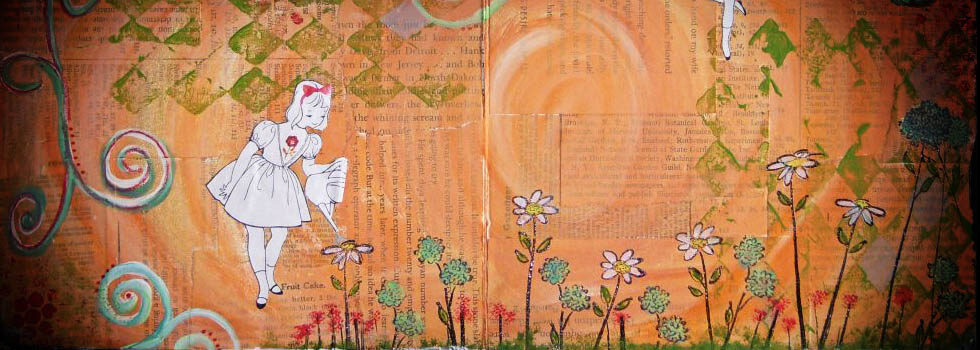
Today for Second on the 2nd I’d like to share one of my favorite pages of all time. Sometimes all the pieces fall into place just right. You reach a creative bliss. This was one of those times for me. Sure wish that happened more often.

Take a look…eyes

4/6/2013

After our snow yesterday…yes you read that correctly…snow on April 5th, I guess I wanted to remind myself that a new season is actually upon us. It is Spring according to the calendar and before we know it, the weather will be hot and humid.

When I started this journal page I had no idea where it was going.

20130406_1706

I spread my super thin, lame gesso over the pages in my Watkins cookbook journal then kept adding layers of paint and stamping.

20130406_1705

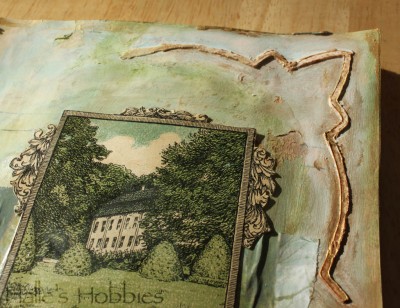
Next I wanted to try out some molding paste applied through a stencil…a technique I’ve seen several times on YouTube videos. I love the texture it adds. I’ll definitely be trying that one again!

20130406_1708

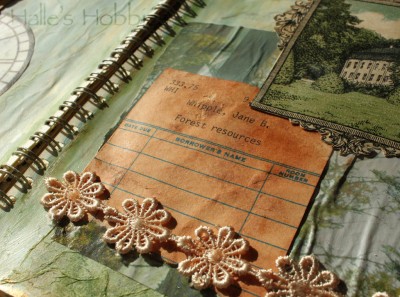
I used water and walnut ink to age this library card which is placed on top of a bit of a forest scene magazine page. Love it when things like that work out. Still looking for more texture I glued down a bit of flower trim.

I am incredibly happy with the way this one turned out.

20130406_1704

And look..the sun is even shiny bright today promising that the season is actually changing.

Welcome to another rousing edition of T stands for Tuesday where we grab a cup a and share what we’ve been up to. I’m taking a bit of liberty with that rule this week and I know our wonderful host, Elizabeth, won’t mind a bit.

Before we begin I must apologize for the poorly lit photos. My laundry room/craft room has both florescent and incandescent lighting. Choosing the right filter for proper lighting is nearly impossible.

Now on with the show…

As I was cleaning out the school supply shelf which holds both new and partially used supplies, I happened upon a spiral bound sketch book from one of the kids elementary school days. The cover and drawings were long since gone, the spirals smashed and many pages crumpled. I decided to salvage what I could before the whole thing ended up I the recycle bin.
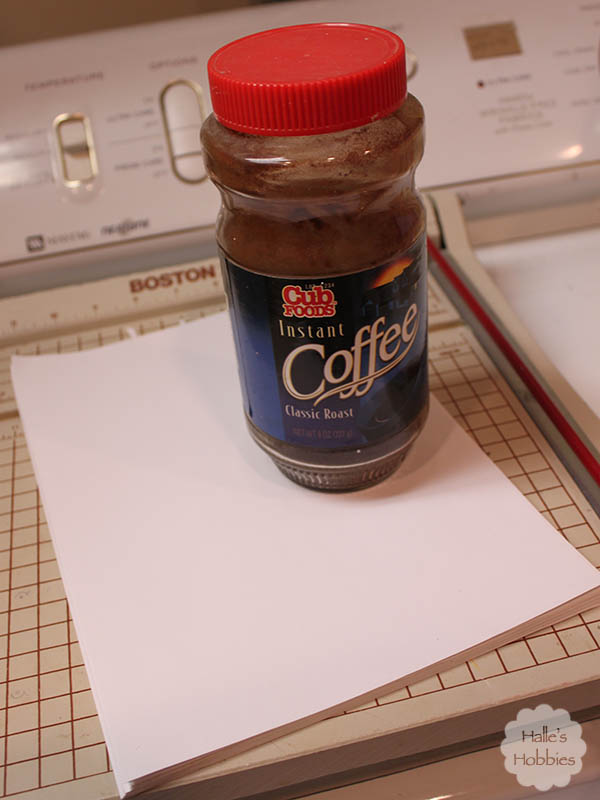
T Tuesday: coffee stained edition | Halle's Hobbies

So now what. I thought binding them into a journal would be a good choice but boring white pages have never made me want to use them them. Aged pages always draw me in.

This technique isn’t new, I’ve used it myself on many occasions. The one thing that really appeals to me is the randomness of dyeing or staining. You never know exactly what your going to get.T Tuesday: coffee stained edition | Halle's Hobbies
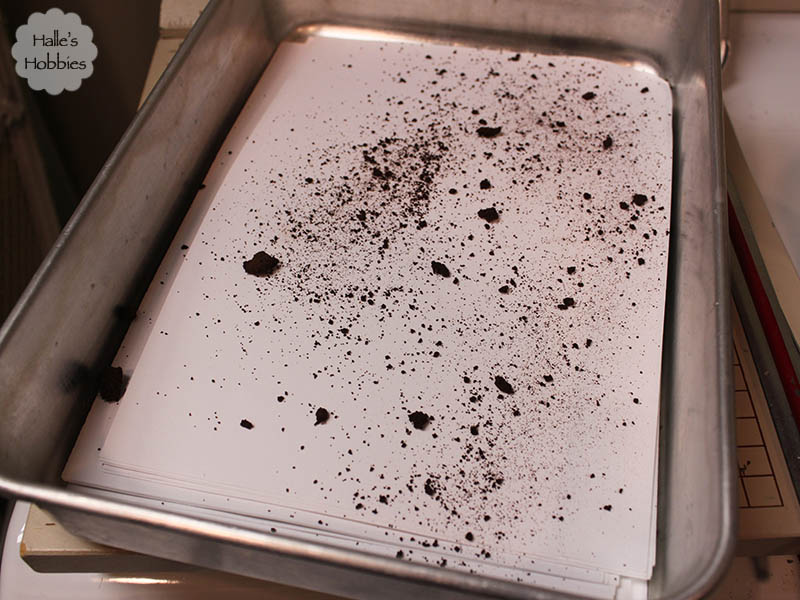
Since I had a large stack of papers I wanted to make sure that there was irregularity of staining throughout the pages. I sprinkled instant coffee grounds every few pages in the stack.T Tuesday: coffee stained edition | Halle's Hobbies
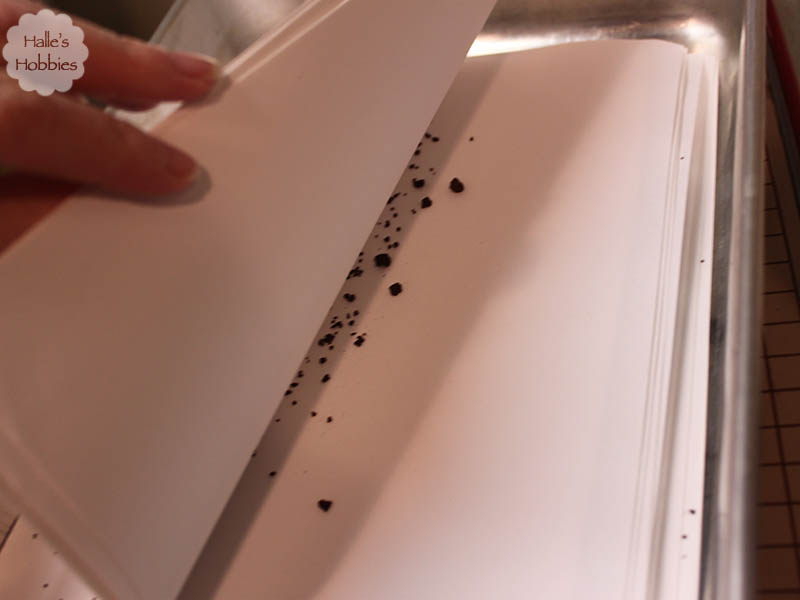
I used a spray bottle to gently wet the coffee to start the staining process.
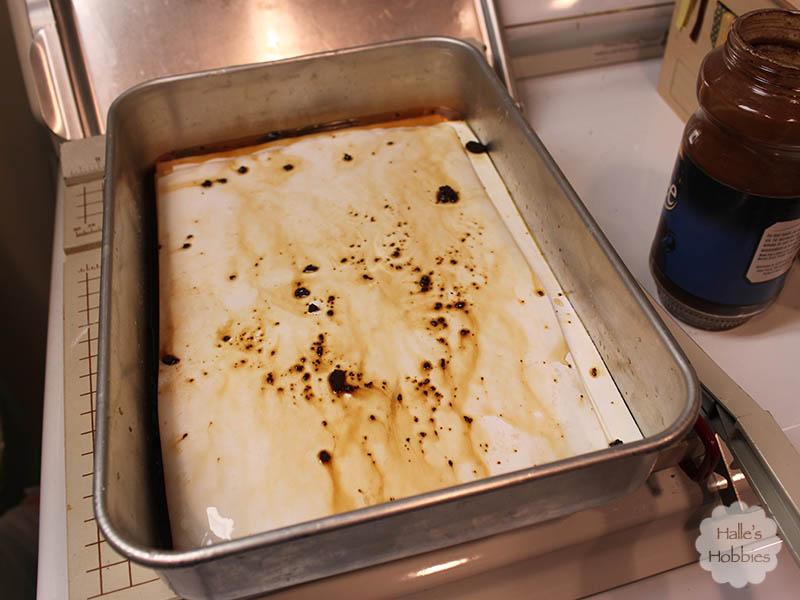
T Tuesday: coffee stained edition | Halle's Hobbies

After letting it sit for a while I poured in more water and used a second container filled with water to keep the papers submerged.
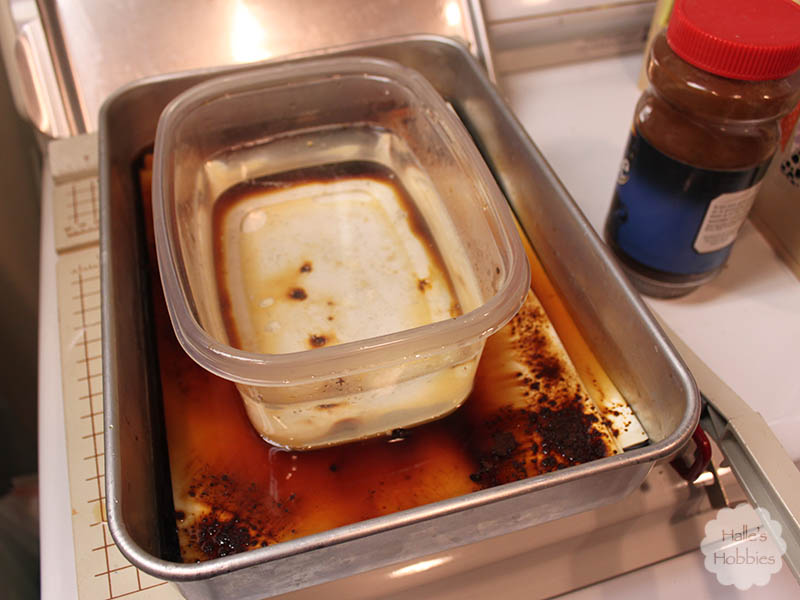
T Tuesday: coffee stained edition | Halle's Hobbies

I left the pages for a day…perhaps a little longer.
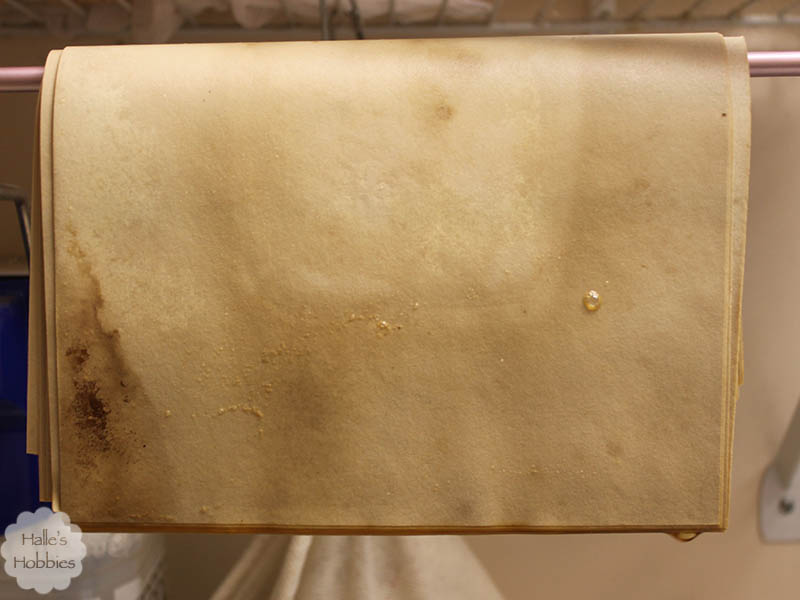
T Tuesday: coffee stained edition | Halle's Hobbies

Now I had a stack of really soggy papers. Since I don’t have the room to lay each out individually I had to come up with a quick and easy solution.
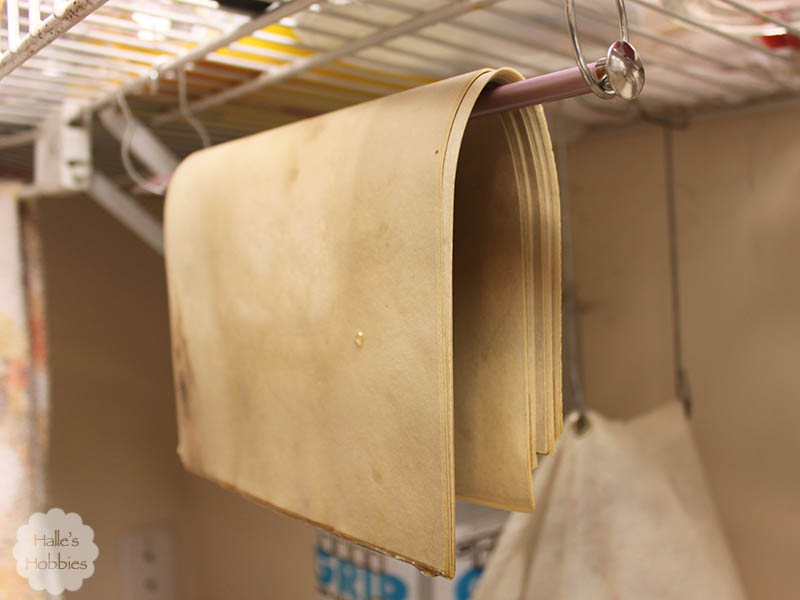
T Tuesday: coffee stained edition | Halle's Hobbies

I used old shower rings through the wire shelving to hold a metal knitting needle. They were able to drip dry over the laundry sink. Worked perfectly.

T Tuesday: coffee stained edition | Halle's Hobbies

Just look at those yummy pages…the color and texture really make me happy!

T Tuesday: coffee stained edition | Halle's Hobbies

Now that I’ve got them all folded I have to decide what sort of book I want to make. The last book I made with coffee stained pages really turned out well. I cut up a suede jacket for the covers. I’m pretty sure I used all of the suede while making some Ren Fest pouches. It is garage sale season though so I might just get lucky and find something that speaks to me. Until then I will set these aside.

This should be my last really busy Tuesday for a while since most things are winding down for the summer break. I may start back with my knitting group occasionally which is Tuesday mornings. Of course.

Today I’m meeting girlfriends for a birthday lunch. Gosh, lots of May birthdays. It’s the last little hurrah before school is out on Thursday.

What are you doing today?
It’s grad party season…that means is card making time too. This year I decided it might be fun to use the school colors for each of the graduates especially since both of them are really active in athletics.

I searched around on Pinterest for inspiration. I saw a few cards featuring tassels and thought that would be really fun. In fact it was the tassel in particular that prompted me to look up their school colors so it would be more meaningful.

school colors graduation card

I used my Cuttlebug with the Sizzix Bricked embossing folder to give the texture to the white layer of cardstock. It added that “school” look I was going for.  The tassel is embroidery floss. They are quite simple to make. I wrapped the floss around a card until I had the desired amount…personal preference here. I slipped a length of floss through the top and tied a knot. I then cut the bottom and pulled the card out. I cut another length of floss and tied it around bundle approx 1/4 inch from the top.  I poked a hole in the hat and threaded the top strings through and taped it to the back of the hat before mounting. I trimmed the ends nice and even to the desired length after attaching the hat. The hat was made using a 2 inch square punch which I then adhered with 3M foam mounting tape.  I also used the foam tape under the congratulations banner for interest.

I have one more card to create but that one will be blue and yellow instead of the black and gold. I think I may create a few more in our school colors as well as long as I have the supplies out. I know I’ll be needing the eventually.

Inspiration has finally taken a hold of me. I’m feeling creative. Feeling the need to express myself or at the very least put paint to paper.

often chaotic art journal page

Without knowing the direction I was heading I just grabbed the colors that spoke to me and used my fingers to apply them to the last page in my heART journal. Truth be told, I was covering a seriously hideous background I created quite some time ago. After much rumination on options to save it I realized covering over was the best option.

often chaotic art journal page

Next I used washi tape to add interest but I wasn’t done. I have a stash of rub-ons that never seem to work when I want them to be perfect so I’ve taken to using them in backgrounds. That way when the image messes up…it’s perfect. Messy is the look I was going for with these.

often chaotic art journal page

Then all of a sudden the words hit me. The page was chaotic yet interesting…just like our journey through life.

Linking up with Art Journal Journey again for the theme Journeys picked by Erika aka BioArtGal.

Art Journal Journey

PAGE TOP

© 2007-2024 Halle's Hobbies All Rights Reserved -- Copyright notice by Blog Copyright