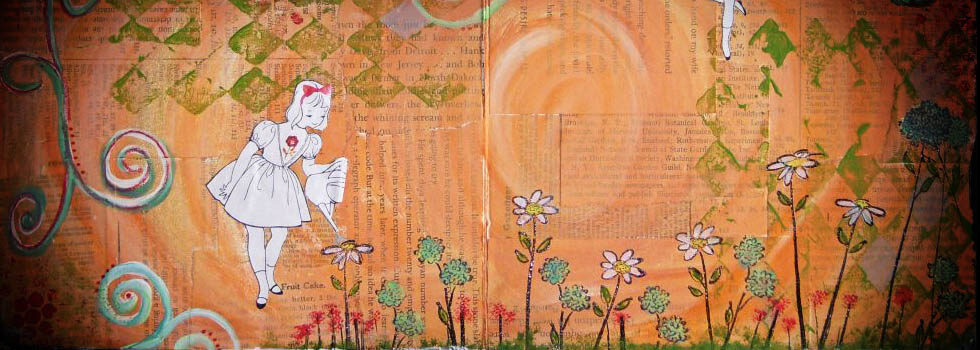
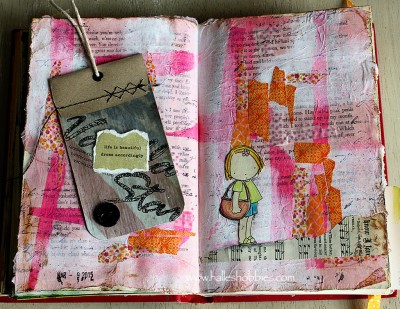
My back is finally feeling up to sitting at the computer for a bit so I can show you a journal page I made several days ago. It was created from bits of this and that laying around.
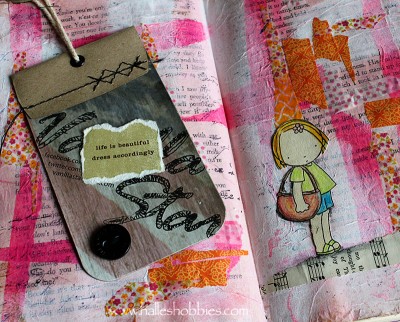 A couple clothing tags…tissue paper…sheet music and an image I stamped on an old book page. I used watercolor pencils to give her some color. I didn’t even remember that I had this stamp. She’s just so darned cute.
Alright…that’s it…I’m cashed out. Something about having my arms out in front of me just kills my back. I’m going to have to try a laptop on my lap sometime and see if that is any better.
I’m joining in very briefly today. That was not my original plan but my back had other ideas this morning. I’m off to the chiropractor as soon as he gets in. AGH! I don’t have time to be injured. I’m playing taxi cab for Little J who is on crutches. She will be having knee surgery as soon as they can get her scheduled. Poor thing.
I’ll leave you with a photo of Gracie and I having “tea” together…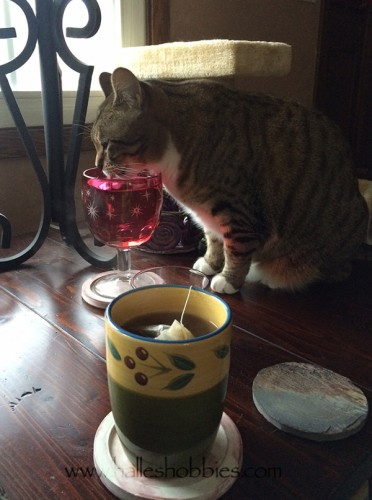
I totally missed T stands for Tuesday last week. 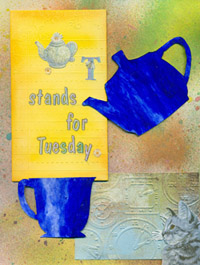 I can’t even remember what I was doing other than not being on my computer.
I do know what I was obsessively making on Thursday though…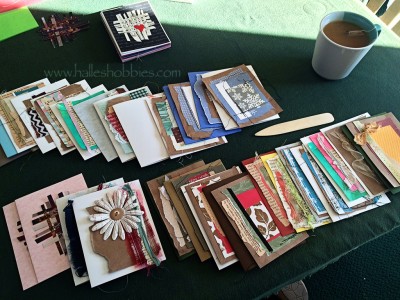
I turned on some music, grabbed my scraps and began piecing together collages. I think I was inspired to make more after writing an article about my process. I’ll give you more of a heads up on that when it’s about to be published. :) Honestly I’m not sure how much I’m allowed to say about it until it comes out so that’s all I’m saying for now.
I’m such a tease…I know.
Today we are expecting a snow storm but we haven’t seen a flake so far. If it’s as bad as they say, Little J’s concert may be postponed tonight. In the mean time I’ll be working around the house. Exciting, huh?!?
So…what are you doing today?
 Today for the 2nd edition of Second on the 2nd I’d like to share with you a transformation that makes me happy each and everyday.
Original post from January 21, 2012 slightly tweaked to include updates:
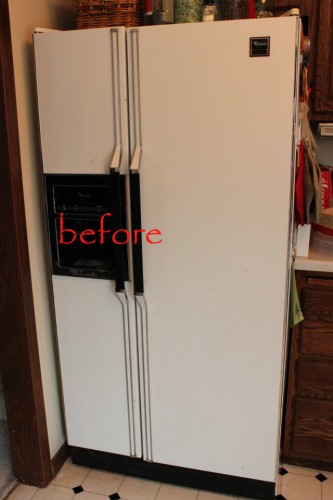
So we have this old 20+ yr old fridge that just keeps humming along mechanically but cosmetically it was getting really nasty looking.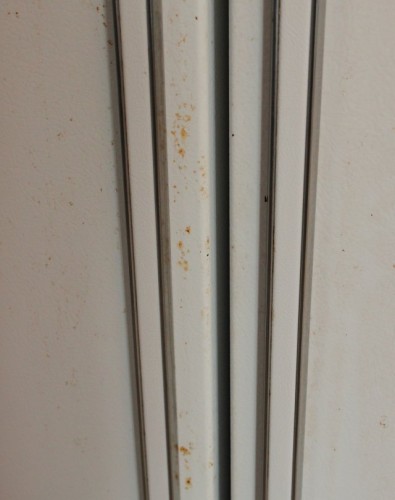
I used to keep papers, magnets and comics on it to cover as much as possible.
It was rusting from underneath the finish on the doors. I’m guessing that it was a manufacturing issue since the rest of it isn’t rusting at all.
I sanded all the rust and painted over it with Rustoleum paint.
I decided on dictionary pages to cover the fridge. My thought was…it’s got to be better than the way it looked before.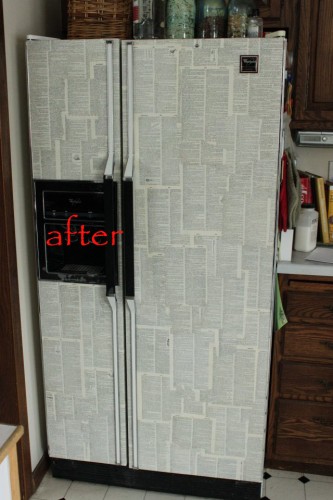
And in my opinion, it totally is!! I still need to put a couple coats of sealer on top so I can wipe it down as needed. I picked up the Golden polymer medium I used as glue in the recycle center reuse room for FREE!! Just two cheap foam brushes were purchased for this facelift.
Yes, I know we’ll eventually have to replace this beast but until then it’s definitely a conversation piece in my kitchen!!
In addition, I covered our recycling cabinet in the same manner. 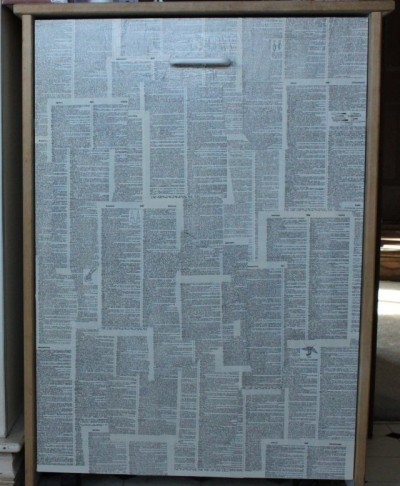 All I have left is a pantry cupboard on the other side of the kitchen to give the same treatment.
Fast, fun and frugal…nothing but good F words for this project.
Yesterday afternoon while searching for my heart shaped journal….which I still haven’t found…I came across 2 art journals I had started years ago. One is almost full and the second only has a handful of pages complete.
The large butterfly image fell into my lap as I was digging around through my stash. I decided it was high time that I used it.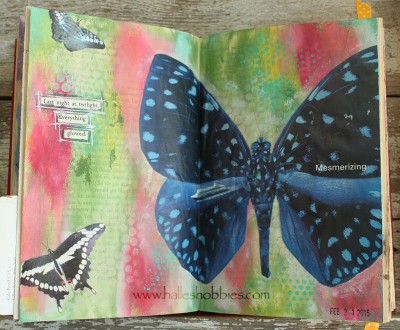
I began with gesso and paint for the background in greens and yellow. Sort of thinking rainforest backdrop. After it dried I was convinced that it needed more color and texture. Out came the gelatos! I’m loving them…my new favorite supply! 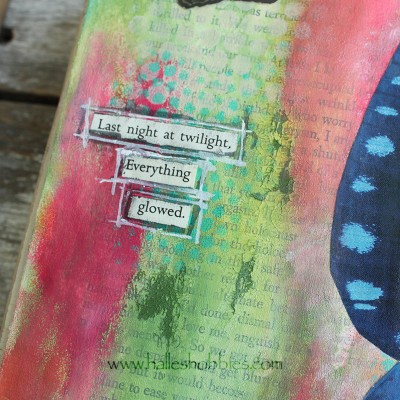
I went over top with a little more paint sponged through a bit of punchenella. I searched my bin of found text until some words spoke to me.
More Gypsy journal play yesterday. I started with acrylic paints and ended with gelatos.
I used masking tape down the center of the pages to help protect from moisture bleeding through to the rest of the book. I ripped off way to long of piece so I ripped it up and stuck it randomly on the pages. I added the mesh tape as more texture before giving a light coat of gesso to the entire page.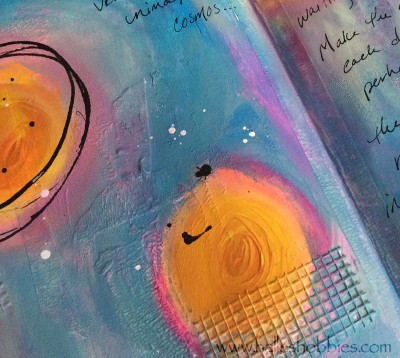
I started with pinks and purples…then added the circles in yellow. After it was dry I went back and started layering on some blue hues. All of this with my fingers. I have so much more control with my fingers and the paint flows and melds so nicely together.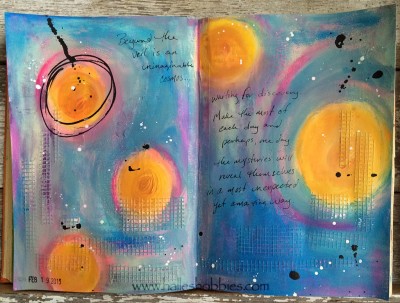
After drying again I decided it was too blue so I came back in with some gelatos to highlight some of the pink and purple peeking through the blue. I also enhanced the circles with a couple shades of yellow.
This journal has me writing and thinking deeply. Perhaps it’s a stage in my life…getting older…seeing my kids getting closer to leaving the house than the cradle.
Or perhaps it’s writing with a nib pen and ink that inspires me. My grandpa used to write his sermons with a nib pen. I have a couple pages of sermon notes in my treasures. My handwriting is very similar to his. Genetics are amazing!
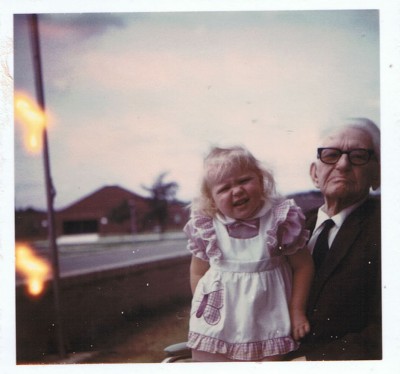 Me and grandpa…circa 1974
