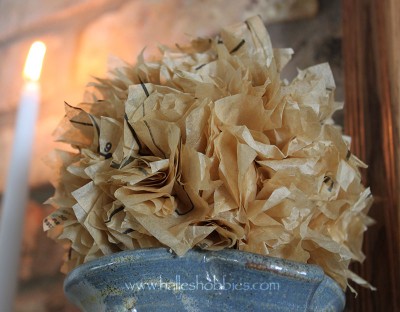
Today’s second look is one of the very first tutorials I had ever written. I had Mini-me, who was 6 at the time, take photos of me during the creation process. She did a really nice job! She still has an eye for photography.
Take a look….
FYI….this was published on Blogger March 2009. My formatting was definitely different way back then.
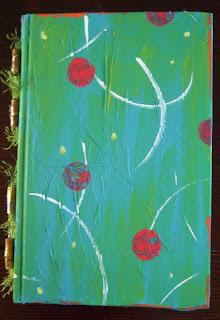
As requested by a few members of
ABC I’ve taken pictures along the process of making my latest ATC book. I’ll do my best to explain the steps. Please click on the pictures for a better view of any step.

These are the supplies you’ll need as well as some string or fiber and a large eye needle for the binding process as you’ll see later.
After being properly scolded by Elizabeth, here is the supply list:
- book large enough to fit your ATC’s
- x-acto knife or other cutting blade
- gesso
- pencil
- ruler
- cardstock
- cutting system such as guillotine or fiskars rotary cutter
- white glue or gel medium
- paint
- paint brush
- tissue paper or dress pattern(optional)
- rubber stamps(optional)
- ink pads(optional)
- Japanese screw punch or awl
- thread or fibers for binding
- large needle
- decorative beads(optional)
- something to protect your work surface

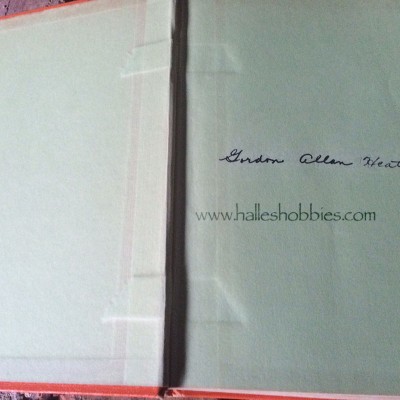
The first step is to remove the text block from the cover. To do this you carefully cut along the spine on each side of the text block being careful not to cut through the cover. I used a glued in binding book so I had to use a bit of muscle to separate the glued in block after cutting. I reinforced the spine with a strip of cereal box cardboard adhered with gel medium although I’m sure white glue would work as well.

Next I coated both sides of the cover with gesso and set aside to dry.
 In the meantime I measured the text block to determine the size of the cardstock that I’d be cutting.
 For my book, I cut 16 pieces to 3.75″ x 10″. This will eventually yield 4 signatures but now I’m getting ahead of myself.
 My next step is purely personal preference. I randomly stamped both side of my pages for visual interest.
 After folding in half, I used a bone folder (forgot that in the supply photo as well) to make a nice sharp fold.
 Completed pages ready to be gathered into signatures.
 I used 4 pages for each of the 4 signatures…boy, that was a lot of fours!
 At this point the gesso on the cover had dried and I was ready to make them pretty. I love using dress patterns for texture. As an added bonus it acts as a reinforcement. I simple spread out white glue and pat the pattern tissue gently down then set aside to dry.
 After it dried, I painted the inside.
 Used the same technique on the outside with scraps of pattern tissue.
 And again painted and set aside to dry.
 While the cover was drying, I prepped the signatures for binding. I made a template from scrap cardstock as my guide for hole punching.
 I used a Japanese screw punch for my holes. You could also use an awl. You just don’t want the holes too big. I’m using the smallest bit my screw punch came with. BTW-the hole gets plugged when cutting through multiple layers. I keep a needle near by to dig out the tiny little circles plugging the punch.
 I used my guide to make the holes in the book binding as well.
 And punched 4 sets of 3 holes in the binding.
 I started with an 18 in fiber on a large needle in the center hole from the inside of the signature leaving yourself a 4 inch tail.
 Go through the outside of the book cover, slip in a bead then go back through the top hole in the cover and signature.
Next go back through the center hole to the outside, slip on a bead and then go back through the remaining hole of the set.
 It should then look like this. Take the needle and go under the complete flat loop then tie the loose ends tightly in a knot. You’ve just completed your first signature. Go back and do it 3 more times.
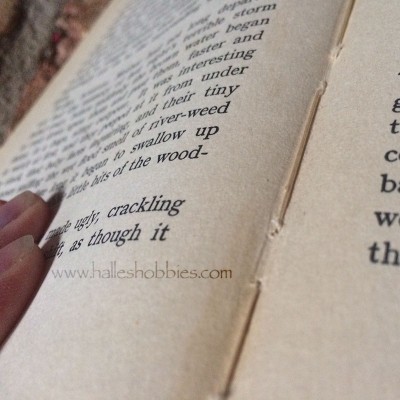
The way I do the pamphlet stitch binding isn’t exactly that way the tutorials out there would have you do it but it’s the way I do. I’d encourage you to do a search and check out the other techniques if mine seems unclear. There are video tutorials out there as well.
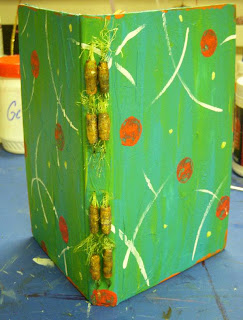 Completed book outside..in poor light.
 Completed book inside.
A few end notes…
- I made sure my book was large enough to accommodate ATC’s in portrait and landscape orientation.
- Be sure to leave at least 1/8 space between the 2 sections of pages so they actually turn.
- Keep in mind that you’ll the book will become twice it’s size or more once the ATC’s are loaded. I use photos corners to mount my ATC’s.
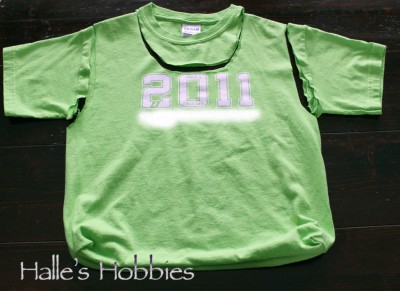
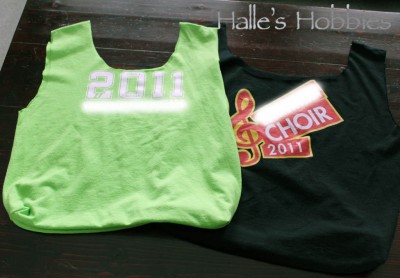 But after going through the kids clothes and coming up with 2+ garbage bags full to pass along to a friend, it inspired me to keep a couple school shirts for this project.