Tag : ATC

45 posts

Because it’s January I start to think about summer. You always want what you can’t have..right?

So let’s have a Second on the 2nd look at the summer of love swap

9/27/2009 Summer of Love ATC swap


These were so fun to make!!

I started with an 8.5×11 sheet of periwinkle cardstock. With an old credit card, I spread out some orange and yellow craft paints.

After that was dry, I used rubber stamps, more paint, markers, and stencils to create lots of background interest.

When I was happy with it I cut 9 ATC’s from my full sheet of cardstock.

I freehanded a VW bug to make a template then cut little bugs out of discarded book pages. Paint and marker were applied in a very loose manner.

I punched wheels from black “handmade paper” …I put that in quotes since it was actually store-bought. I then used little flower sticker for some fun hubcaps.

The part that I love the most is the genuine VW key attached to each one. I grew up with tons of Volkswagons. My dad and his friend would buy them cheap, fix them up and resell. Sometimes they would just part them out. Dad never threw out anything so I had just enough VW keys laying around to give these ATC’s just a little extra punch!

~~~~~~~~~~~~~~~~~~~~~~~~~~

Won’t you going me in linking up with Second on the 2nd?


Today’s second look is one of the very first tutorials I had ever written. I had Mini-me, who was 6 at the time, take photos of me during the creation process. She did a really nice job! She still has an eye for photography.

Take a look….

FYI….this was published on Blogger March 2009. My formatting was definitely different way back then.

As requested by a few members of ABC I’ve taken pictures along the process of making my latest ATC book. I’ll do my best to explain the steps. Please click on the pictures for a better view of any step.

These are the supplies you’ll need as well as some string or fiber and a large eye needle for the binding process as you’ll see later.

After being properly scolded by Elizabeth, here is the supply list:

  • book large enough to fit your ATC’s
  • x-acto knife or other cutting blade
  • gesso
  • pencil
  • ruler
  • cardstock
  • cutting system such as guillotine or fiskars rotary cutter
  • white glue or gel medium
  • paint
  • paint brush
  • tissue paper or dress pattern(optional)
  • rubber stamps(optional)
  • ink pads(optional)
  • Japanese screw punch or awl
  • thread or fibers for binding
  • large needle
  • decorative beads(optional)
  • something to protect your work surface
The first step is to remove the text block from the cover. To do this you carefully cut along the spine on each side of the text block being careful not to cut through the cover. I used a glued in binding book so I had to use a bit of muscle to separate the glued in block after cutting. I reinforced the spine with a strip of cereal box cardboard adhered with gel medium although I’m sure white glue would work as well.
Next I coated both sides of the cover with gesso and set aside to dry.

In the meantime I measured the text block to determine the size of the cardstock that I’d be cutting.

For my book, I cut 16 pieces to 3.75″ x 10″. This will eventually yield 4 signatures but now I’m getting ahead of myself.

My next step is purely personal preference. I randomly stamped both side of my pages for visual interest.

After folding in half, I used a bone folder (forgot that in the supply photo as well) to make a nice sharp fold.

Completed pages ready to be gathered into signatures.

I used 4 pages for each of the 4 signatures…boy, that was a lot of fours!

At this point the gesso on the cover had dried and I was ready to make them pretty. I love using dress patterns for texture. As an added bonus it acts as a reinforcement. I simple spread out white glue and pat the pattern tissue gently down then set aside to dry.

After it dried, I painted the inside.

Used the same technique on the outside with scraps of pattern tissue.

And again painted and set aside to dry.

While the cover was drying, I prepped the signatures for binding. I made a template from scrap cardstock as my guide for hole punching.

I used a Japanese screw punch for my holes. You could also use an awl. You just don’t want the holes too big. I’m using the smallest bit my screw punch came with. BTW-the hole gets plugged when cutting through multiple layers. I keep a needle near by to dig out the tiny little circles plugging the punch.
I used my guide to make the holes in the book binding as well.

And punched 4 sets of 3 holes in the binding.
I started with an 18 in fiber on a large needle in the center hole from the inside of the signature leaving yourself a 4 inch tail.

Go through the outside of the book cover, slip in a bead then go back through the top hole in the cover and signature.
Next go back through the center hole to the outside, slip on a bead and then go back through the remaining hole of the set.
It should then look like this. Take the needle and go under the complete flat loop then tie the loose ends tightly in a knot. You’ve just completed your first signature. Go back and do it 3 more times.

The way I do the pamphlet stitch binding isn’t exactly that way the tutorials out there would have you do it but it’s the way I do. I’d encourage you to do a search and check out the other techniques if mine seems unclear. There are video tutorials out there as well.

Completed book outside..in poor light.

Completed book inside.

A few end notes…

  • I made sure my book was large enough to accommodate ATC’s in portrait and landscape orientation.
  • Be sure to leave at least 1/8 space between the 2 sections of pages so they actually turn.
  • Keep in mind that you’ll the book will become twice it’s size or more once the ATC’s are loaded. I use photos corners to mount my ATC’s.

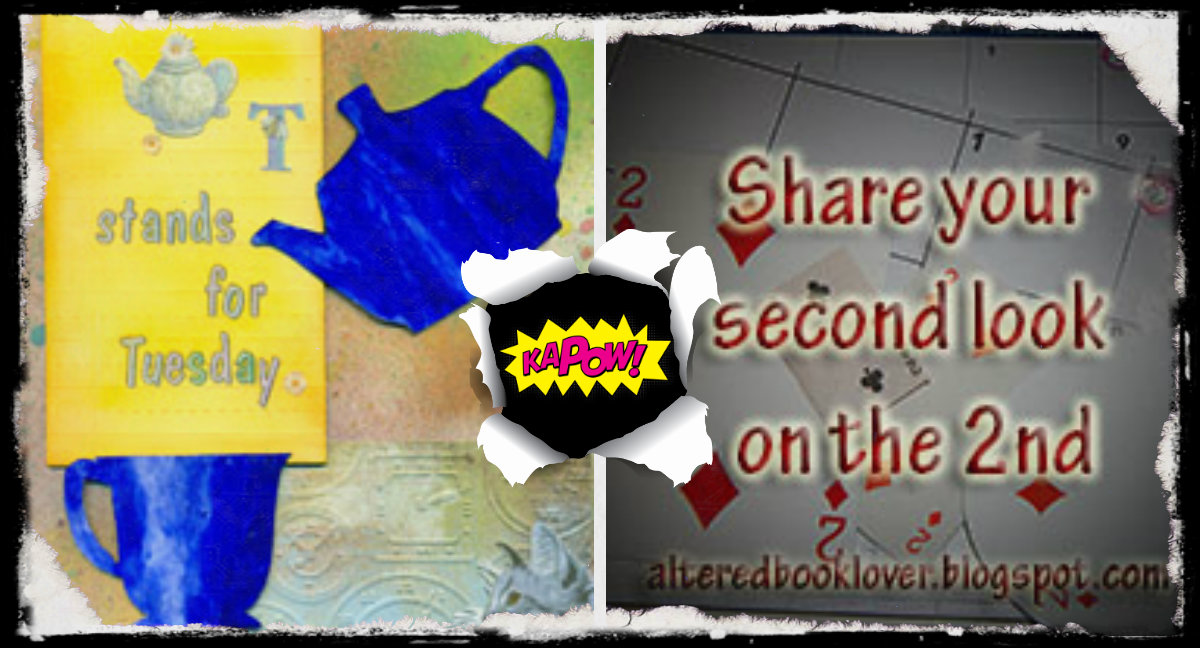
Two posts are colliding this week as T stands for Tuesday and Second on the 2nd fall on the same day.

collage

Thankfully Elizabeth gave a little heads up at the end of her post that reminded me before I finished writing up my post. Time to switch gears.

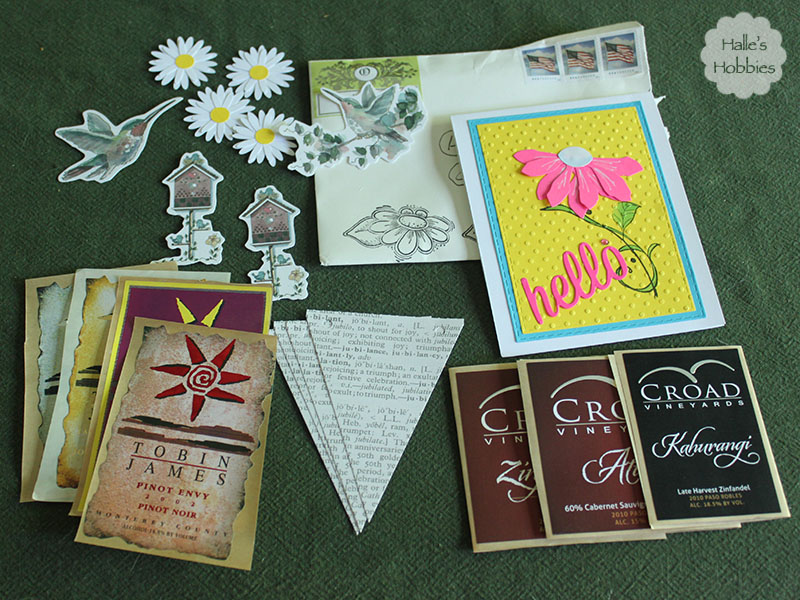
We’ll start with the fun packages in my mailbox from two fellow T stands for Tuesday bloggers.  So fun to get mail…friend mail, not so much on the bills or junk mail. A little while back I had commented on Krisha’s blog about the winery she had visited. She was so kind to offer me some extra wine labels they picked up as collage fodder. I was so delighted to see an envelope in my PO Box the other day. Look at the great craft fodder and lovely card. Really love that card!

happy mail day

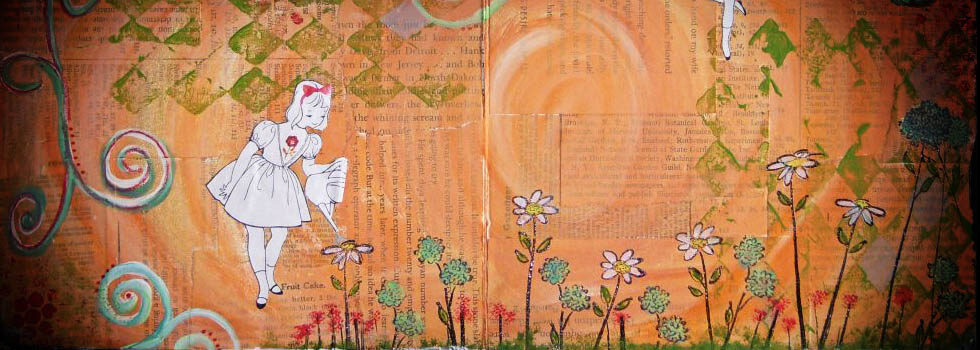
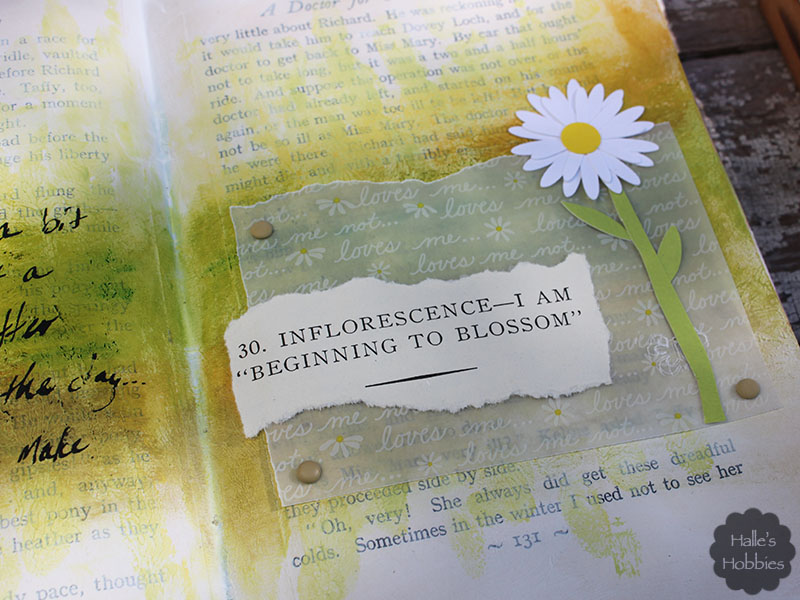
This package helped inspire this journal page.

beginning to blossom

Thank you Krisha!

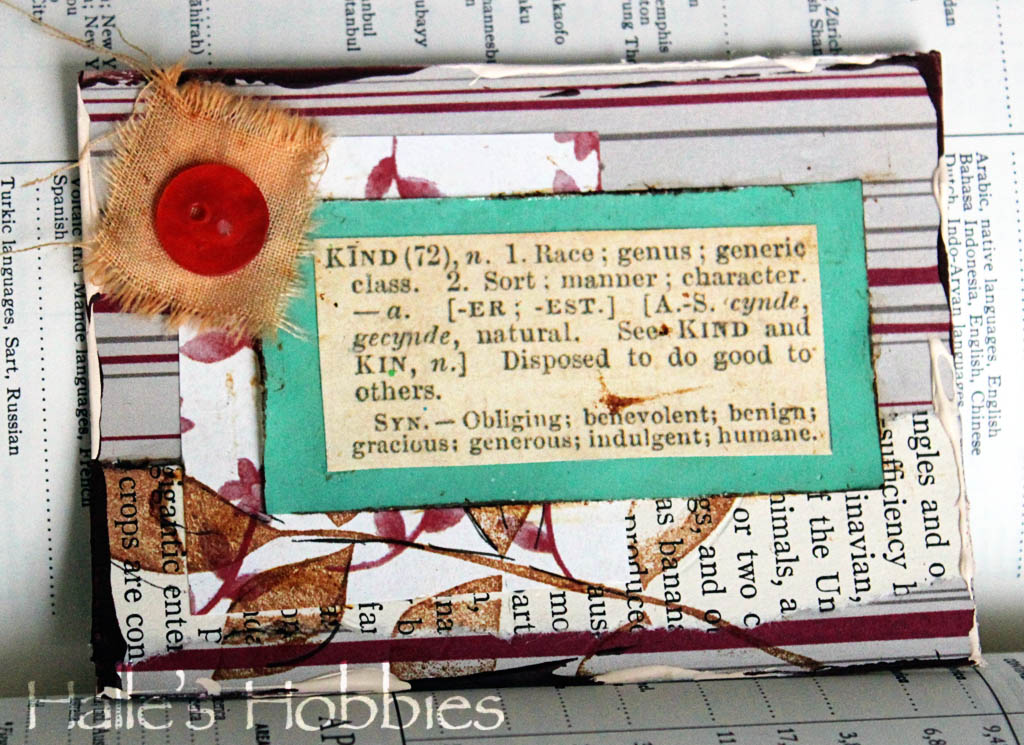
I also received a box of goodies along with a 3rd anniversary ATC for T stands for Tuesday from Patty @ Magpie’s Nest.

happy mail day

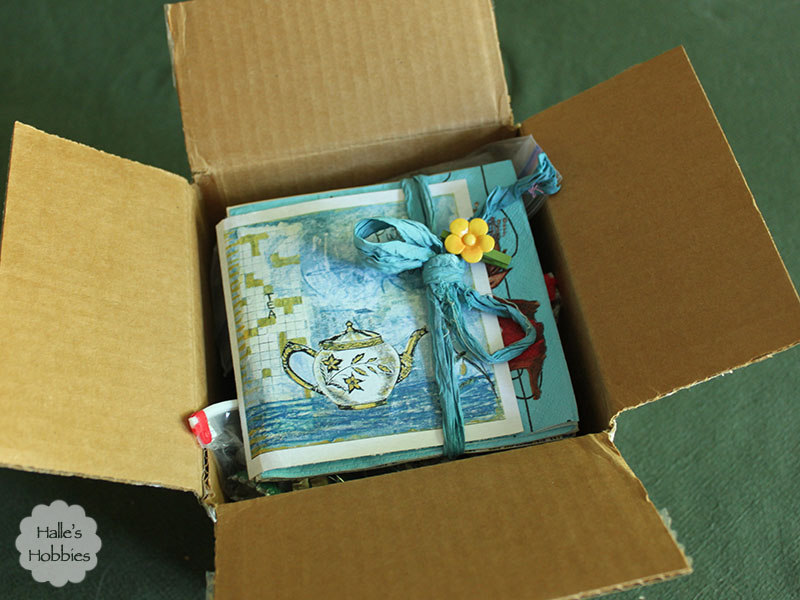
She knows my love of bottle caps.

happy mail day

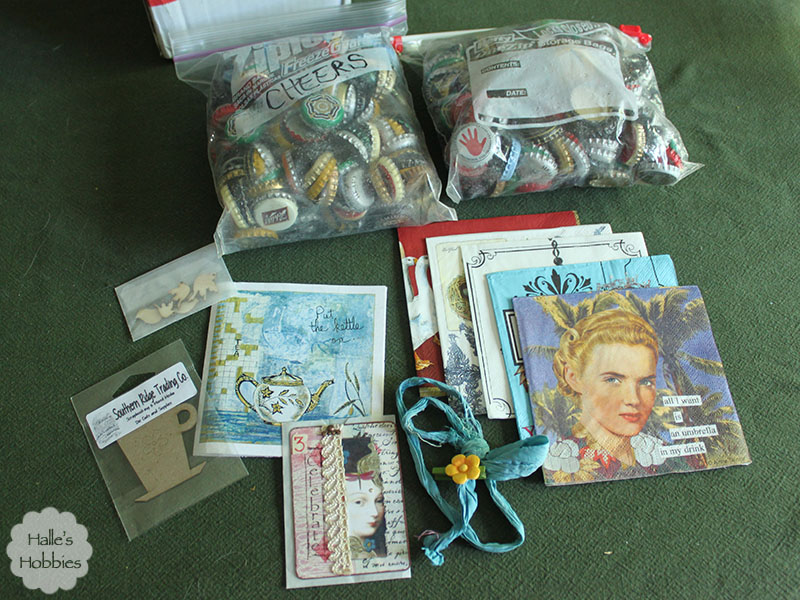
So many fun bottle caps and a bunch I’ve never seen. Too fun. Patty also included some bits of collage fodder as well. Can you see the beautiful ATC that precipitated the package in the first place?

happy mail day- patty's atc

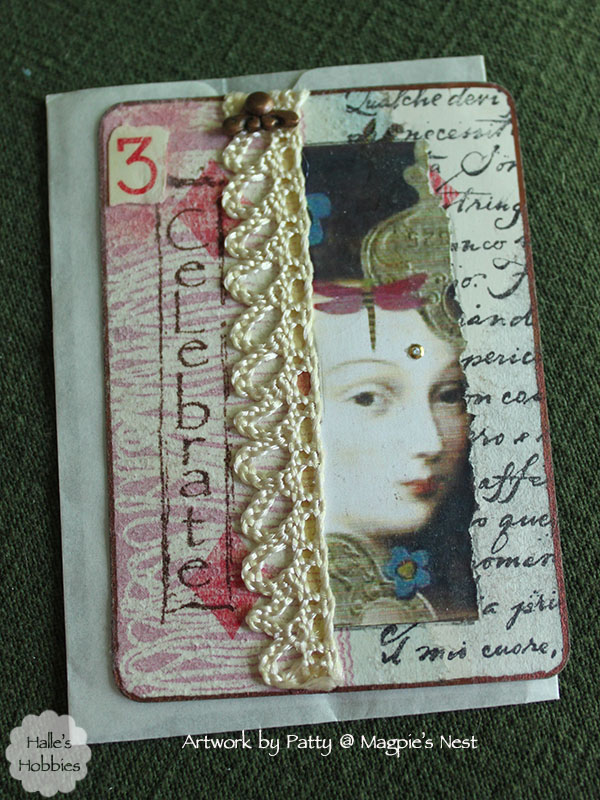
Isn’t she lovely?!?  So many tiny details. I keep noticing more and more little things that I didn’t see the first time around.  Thank you Patty!

And now for the Second on the 2nd portion of today’s post.

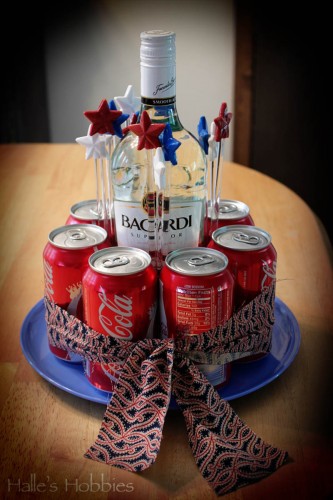
Three years ago I took a quick photo of a hostess gift I was bringing to our annual Independence Day gathering. Little did I know this post would eventually become the most visited post on my blog. (More on the at the end.)

Take a look…eyes

July 5, 2013

We spent Independence Day, as we have the past several years, at a friend’s house along the parade route in town. It’s always a great time.

I wanted to do a little something extra for our hostess who puts so much time and effort into making sure everyone has a good time. She’s a big fan of Rum and Coke. It ended up being a centerpiece on the buffet table.

Rum and coke

“““““““““““““““““““““““““““““““““““““““““““`

I’ve seen over the years that the re-pins of this image on Pinterest have multiplying but it wasn’t until an update in their software did I notice that all of the re-pins now count up on the original. Check out this screen shot I took last night.

run and coke cake

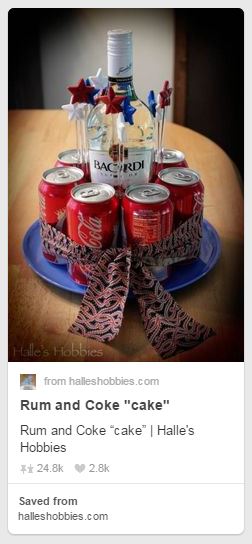
Amazing! When I look at my blog analytics it definitely shows that people are visiting from that pin as well.  Not 24,000 pages loads but a significant amount especially given the fact that this is a 3 year old post.

For today I’m going to try and stay cool while running an errand or two. I really need to do some baking and canning but…ugh…not in this heat!

What are you doing today?

Was feeling artsy…

 Using up scraps….

Little J came home from school last week telling me that she was trading cards at school. She said her teacher wanted them to do this. I was confused. Usually trading cards are banned from school especially during learning time. 
Tuesday evening she shows me this….
AH! Now I understand. 
They are making ATC’s!!!!

How cool is that! Her art teacher got them started making the artitst trading cards then encouraged them to trade with their classmates.
It was interesting that she didn’t realize that I also made these, although it’s been a while.
  I pulled out my collection to show her that I traded them with artists from all over the world. 
We decided to make a trade ourselves.


Over the weekend I started picking up my art space. Putting it back to rights after a shameful amount of time of just moving enough stuff to get a few inches to work within.
Of course, as I was sorting through my piles of papers, I found a blank ATC background ready to use. The stamps where also within sight so…this simple ATC was born.
Next I found this raven image and knew that I already had a pre-painted page in my Playtime AB that would likely look pretty good. When I have extra paint on my palette I paint it onto a random page in a book. Waste not, want not.
Lastly I grabbed my Nature book from the AB 101 class my friend Elizabeth taught several years ago. If you are interested she is currently teaching it again
…for FREE…
I’m not thrilled with the outside edge. I may go back and cover the dots or make them a little more subdued.
I’m hoping to get my art space completely cleaned up and show some “shameful” before and then clean after photos soon. I have a knitted dishcloth order to fill before I can commit anymore time to my art. Totally forgot that they were needed by next weekend!! AGH!

Sometimes I grab a random page torn from a book to give me inspiration. 

That is when my quirky sense of humor takes over….

PAGE TOP

© 2007-2024 Halle's Hobbies All Rights Reserved -- Copyright notice by Blog Copyright