Tag : embossing powder

3 posts

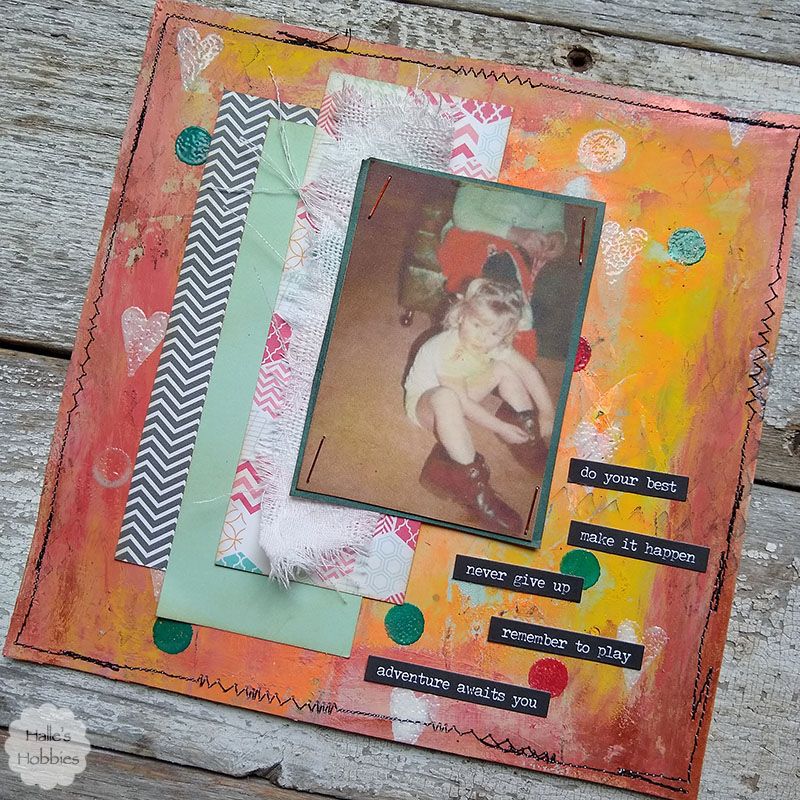
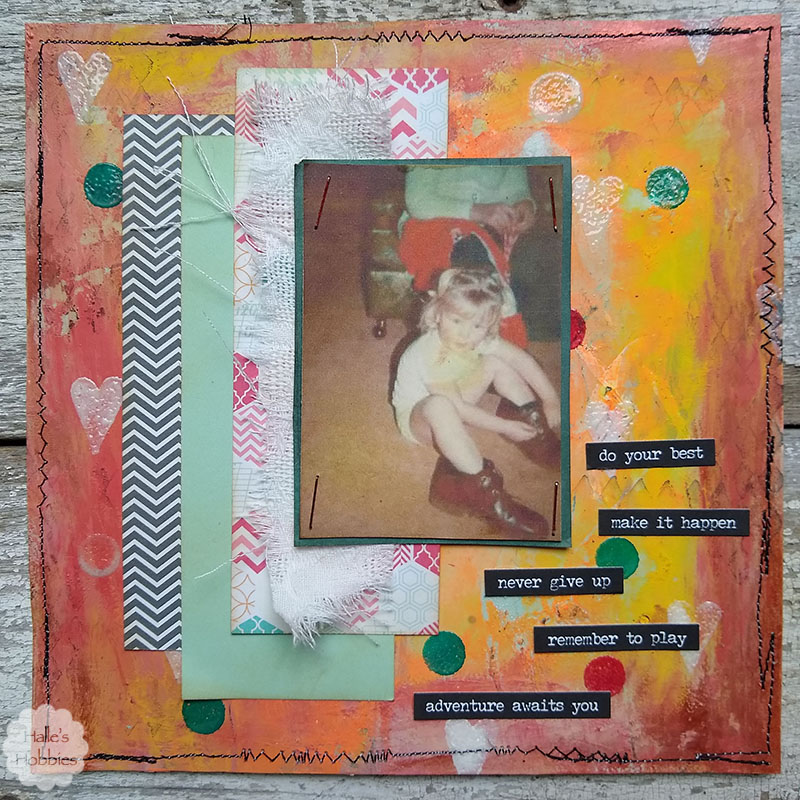
Last week I found this image I’d printed ages ago…I knew immediately that it would become a focal point in an upcoming journal page.

Since I’ve been using the term “mop up paper” quite often lately I thought I’d share a bit of a process post to give visuals to my words.
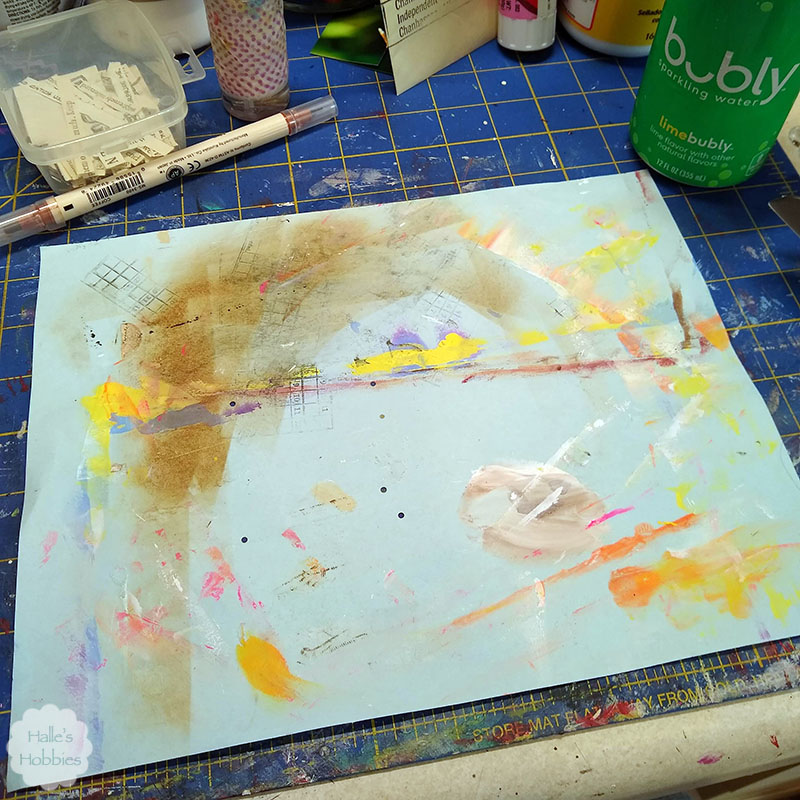
This is where my page started. A sheet of blue copy paper 8.5 x 11 inches. I used a glue stick to adhere it to some lightweight card stock.
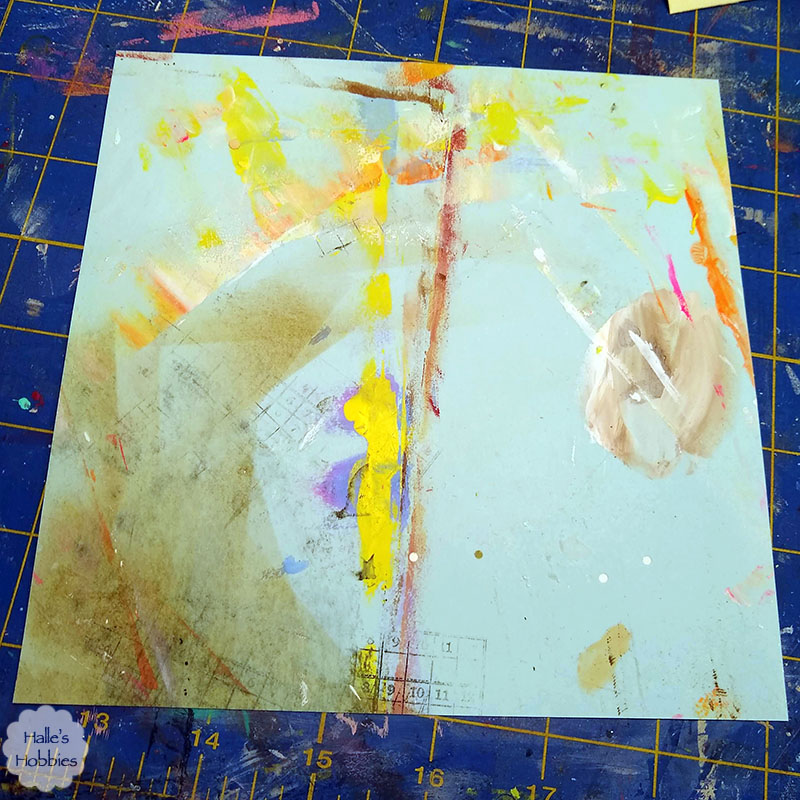
After the glue was dry I cut it down to my desired size of 7 x 7 inches. Next I got out craft paints and used my favorite tool…my fingers…to spread several colors of paint over the page.
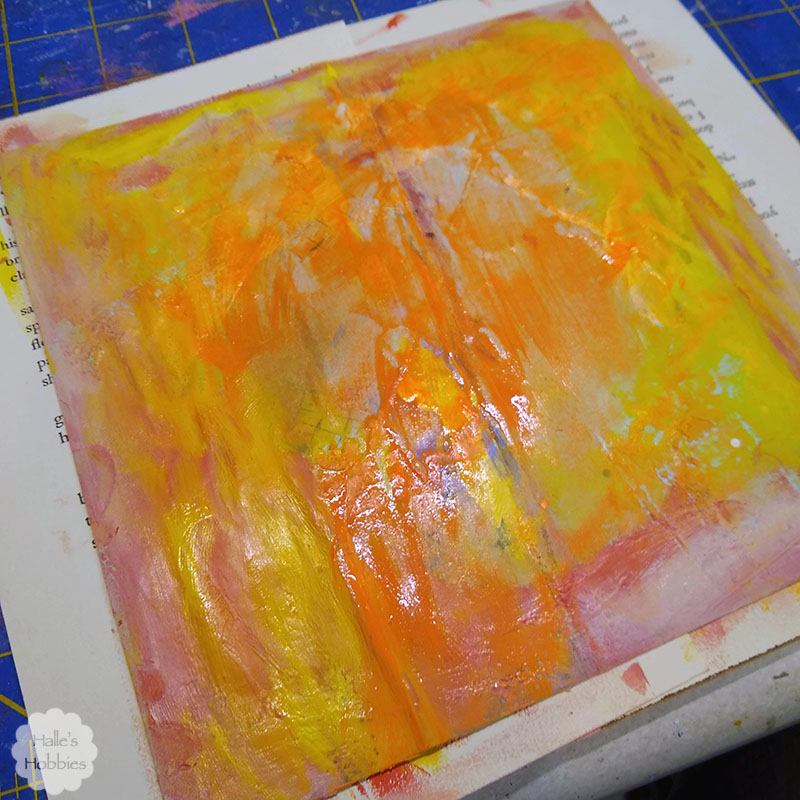
Some of the colors are more transparent than others allowing the original color and marks to show through.
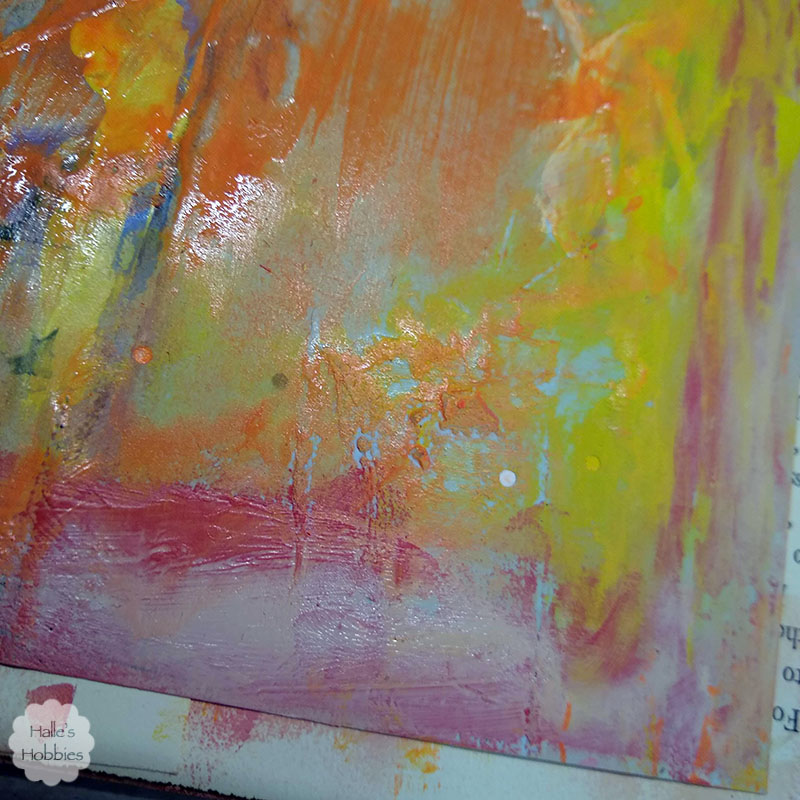
Look at that yummy texture…  I decided to let this air dry overnight instead of drying it with the heat gun.

Of course this is where my process failed…I totally forgot about the fact that I was taking photos step by step.
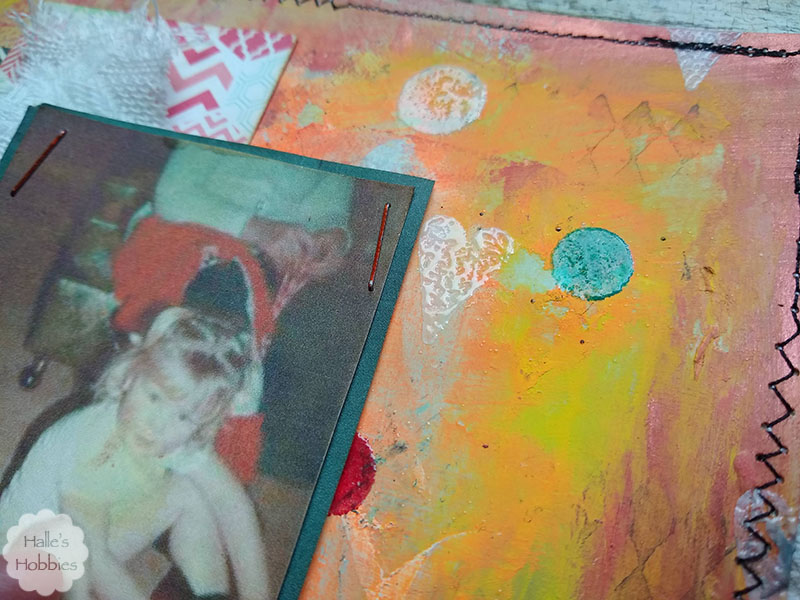
I used rubber stamps to create some background texture. The black ink harlequin was super subtle…I felt I needed a bit more color and shape. Since most of my stamp pads are pigment ink I used clear embossed powder to set the ink.

I also took the completed background to my sewing machine to stitch a funky border in black to contain everything.
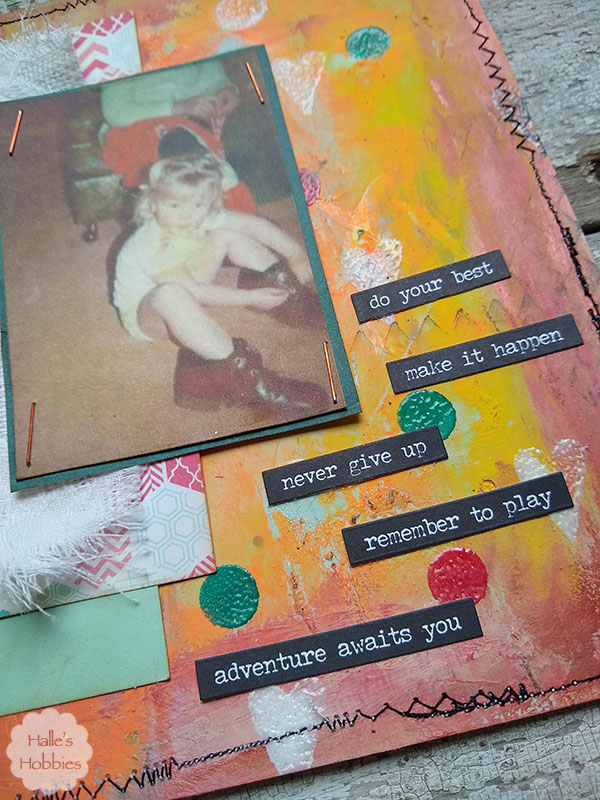
Next I created some layers with paper and fabric to give an anchor to my image.

Last but not least was the words of wisdom to a little girl learning to tie shoes with her daddy’s shoes. I love that they are on the wrong feet too.

Not only am I linking up with Words to live by on Art Journal Journey guest hosted by yours truly….

Art Journal Journey

but I am also linking up with Try it on Tuesday for Make a Mark.
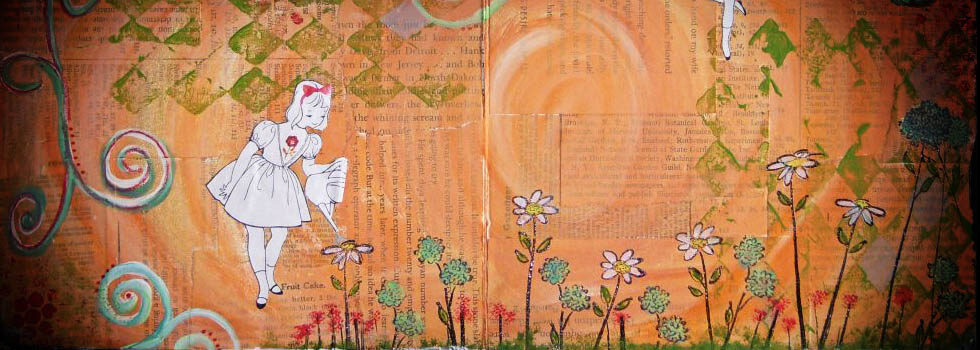


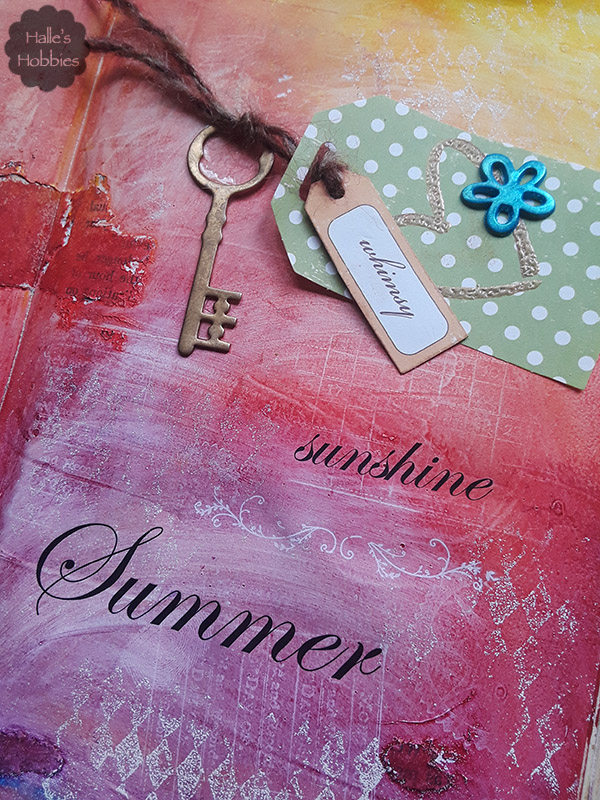
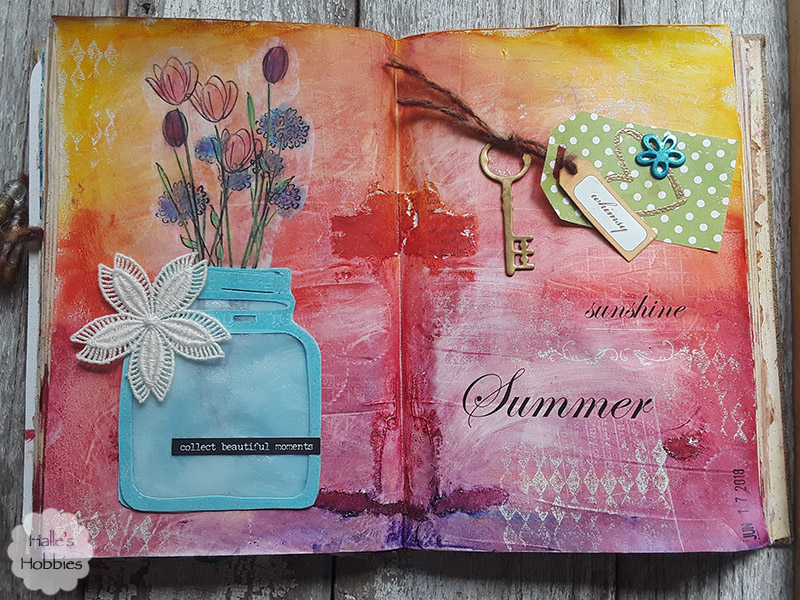
As I sat down to create in the midst of a summer that I hadn’t planned, my mind wandered to the beautiful things. The things that make me appreciate summer. Beautiful colors. Flowers. Birds singing. Breeze blowing through open windows.
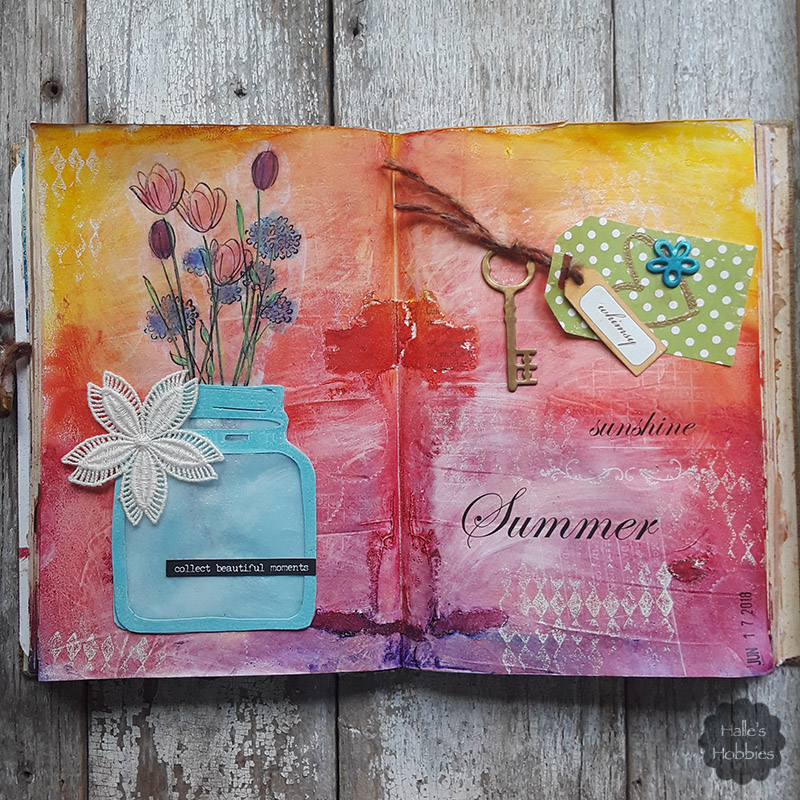
All this had me in the mood for an explosion of color. I used my fingers to loosely apply paint in a tribute to a gorgeous sunrise or sunset. The colors were a little too bold. Too in your face so using a baby wipe I blended and softened the page until it made me happy.
I pressed uninked rubber stamps into the paint to create some interest on the background as the stamps pulled even more of the still wet paint away with them as you can see above with the grid pattern.
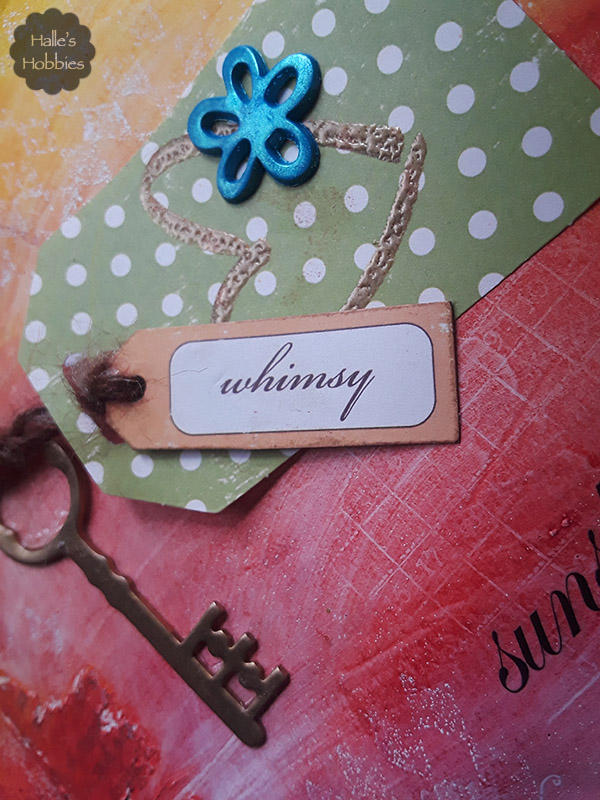
After heat setting the page I used a harlequin stamp with white ink to lightly stamp randomly around the background using white embossing powder over top to provide a little more kick to the white.
Digging through my stash I found some rub-ons that fit my theme perfectly. The black really pops against the background.
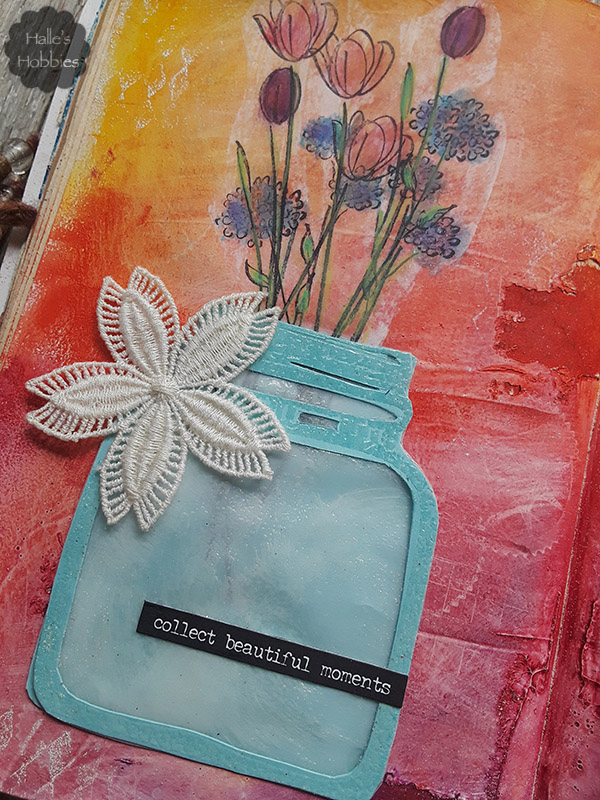
A canning jar full of flowers screams summer beauty to me, Casual, simple, perfect.
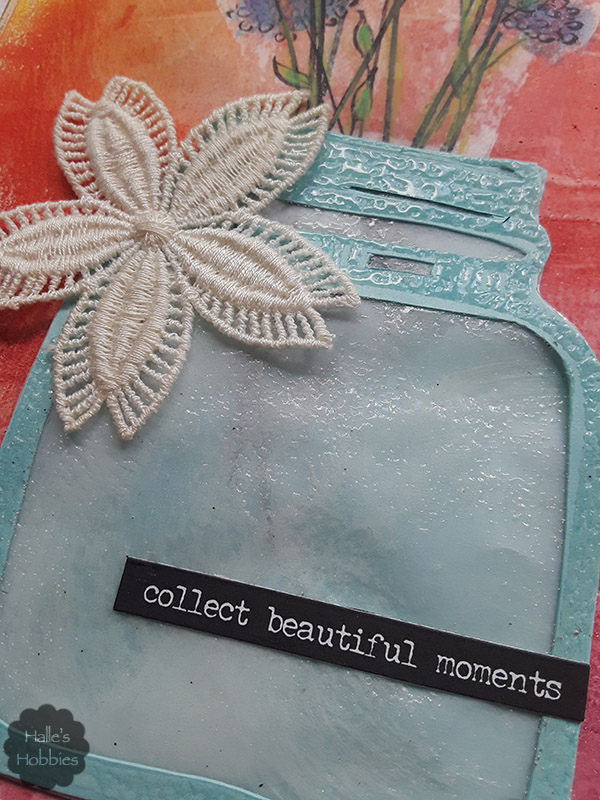
I really wanted it to appear that these flowers were indeed inside a glass jar. This gave me a bit of a challenge.
I stamped the jar twice. One was clear embossed for later use. The first was adhered directly to the page. I then stamped my bouquet of flowers onto tissue paper using black Staz-on ink. I adhered the tissue with matte medium and placed on the page, partially “inside” the jar.
Next I cut out windows in the clear embossed jar. I cut a piece of vellum to fit and gave that a bit of shimmer with clear embossing as well. I carefully stacked and glued the pieces of the jar over the original stamped piece. Much to my great pleasure, the stems of the flowers shone through the “glass” as I had hoped.  I used a Tim Holtz word sticker to sum up my thoughts.
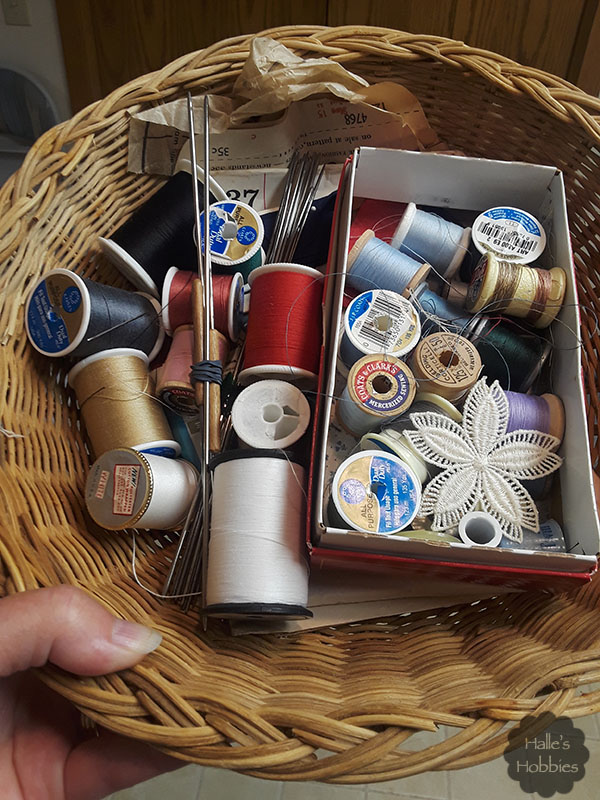
The jar seemed to be missing something so I thought about the basket of goodies I carried home from a friends house like Little Red Riding Hood.
The perfect embellishment was right there.
I’m linking up today with Art Journal Journey for Inspired by… the theme chosen by this months host Gil from gibbyfrogettcraftations.
Art Journal Journey

We have another graduation party to attend so another handmade card was in order.

grad card with a tip

The speckled background wasn’t my original intention so this is where my tip comes in.

I had extra embossing powder surrounding the Congratulations stamp and for the life of me I couldn’t get it all off.  I decided to embrace the imperfection and expand on it, making it part of the design. I heated up the card stock then lightly sprinkled more embossing powder over the card. I heated it from underneath as not to blow it away. Easy peasy.

grad card with a tip

I added some iridescent embossing powder as well for a celebratory shimmer. I really love how it turned out.

PAGE TOP

© 2007-2024 Halle's Hobbies All Rights Reserved -- Copyright notice by Blog Copyright